6.3 Checking / Managing the Printer Status on a Web Browser
99
IP Filter Feature via IP Address List
This feature allows you to register the IP addresses of computers that can be used in this
printer. This will limit IP address used for receiving print data.
1.
Click [Properties] in CentreWare Internet Services.
2.
Click [Protocol Settings] > [LPD] from the left menu.
3.
Click [IP Filter].
4.
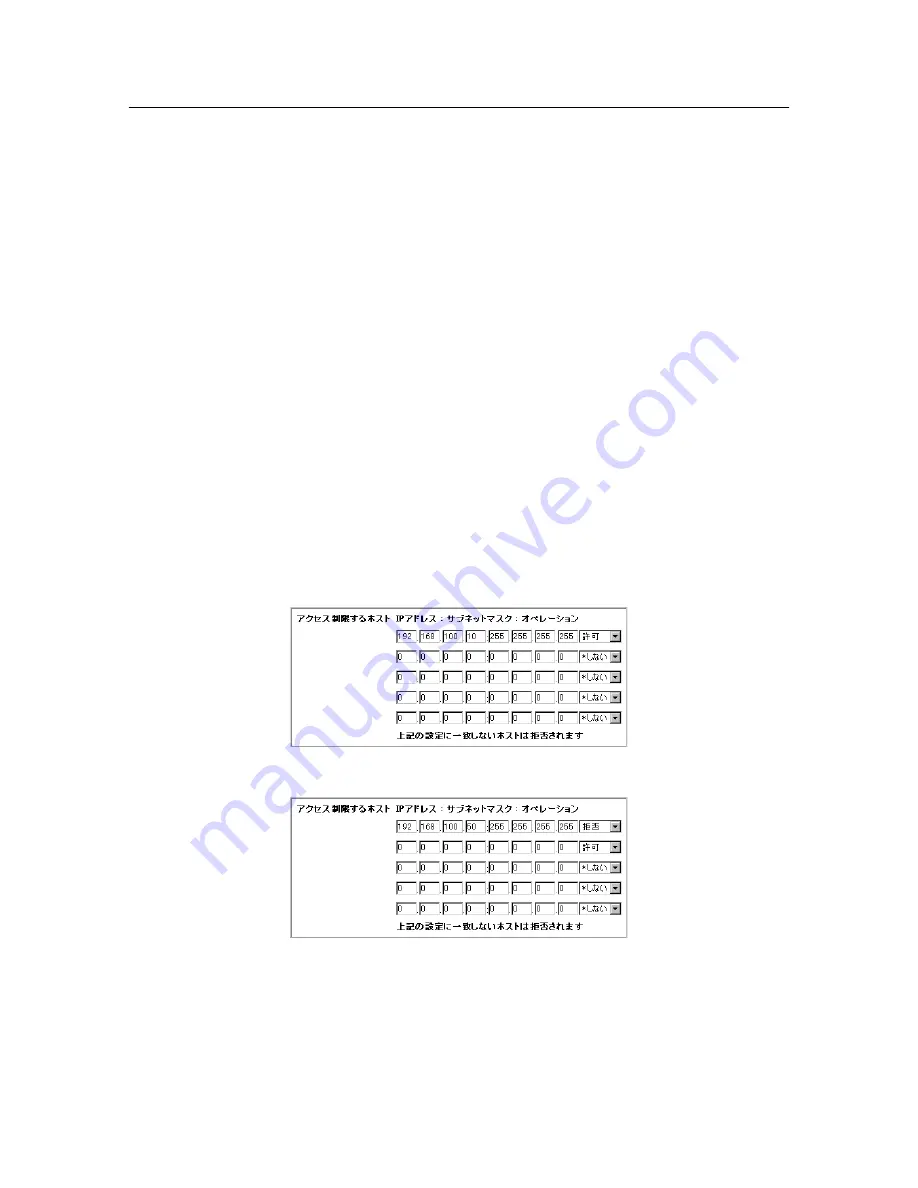
Enter values between 0 and 255 for the IP address you want to filter. Then, Select the
type of filter from [Permit], [Reject], and [Disabled]. The “*” is added to the current
setting. Refer to the example of the next paragraph.
5.
When you finish making the settings, click [Apply New Settings] at the bottom of the
right frame to restart the printer.
Note
• Click [Restore Settings] to restore the old settings from before changes were made.
• Input the administrator’s name and password when the message that prompts you to input them, then
click [OK].
Example of the IP Filter Setting
You can register up to five IP addresses and the addresses have priority from the top. To
set multiple filters, set IP address in descending order from the address with the narrower
range.
1.
To receive the print data only from a specified user (IP address: 192.169.100.10)
2.
To reject the print data only from a specified user (IP address: 192.169.100.50)


