9 Computer Operations
214
Co
mp
u
ter O
p
erat
io
n
s
9
Import Method for Scanned Documents
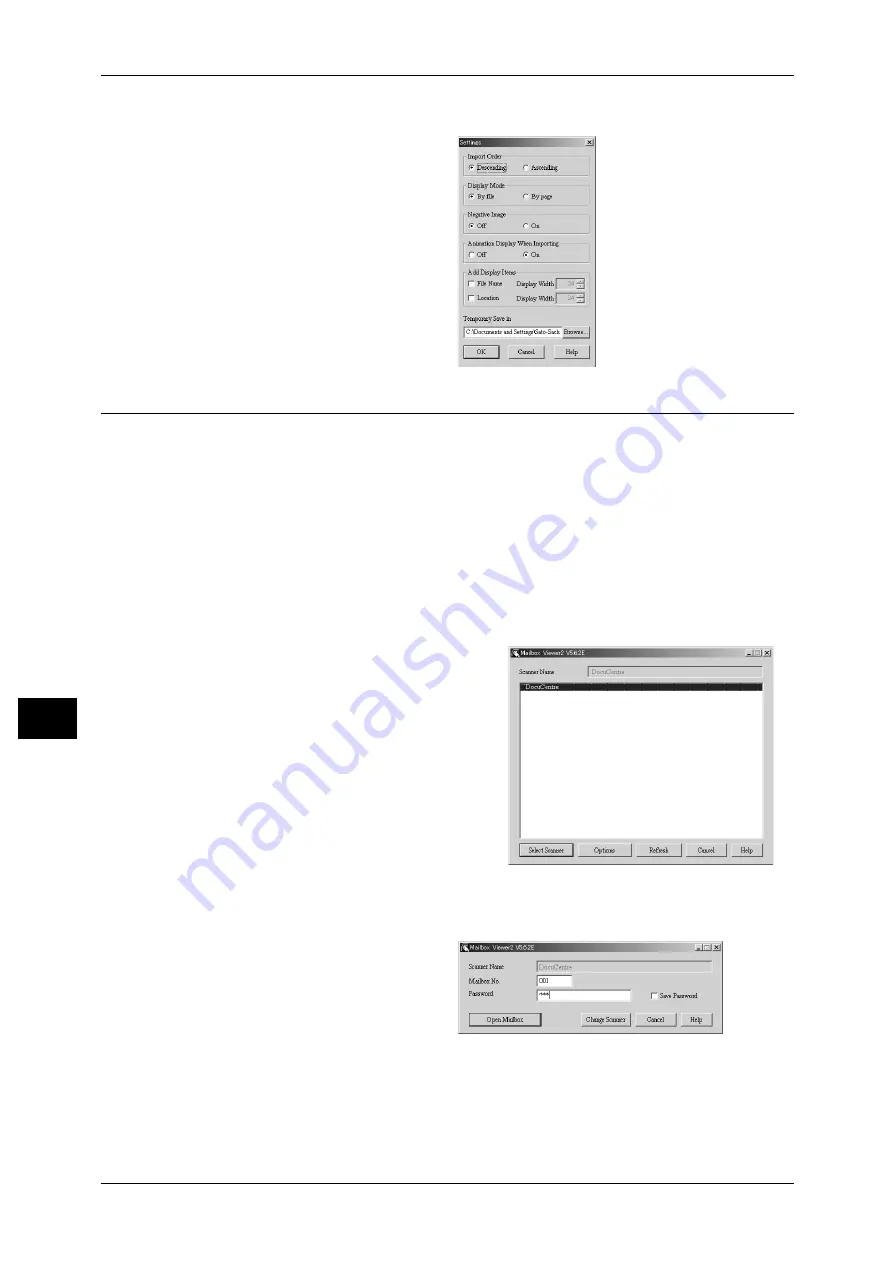
You can change the display and the
import settings for documents
scanned from a mailbox.
To change the import method, click
[Settings] in the document selection
dialog box, and configure the
settings in the dialog box that
appears.
Importing Using Mailbox Viewer2
The following describes how to use Mailbox Viewer2 to import a document from a
machine's mailbox.
Mailbox Viewer2 is software to import documents from a machine's mailbox without
using any client-side application.
For instructions on installing Mailbox Viewer2, refer to the manual contained in the CD-ROM of the
Driver CD Kit.
To learn about fields in the displayed dialog box, click [Help] to see the Mailbox Viewer2 online help.
1
Click [Start] and select [Programs] > [FujiXerox] > [Network Scanner Utility2] >
[Mailbox Viewer2].
Note
• If you used another directory for installation, specify the directory instead of above.
2
From the displayed list, click the scanner
name of the machine, and click [Select
Scanner].
Note
• If no items are shown in the list, click
[Refresh]. The application searches for
scanners.
• To display the scanner names, use the
dialog box which can be displayed by
clicking [Options]. For information on
how to change the displayed scanner
names, refer to "Changing the display
of scanner names" (P.213).
• Only when the machine is connected to
the network, the scanner name is
automatically shown in the list. To view the machine connected to other networks, click on
[Change View] and register an IP address and scanner name. For information on how to
change the settings, refer to
"Changing the display of scanner names" (P.213)
.
3
In the [Mailbox No.] field, enter the
number of the mailbox (001 - 500)
that contains the document to be
imported. In the [Password] field,
enter a password (up to 20 digits).
Note
• When you check the [Save
Password] check box, you can skip steps 2 to 4 the next time you select the same mailbox.
• Clicking [Change Scanner] returns to step 2, where you can reselect a scanner.
4
Click [Open Mailbox].
Содержание ApeosPort-II C5400
Страница 1: ......
Страница 120: ......
Страница 184: ......
Страница 202: ......
Страница 220: ......
Страница 241: ...Transmission Options 239 Server Fax 10 Off Delayed Start is not applied On Delayed Start is applied...
Страница 242: ......
Страница 243: ...11 Glossary This chapter contains a list of terms used in this guide z Glossary 242...
Страница 248: ......
Страница 254: ......
Страница 256: ......


