IDEA Auto-SYNC with RGB/VGA/DVI Analog Video
118 TIMS MVP
™
Setup and Configuration Guide
AccuStream Auto-SYNC Wizard Step 3: Adjust Left/Right Framing
for Analog Connections
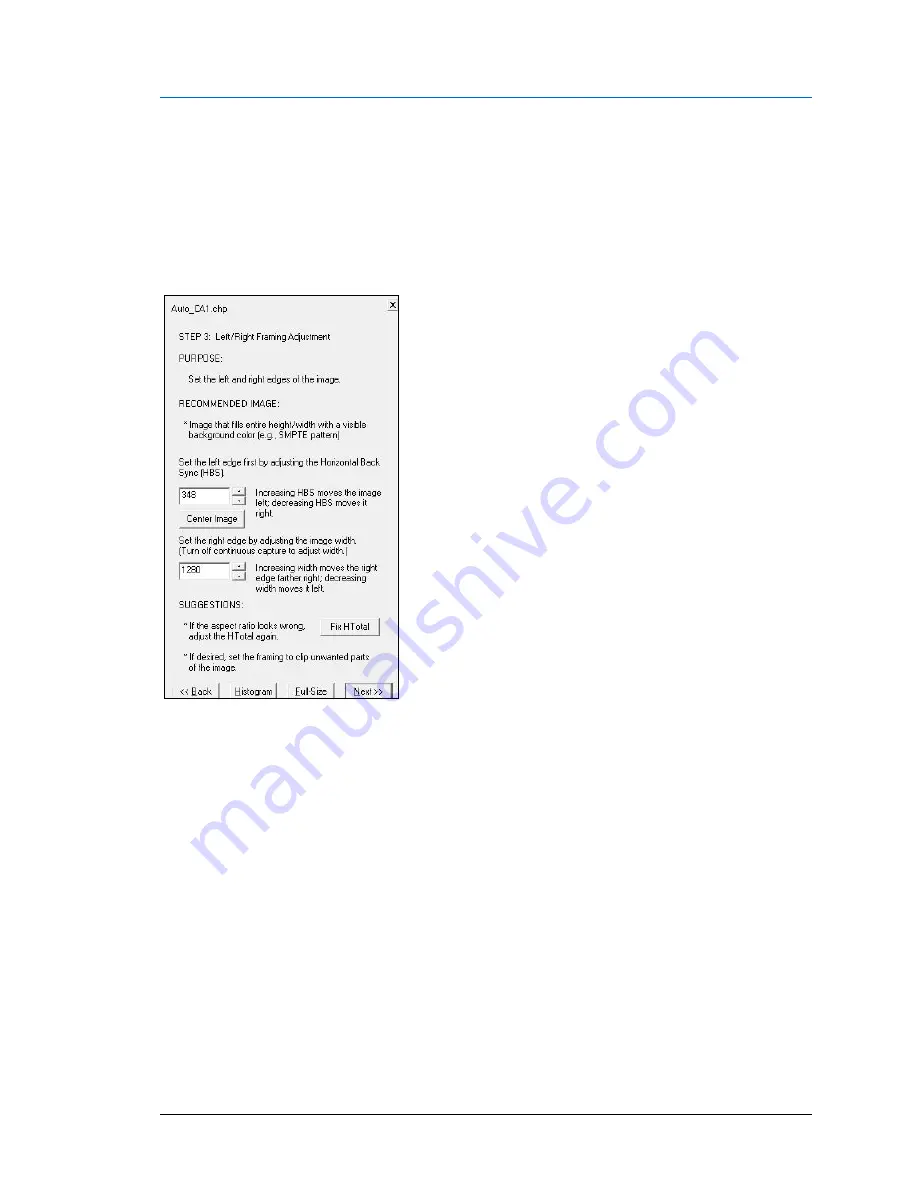
The next step is to adjust the left/right framing of the image. The left edge is set first and then
the image width. The left edge is set by the value of the Horizontal Back Sync (HBS), which
represents the period between a horizontal sync pulse and the start of active video. The image
width is set as the number of pixels per line.
Figure 27: Auto-SYNC Wizard Step 3
Framing adjustments require an image that has a non-black background that extends across the
entire image. The SMPTE pattern is recommended.
The Horizontal Back Sync (HBS) is adjusted in the standard way. Increasing the HBS moves the
image
to the left. Set the HBS so that the image’s background extends fully to the left of the
viewing window.
Once the HBS is set, the image width can be adjusted in the standard way until the full width of
the image appears in the viewing window. Now that the full image width is visible, it is possible
that the aspect ratio was incorrectly set in Step 1; click the
<<Back
button to go to Step 1 to fix
it.
Note:
When adjusting HBS, the number of pixels per line is adjusted so that the image extends
to the left of the viewing window.


