


ADVANCED CONFIGURATION
FaxFinder names archive files in the following format: fax_outbound_#dialed_date_time_faxID#
Purging Outbound Faxes
To purge stored faxes
:
1.
Go to
Fax Configuration > Outbound
.
2.
Click
Purge Faxes
.
3.
Select a purge option:
Purge All
Purge Sent
Purge Failed and Aborted
4.
Click
OK
.
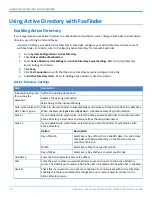
Enabling Outbound Fax Approval
Use Outbound Approval to restrict outgoing faxes through several categories.
To enable outbound fax approval:
1.
Click
Fax Configuration > Outbound Approval.
2.
Check
Enable Outbound Approval
to use some or all outbound fax approval options.
3.
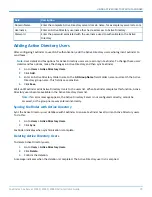
Add
Approvers
, which are users who can approve outgoing faxes. By default the Admin account is
selected. To add other approvers:
a.
Click
Add
,
.
b.
Select a user from the drop down list.
4.
Add
Approved Fax
numbers, which are any phone numbers or partial numbers that do not need approval
for sending faxes.
a.
Click
Add
,
.
b.
Enter a number or partial number and wildcard (*) to allow for variants, for example, 555-555-5***.
5.
Add
Approved Users
, which are users who can send faxes without approval. By default the Admin
account is selected.
a.
Click
Add
,
.
b.
Select a user from the drop down list.
6.
Schedule Reminders
to send email reminders to all approvers when faxes are waiting approval. By
default, there are three time intervals: 30 minutes, 60 minutes and 1440 minutes.
a.
Click
Add
,
.
b.
Enter a time in minutes.
7.
Click
Save.
FaxFinder
®
Fax Server FF240, FF440, FF840 Administrator Guide
65


