EZTouchPLC
7 / 64
Quickstarting the Device
This section outlines the steps needed to setup the
EZTouchPLC
and get it
started. This is not intended to explain specific details needed to start your
system. Rather, it provides a quick guide to give a broad picture of what is
needed to power-up
EZTouchPLC
system.
It is always recommended to make sure you have all the right parts to build
your system. This is what you will need to get started:
-
EZTouchPLC
unit
- USB Programming cable*
- 2.5mm blade screwdriver for I/O wiring
(P/N EZIO-SCDRV)
*
- Programming Software: EZSeries Editor Programming Software*
- 24VDC Power Supply*
* These accessories have to be purchased separately
Step 1: (Optional) Wire Input / Outputs
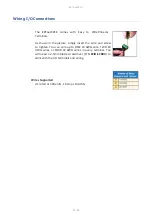
You may wire required inputs and outputs now or later.
Using the 2.5mm
blade screwdriver, simply insert the wire and screw to tighten.
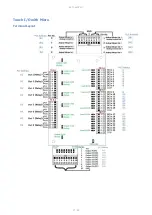
Please refer to
the
for information on connecting the Input/Outputs to the
EZTouchPLC
terminals.
Step 2: Connect Power
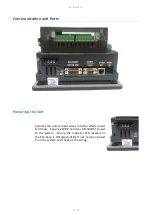
Connect the power input wires to the
EZTouchPLC
power terminals as
outlined in the
section. Supply 24VDC nominal
(20-28VDC) power to the system. Ensure the indicator LED located on the
PLC
base is ON (green LED). If not, remove power from the system and
check all
the wiring.
Step 3: Create a Project
Open your Touch Panel Editor and create your HMI screen and Ladder Logic.
The EZ
Touch
Editor Software Manual explains the programming instructions
in detail. A sample project is outlined in the
.
Step 4: Transfer Project to Unit
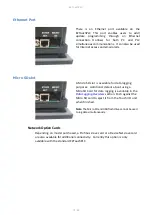
The project can be transfered to the unit either serially or through the
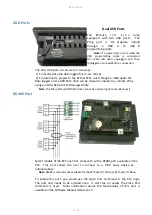
Ethernet port. If connecting through the USB programming cable, ensure the
cable is connect to the unit and PC running the Editing Software. Then using
the Software, select
File > Transfer to Panel
. Under the dialog window select
the appropriate COM port that the USB is connected with and then click
Start.
Содержание EZTouch I/O Flex
Страница 1: ...Copyright 2015 by AVG Automation All Rights Reserved EZTouchPLC ...
Страница 21: ...EZTouchPLC 21 64 Touch I O with Micro Terminal Layout ...
Страница 22: ...EZTouchPLC 22 64 Terminal Pinouts ...
Страница 23: ...EZTouchPLC 23 64 ...
Страница 26: ...EZTouchPLC 26 64 Analog I O Specifications ...
Страница 27: ...EZTouchPLC 27 64 ...
Страница 28: ...EZTouchPLC 28 64 Touch I O with Nano Terminal Layout ...
Страница 29: ...EZTouchPLC 29 64 Terminal Pinouts ...


