44
EyeLink 1000 Plus Host Software
©
2013-2017 SR Research Ltd.
2.4.5.2 Validate Screen Main Functions
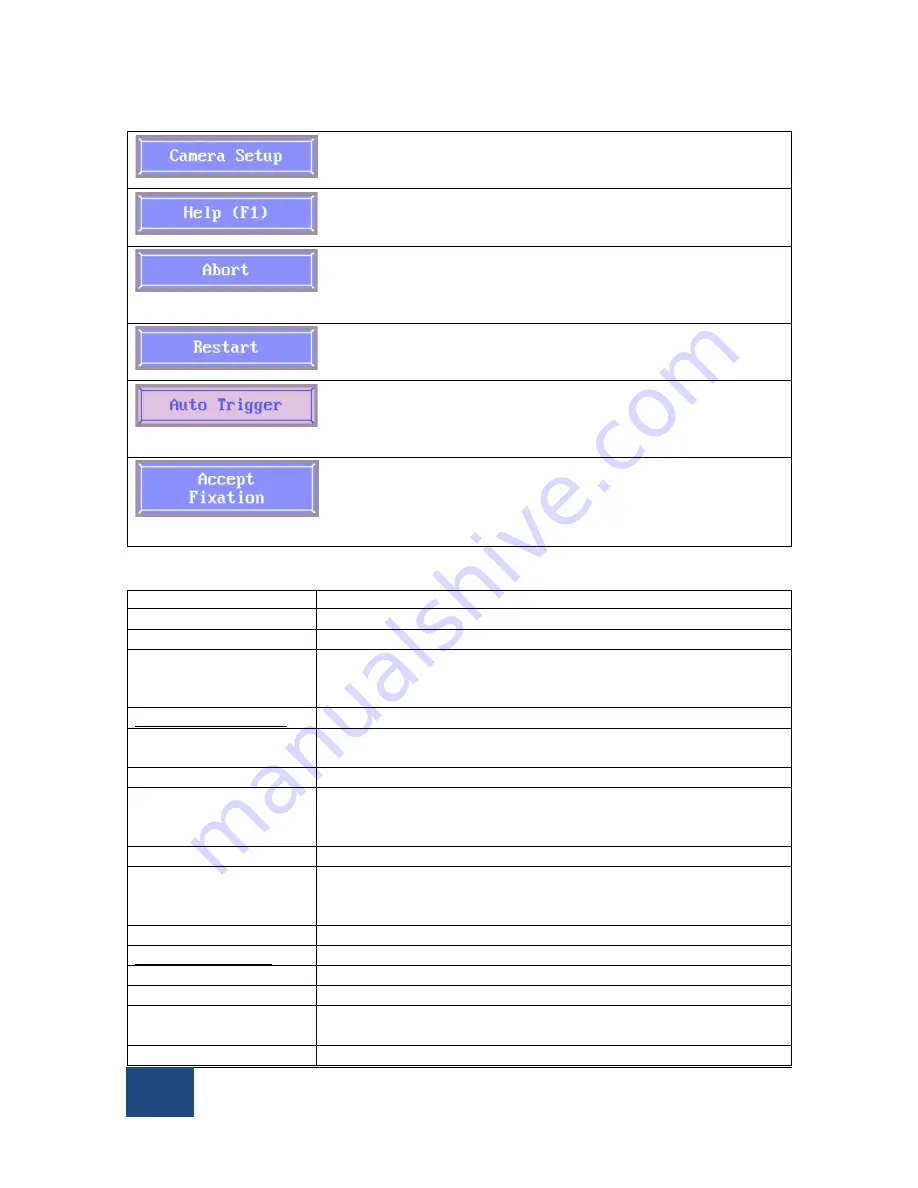
Click to go to the ‘Camera Setup’ screen.
Keyboard Shortcuts: ESC = ‘Camera Setup’
Click to view the help menu for the ‘Validate’ screen
Keyboard Shortcuts: F1 = Help
Click to terminate the validation process and revert to
the camera setup screen.
Keyboard Shortcuts: ESC = Abort the validation process
Click to restart the validation process
Keyboard Shortcuts: DELETE = restart Validation
Click to automate the validation sequence according to
the Pacing Interval from the ‘Set Options’ screen.
Keyboard Shortcuts: A = Auto Trigger
Press to accept fixation after the participant’s gaze is
stable on the target.
Keyboard Shortcuts: ENTER, Spacebar = ‘Accept Fixation’
2.4.5.3 Validate Screen Key Shortcuts
Key
Function
F1
Help screen
ESC
Terminate validation and go back to camera setup
A
Automatic validation set to the pacing selected in Set
Options menu. (Auto trigger ON). EyeLink accepts
current fixation if it is stable.
During Validation
ESC
(First Point) Exit to Camera Setup
(Following Points) Restart Validation.
F1
Help screen
ENTER or Spacebar
Begin validation sequence or accepts fixation on the
target if the eye is stable. After first point, also selects
manual validation mode.
M
Manual validation (Auto trigger turned off.)
A
Auto validation set to the pacing interval selected in Set
Options menu. (Auto trigger ON). EyeLink accepts
current fixation if it is stable.
Backspace
Repeat previous validation target(s).
After Validation
F1
Help screen
ENTER
Accept validation values
ESC
Discard the current validation and switch to camera
setup screen.
DELETE
Restart validation.


