An EyeLink 1000 Plus Tutorial: Running an Experiment
©
2013-2017 SR Research Ltd.
93
The EyeLink 1000 Plus has two possible online drift correction methods: Drift
Correct to Mouse-Click Position and Drift Correct to a Fixed Location. These
methods are described in detail below, followed by a list of shared parameters
controlling the drift correction behavior.
Only one online drift correction method can be enabled at any one time.
3.11.2.1 Online Drift Correct to Mouse-Click Position
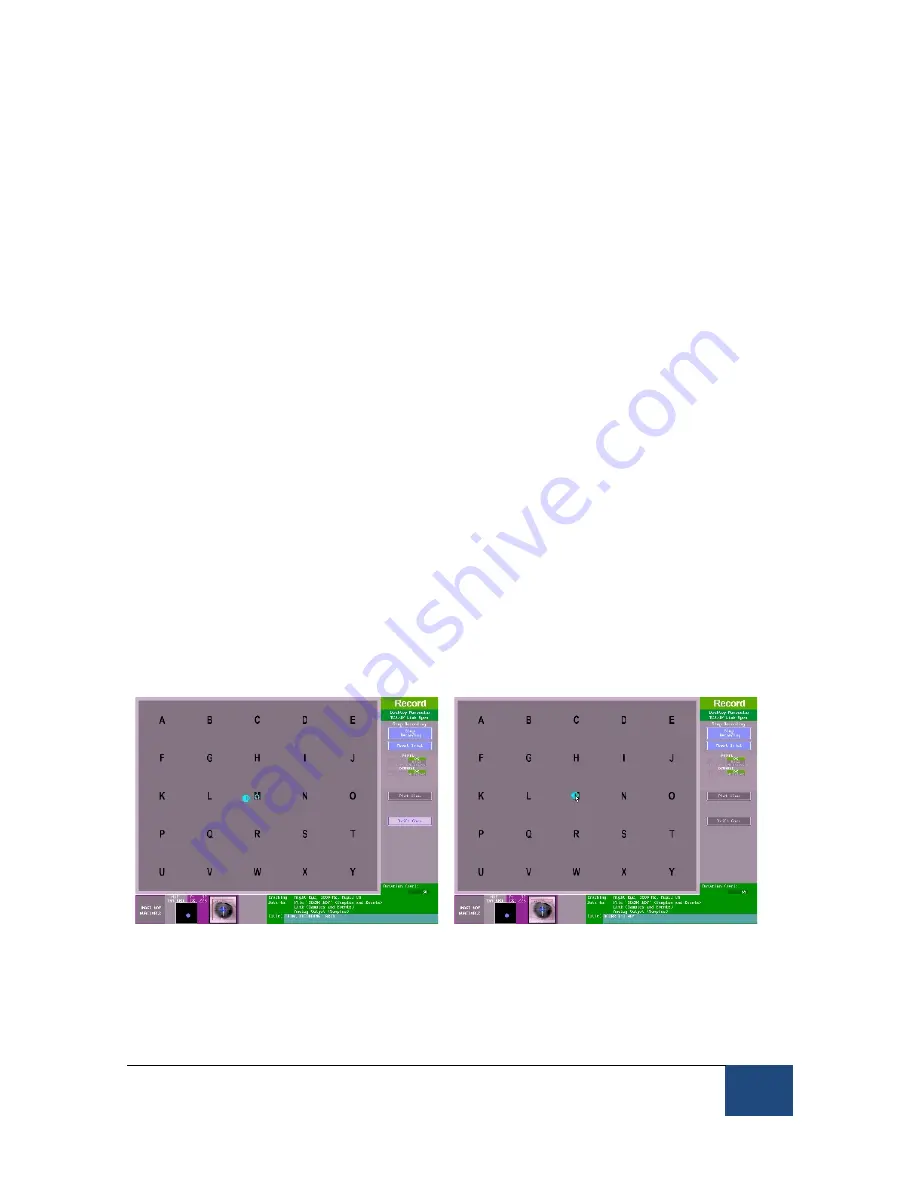
With the mouse-click drift correction method, the experimenter simply initiates
the drift correction procedure on the Host PC by clicking on a “Drift Corr”
button on the Recording Screen. At this point the button begins to flash on and
off and the mouse cursor changes into a circle (see the left panel of Figure
3-20). The experimenter should center the mouse cursor over the position that
he/she believes the participant should be fixating and then click the mouse
button.
The drift correction will be applied if the difference between the sampled fixation
and the mouse click position is within an acceptable range (specified by the
online_dcorr_maxangle
parameter). Once applied the mouse cursor will change
back into an arrow, the ‘Drift Corr’ button will cease flashing, and the applied
drift correction will be reported (in degrees of visual angle) in the text box at the
bottom right of the Recording Screen (see the right panel of Figure 3-20). If the
attempted correction is above the acceptable distance then the drift correction
will fail and a message will appear in the text box reporting the size of the
attempted drift correct and noting it failed such as
“
DCORR FAILED: offset of
14.6 degrees rejected.
”
Figure 3-20: Performing a drift correction using mouse
click
To enable the online drift correct with a mouse click, the Host PC needs to be
configured manually by adding some commands to the FINAL.INI file or it can


