Advanced
Figure 29 shows the TLP Pro 725C
Advanced
screen. The TLP Pro 525C
Advanced
screen is
very similar. Press the
Advanced
button in the navigation panel at the top of the screen to open
the
Advanced
screen.
Status
Display
Audio
Advanced
Exit
Network
System
Touchpanel Name:
Controller Name:
Controller IP:
TLP-AB-CD-EF
IPCP 505 - North Hall
192.168.254.11
Global Configurator Project
Name:
NorthHall
Version:
01.00.1383
Creation Date:
2/15/2016 2:48:20 PM
Revision Date:
2/16/2016 4:15:45 PM
-------------------------------------------------------------
Menu PIN
Off
Change
On
GUI Project
Name:
Resolution:
Creation Date:
Revision Date:
Version:
Jet Video Conference System
2/12/2016
02/12/2016
1024x600
01.00.16
Project Size:
12 MB
115 MB
Storage Size:
Project Usage:
0%
Communication LED
Enable
Disable
Figure 29.
Advanced Screen (All Other Touchpanels)
System and GUI Project Panels
These panels are read only, providing information about the system, the Global Configurator
Project, and the GUI Designer Project.
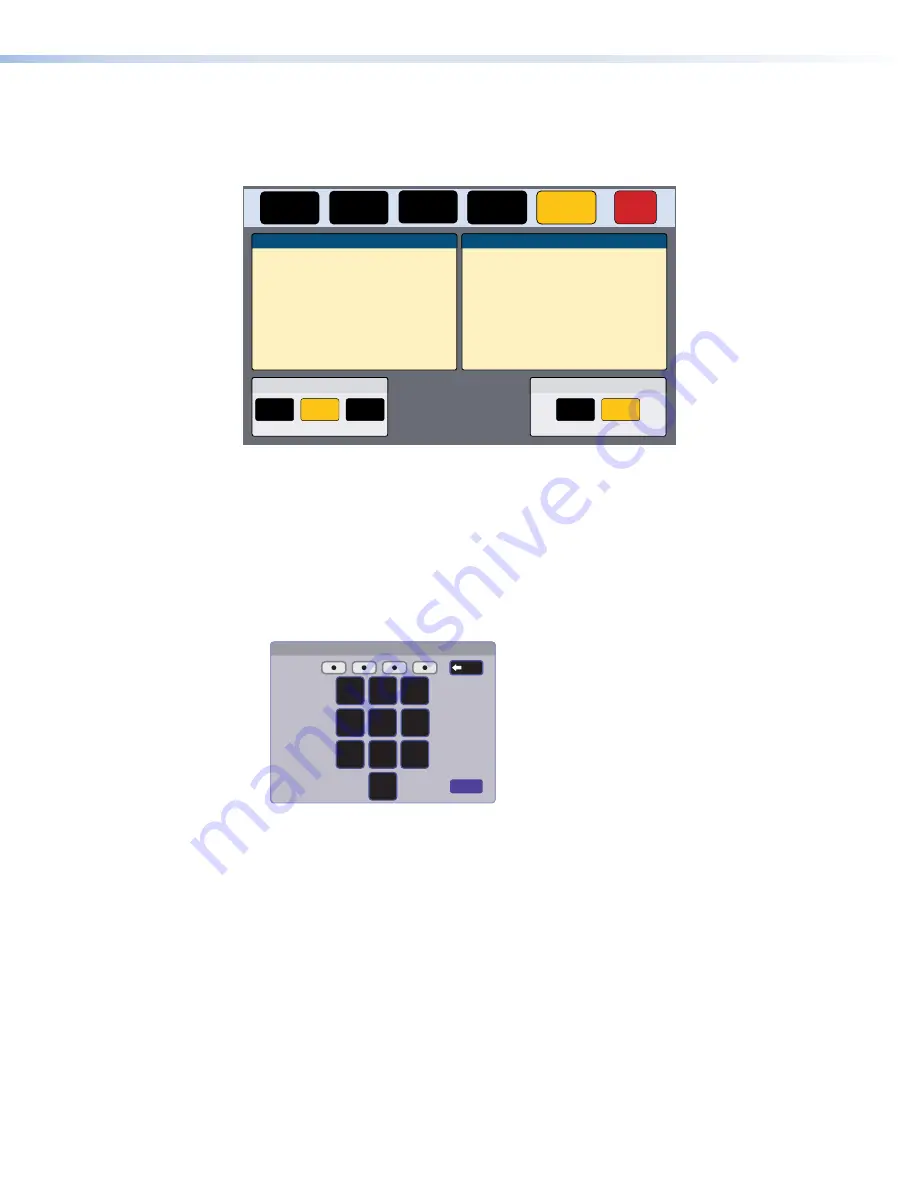
Menu PIN
The PIN setup options allow you to enable, disable, or change the setup menu PIN. The PIN is a
4-digit number. Each digit can have any value from 0-9.
1.
Enter a four-digit PIN.
Enter New Menu PIN
4
5
6
7
8
9
0
2
1
3
Cancel
Back
Figure 30.
Numeric Keypad for Setting PIN
2.
The title bar changes to
Confirm
New
Menu
Pin
.
3.
Enter the PIN a second time. When the PIN entered on the second occasion matches the
PIN entered on the first occasion, the PIN is set and the dialog closes.
Communication LED
The LED can be switched on or off by pressing the
Enable
or
Disable
button.
•
When this option is enabled, the Communication LED (see
, on page 5) is
active and shows the configuration and connection status of the touchpanel. It is unlit during
normal operation and lights steadily if the touchpanel has not been configured.
•
When this option is disabled, the Communication LED is not active.
figure 22
TLP Pro 525C and 725C Series Touchpanels • On-screen Menus
31


