Advanced Configuration
VoIP²ALL 8 - 16 - 24 Channel Gateway User Guide
www.eurotech-communication.com
38
2)
In the ports list on the left side of the window, select
General
.
3)
In Default SIM, select
Local SIM work by time table.
4)
On the left side of the window, select a port from the ports list.
5)
From the
Available SIMs
list, select a SIM.
6)
In
Type
, select the type of schedule you want to define from the following options:
Monthly
- The table will show all the days of the month.
Weekly
- The table will show all the days of the week.
7)
In
Swapping Type
, select one of the following options:
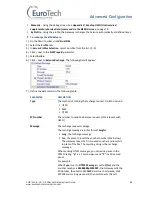
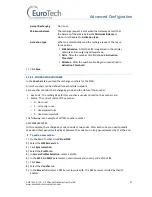
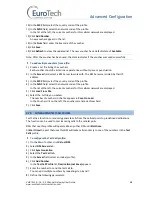
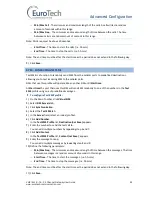
Time Table
- The SIM is replaced at the end of its defined time in the Time Table. In this mode
you set up a Time Table and define which SIM will work in which hour.
Call Duration
- The SIMs are replaced when they end their defined calling minutes. In this
mode you define a list of SIMs in the table. For each SIM in the list you define the amount of
calling units to be used. Each SIM will work for the defined calling minutes and then be
replaced with the next SIM on the list.
Manual
- This gives you the option of manually connecting a SIM immediately. This is
recommended for temporary use only, generally by support in the debug process.
8)
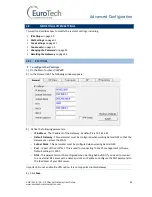
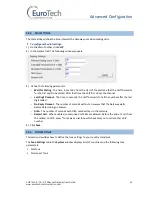
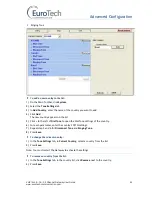
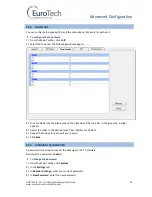
In the Time Table, define the hour and day for a SIM to register.
In the time slot you can see the information of the SIM in this format: C1_S1_192.168.0.31
C1 - the SIM Server card number in the SIM server
S1 - the SIM socket number in the card
192.168.0.31 - the IP Address of the SIM Server
9)
You can define other SIMs to work in the Time Table by repeating the previous step.
Note: There is a SIM swapping limitation of 400 time slots per port.
10)
Click
Save
.
At the defined time, the SIMs in the Time Table will register in the cellular network.

