30
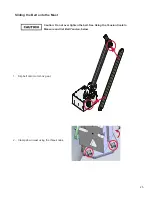
Slide the aluminum knobs over the collar of the mast.
Knobs
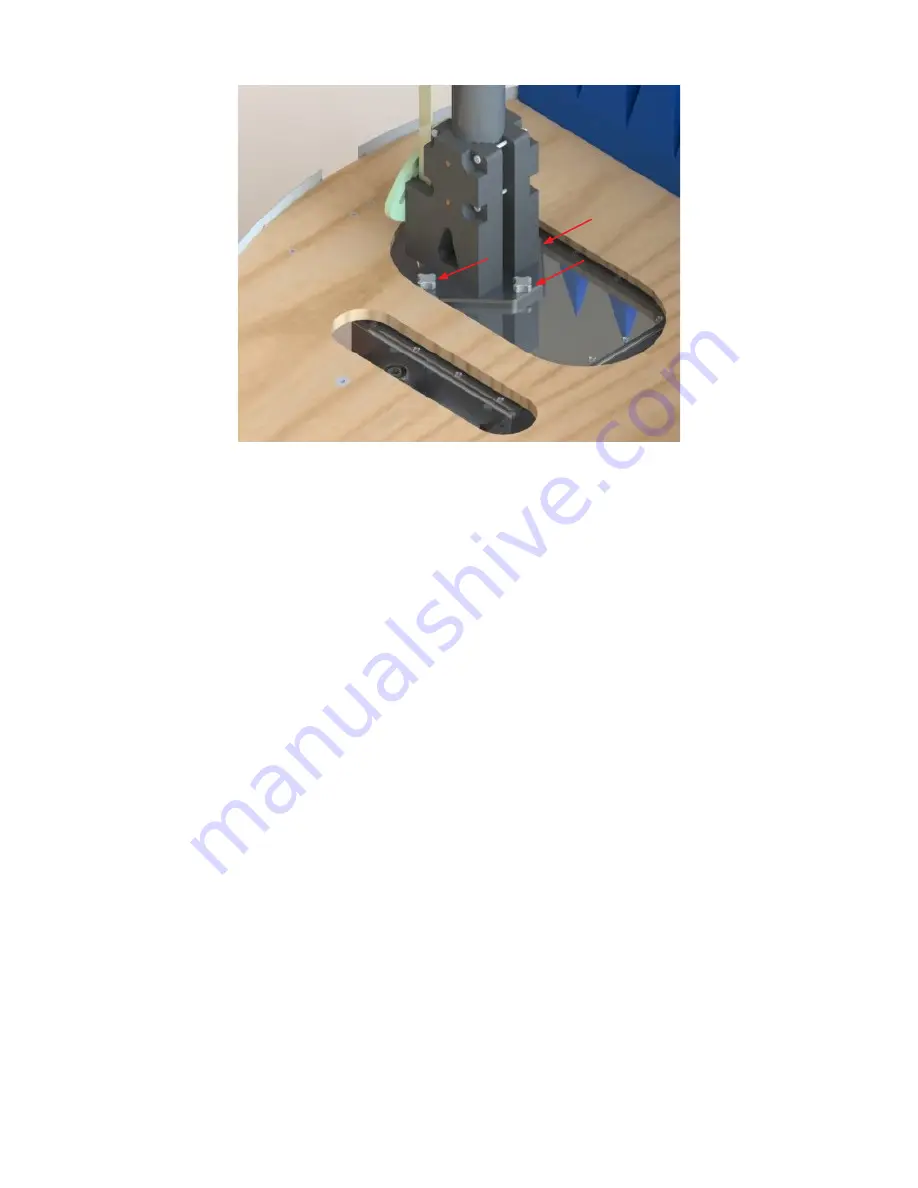
3. Install the mast with provided threaded knobs (QTY: 3).
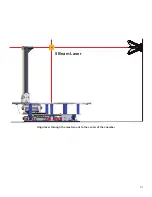
4. Align unit so that the center of the horizontal axis is aligned with the laser beam.
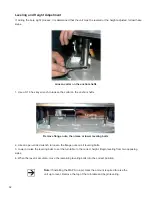
Small height corrections may be necessary. For information, see
Leveling and Height Adjustment
on page 32.
After the system is leveled, additional height corrections may be required.
5. Mount the laser onto a tripod, and then place it on the turntable top.
6. Sight one horizontal laser in line with the antenna mounted in the end wall of the chamber.
Align the opposite side of the horizontal laser through the mounting gear to the center of the opposite end wall
and to the reference point previously marked.
Align the vertical laser with the center of the dipole pole mount plate (optional) or the deck to the center axis of
the bore sight line. The center of the deck is located between the two closest screws attaching the plywood deck
to the bottom spacers.
7. Verify that the laser beam is visible through the horizontal axis while the mast is moved back and forth in the
slider system.
8. Achieve bore sight for each mast to be used.
Содержание ETS-LINDGREN MAPS 2112 Series
Страница 1: ...Multi Axis Positioning System MAPSTM User Manual 1719784 Rev A May 2020...
Страница 2: ......
Страница 4: ...4...
Страница 8: ...8...
Страница 18: ...18...
Страница 20: ...20...
Страница 31: ...31 Align laser through the mast mount to the center of the chamber 5 Beam Laser...
Страница 34: ...34...
Страница 36: ...36...
Страница 38: ......


