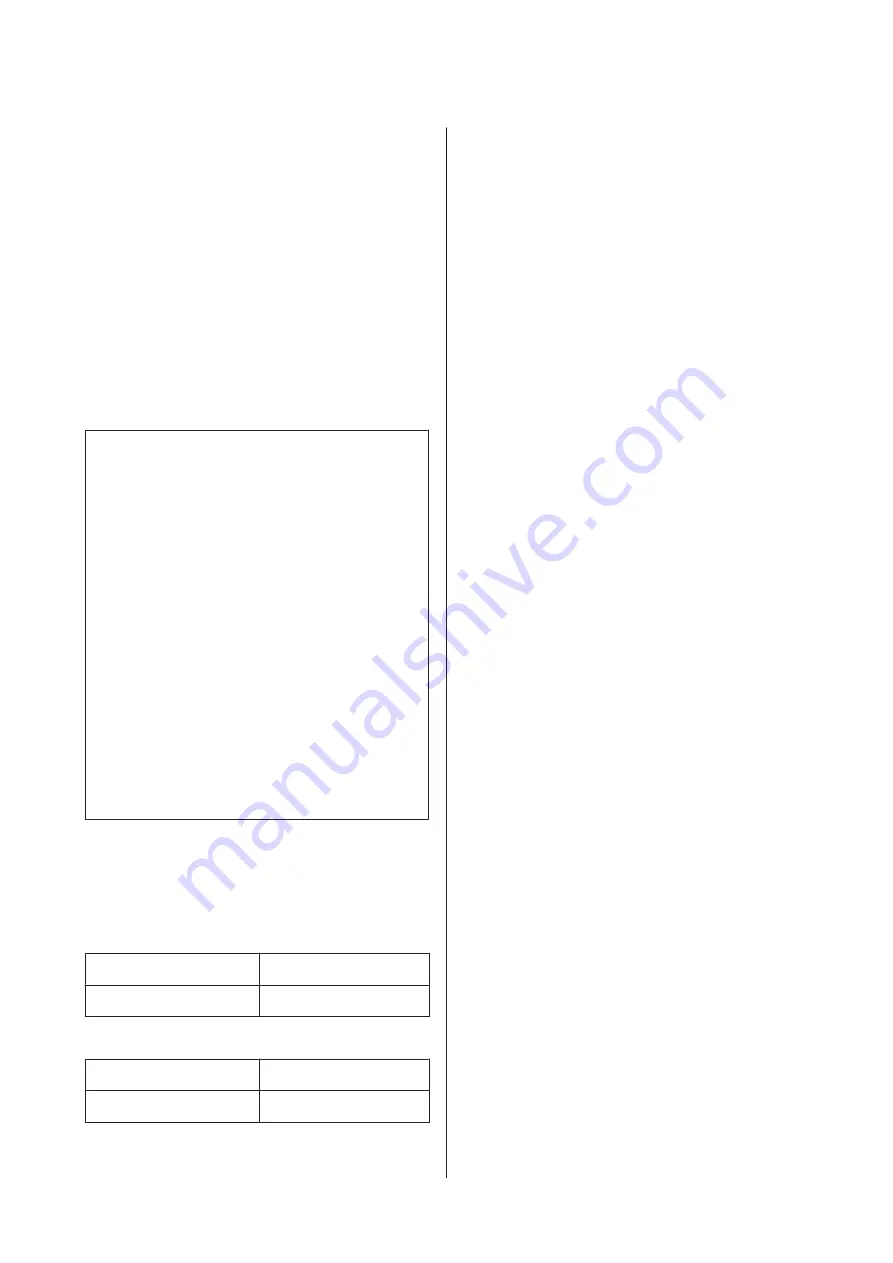
Auto Media Adjust
When this menu is executed, the printer automatically
reads adjustment patterns using the sensor while
printing the patterns, and continuously performs
Feed
Adjustment
and
Head Alignment
.
Change the setting values of the following items before
executing this menu.
❏
Platen Gap
❏
Advanced Settings
U
“Customize Settings” on page 145
c
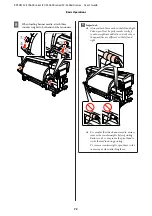
Important:
❏
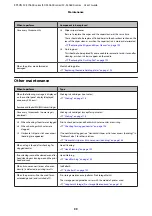
In the following cases,
Auto Media Adjust
may not be executed. Take the appropriate
action, and re-execute the job.
❏
The printer is exposed to direct sunlight or
interference from other ambient light sources.
Shade the printer from sources of interference.
❏
Nozzles are clogged.
Perform
Head Cleaning
to remove any clogs.
❏
In the following cases,
Auto Media Adjust
is
not available. In
Media Adjust
, execute the
manual menu for each item.
❏
The media is transparent or colored.
❏
Platen Gap
is set to
2.5
.
❏
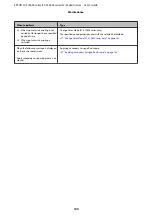
After
Auto Media Adjust
is performed, banding
or graininess is found.
U
The approximate maximum length of the media
required to print the test pattern is given below. The
amount of media used varies with the printer model and
the media system used.
SC-S70600 series, SC-S50600 series
Standard roll media system
Approx. 987 mm
Heavy Roll Media System
Approx. 1116 mm
SC-S30600 series
Standard roll media system
Approx. 1061 mm
Heavy Roll Media System
Approx. 1190 mm
Setting procedure
A
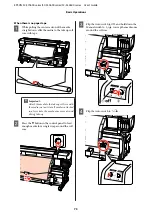
Load the media according to the actual usage
conditions.
When usage conditions change, the adjustment
results will also change.
When using the auto take-up reel unit
Load the media on the printer, and attach it to the
auto take-up reel unit.
U
“Loading and Exchanging Media” on
U
“Using the Auto Take-up Reel Unit” on
When not using the auto take-up reel unit
Pull the media straight forward until the edge has
past the label on the top side of the after heater.
U
“Loading and Exchanging Media” on
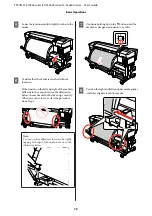
B
Use the
d
or
u
button to select
Auto Media
Adjust
, and press the
Z
button.
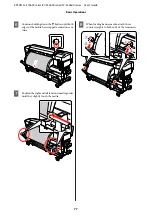
This mode automatically performs pattern
printing and adjustment.
When
Ready
is displayed on the screen of the
control panel, adjustment is completed.
Heating & Drying
You can set the temperature of each heater or turn the
fan for the additional print drying system (standard
with the SC-S50600 series; optional with other models)
on or off. Heater status can be viewed on the control
panel display.
U
“Understanding the Display” on page 21
Setting procedure
A
Use the
d
/
u
buttons to select
Heating & Drying
and press the
Z
button.
B
Use the
d
/
u
buttons to select the desired option
and press the
Z
button.
EPSON SC-S70600 series/SC-S50600 series/SC-S30600 series User's Guide
Basic Operations
85


