70
Printing with Windows
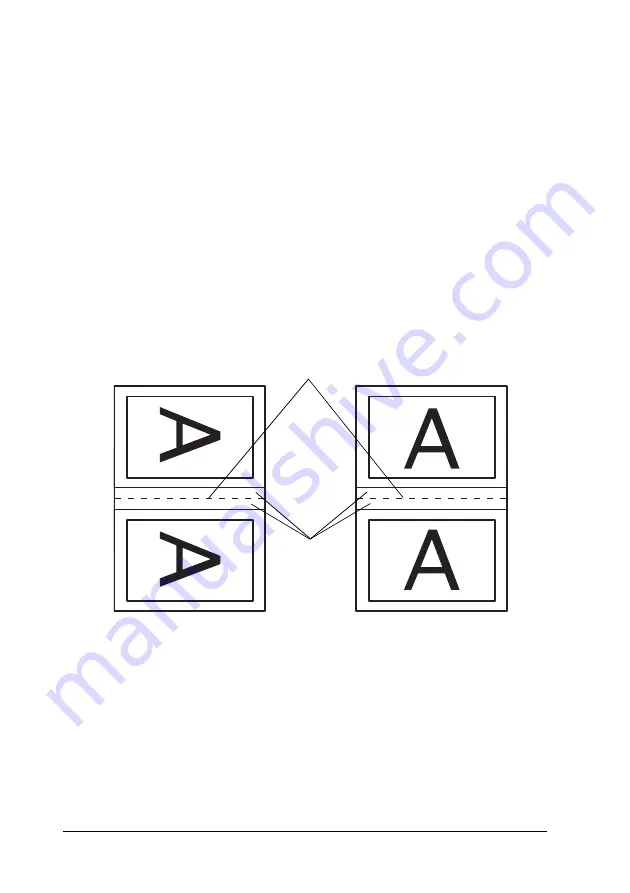
3. Specify the edge of the paper where binding will be placed.
You can choose
Left
,
Top
, or
Right
.
Note:
When
Portrait
is selected as the Orientation setting on the Paper
menu, Left or Right binding positions are available. The Top binding
position is supported when
Landscape
is selected as the
Orientation setting.
4. Specify the width of the binding margin, using the Binding
Margin text box. You can specify any width from 3 to 30 mm.
The specified margin width will be used on both sides of the
fold. For example, if a 10-mm margin is specified, a 20-mm
margin will be inserted. (A margin of 10 mm will be placed
on each side of the fold.)
✽
Folding Edge
✽✽
Margin
5. Click
OK
to return to the Layout menu, and then click
OK
to
save your settings.
6. Make sure paper is loaded, and then send a print job from
your application.
✽ ✽
✽
Содержание Stylus Pro 4800 Portrait Edition
Страница 1: ...English Reference Guide ...
Страница 50: ...50 Printing with Windows 1 Select Borderless 2 Click the Expansion button The Expansion dialog box appears ...
Страница 102: ...102 Printing with Windows 4 Click Network printer then click Next 5 Click Browse ...
Страница 350: ...350 Problem Solver 4 Carefully remove the jammed paper If necessary open the top cover and remove the jammed paper ...
Страница 354: ...354 Problem Solver 3 Remove the jammed paper from the front If necessary open the top cover and remove the jammed paper ...


