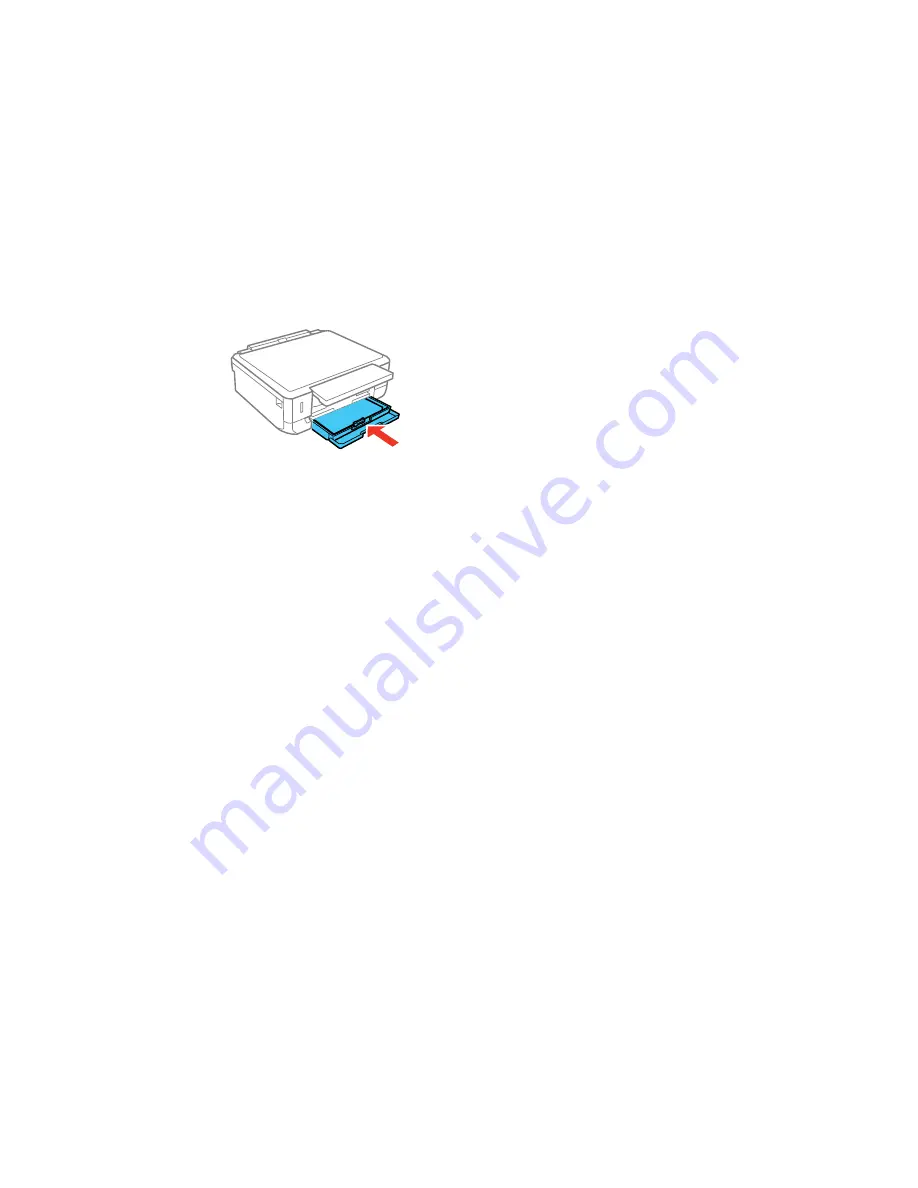
8.
Keep the cassette flat as you insert it into your product.
Note:
Leave enough space in front of the product for the paper to be fully ejected. Do not remove or
insert the paper cassette while the product is operating.
9.
Select the size and type of paper you just loaded on the product LCD screen.
Always follow these paper loading guidelines:
• Load only the recommended number of sheets.
• Load paper short edge first and printable side facedown.
• Make sure the paper is under the tabs on the edge guides and not sticking out from the end of the
cassette.
• If you have trouble loading a stack of envelopes, press each envelope flat before loading it or load one
envelope at a time.
• If print quality declines when printing multiple envelopes, try loading one envelope at a time.
• Make sure the paper is under the tabs on the edge guides and not sticking out from the end of the
cassette.
• Check the paper package for any additional loading instructions.
Parent topic:
Loading Paper
Related references
Paper Loading Capacity
Related tasks
Selecting the Paper Settings for Each Source - Control Panel
46
Содержание Small-in-One XP-520
Страница 1: ...XP 520 User s Guide ...
Страница 2: ......
Страница 12: ......
Страница 13: ...XP 520 User s Guide Welcome to the XP 520 User s Guide For a printable PDF copy of this guide click here 13 ...
Страница 18: ...1 Document cover 2 Scanner glass Parent topic Product Parts Locations 18 ...
Страница 20: ...Product Parts Back 1 AC inlet 2 Rear cover 3 Vents 4 USB port Parent topic Product Parts Locations 20 ...
Страница 53: ...Parent topic Loading Paper 53 ...
Страница 109: ...You see this window 109 ...
Страница 126: ...You see this window 126 ...
Страница 163: ...Selecting Scan File Settings Related topics Starting a Scan Selecting Epson Scan Settings 163 ...


