Saving a User's Logo Image
157
f
Use the arrow buttons to surround the image area you want to use as
the user's logo and press [Enter].
You see a prompt asking if you want to select this image area.
a
You cannot change the image area size (400 × 300 pixels).
g
Select
Yes
and press [Enter]. (If you want to change the selected area,
select
No
, press [Enter], and repeat the last step.)
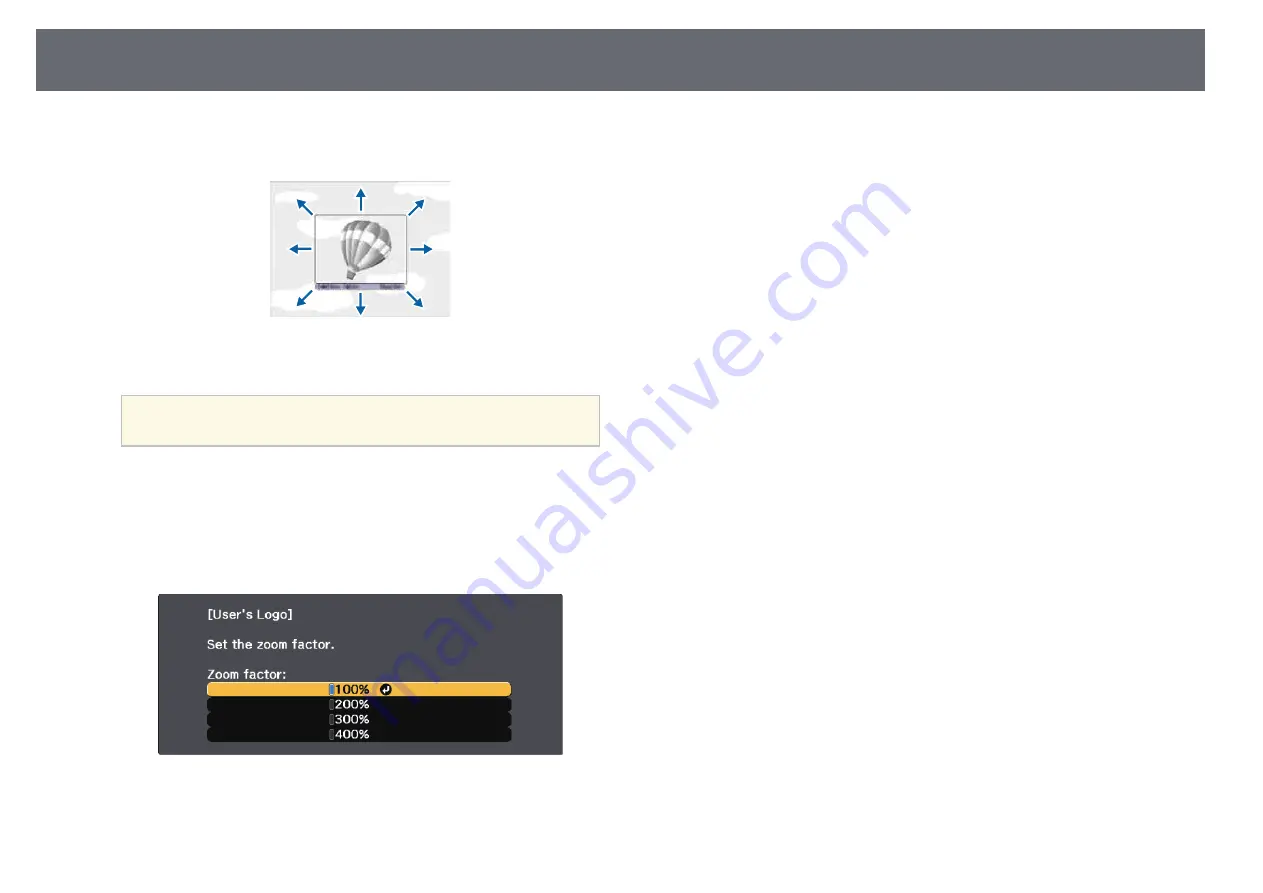
You see the User's Logo zoom factor menu.
h
Select a zoom percentage and press [Enter].
You see a prompt asking if you want to save the image as the user's
logo.
i
Select
Yes
and press [Enter].
The user's logo is overwritten and a completion message appears.
j
Press [Esc] to exit the message screen.
k
Select the
Extended
menu and press [Enter].
l
Select
Display
and press [Enter].
m
Select when you want to display the User's Logo screen:
• To display it whenever there is no input signal, select
Display
Background
and set it to
Logo
.
• To display it whenever you turn the projector on, select
Startup
Screen
and set it to
On
.
• To display it whenever you press the [A/V Mute] button, select
A/V
Mute
and set it to
Logo
.
To prevent anyone from changing the User's Logo settings without first
entering a password, set the
User's Logo Protection
setting to
On
in the
Password Protection
setting menu and set the password.
g
g
Related Links
• "Shutting Off the Image and Sound Temporarily"
Содержание EB-1440Ui
Страница 1: ...User s Guide ...
Страница 286: ...External Dimensions 286 With feet ...


