77
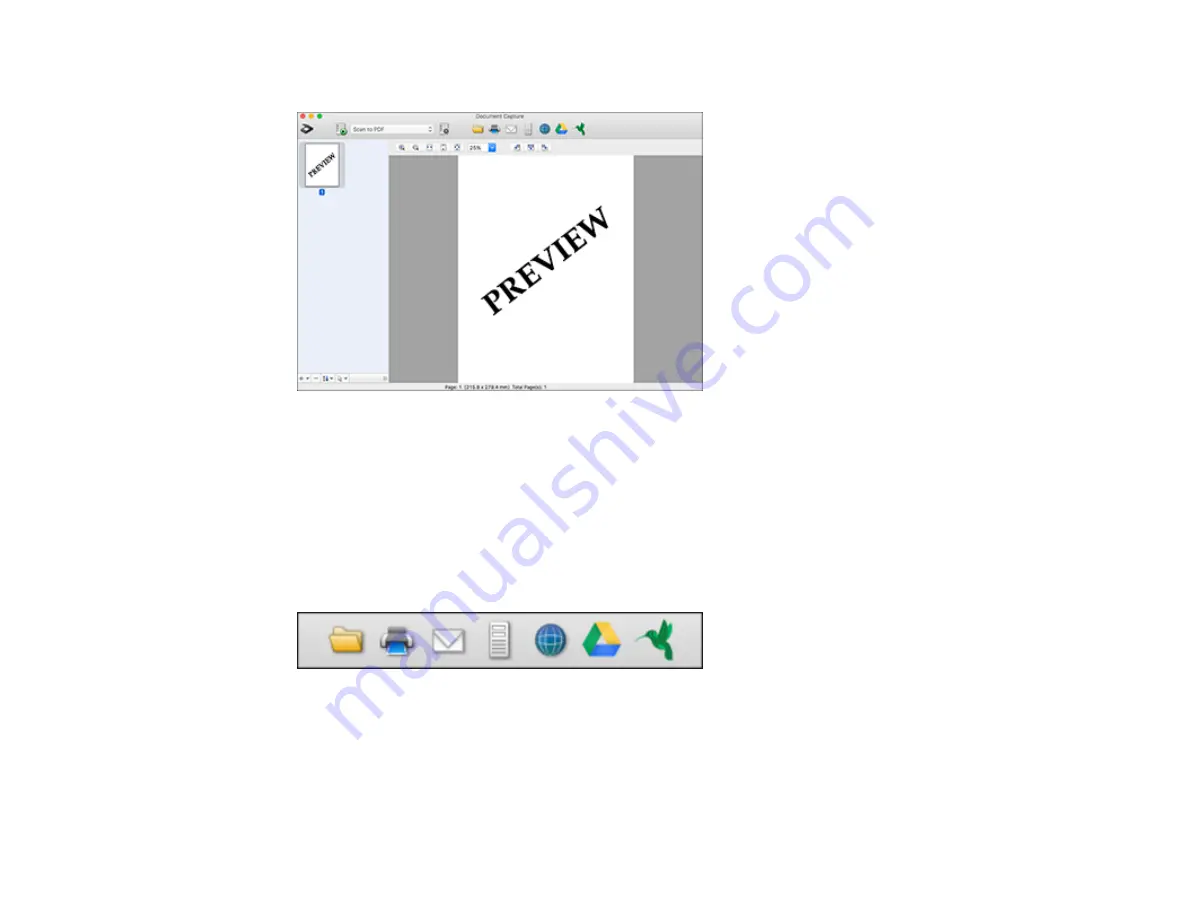
You see a preview of your scan in the Document Capture window.
Note:
You may have to close the Epson Scan 2 window to view your scan in the Document Capture
window.
8.
If you would like to scan additional originals and add them to the current captured images, click the +
icon, select
Acquire from Scanner
, and repeat the previous steps.
9.
Check the scanned images and edit them as necessary.
10. Click one of the destination icons to choose where to send your scanned files. (If you cannot see all
of the icons below, click the arrow next to the icons.) Change any settings as necessary.
Note:
If you are sending the scanned image to a server or cloud destination, you need to enter your
login information.
11. Depending on the destination you chose, click
OK
or
Send
to complete the operation.
Parent topic:
Содержание B11B259201
Страница 1: ...DS 730N User s Guide ...
Страница 2: ......
Страница 25: ...25 6 Output tray 7 Output tray extensions 8 Stopper 1 Kensington security slot 2 USB port 3 LAN port ...
Страница 34: ...34 ...
Страница 45: ...45 Note Do not load plastic cards vertically 4 Slide the edge guides against the edges of the card ...
Страница 52: ...52 6 Load the carrier sheet in the input tray as shown until it meets resistance Folded original ...
Страница 69: ...69 You see an Epson Scan 2 window like this ...
Страница 71: ...71 You see an Epson Scan 2 window like this ...
Страница 79: ...79 You see this window ...
Страница 88: ...88 You see a window like this 4 Click Scan Settings Detailed Settings ...
Страница 89: ...89 You see an Epson Scan 2 window like this ...
Страница 105: ...105 13 Press down on the pickup roller cover latch and pull up the cover to remove it ...
Страница 112: ...112 5 Press down on the pickup roller cover latch and pull up the cover to remove it ...


