66
5.
Enter a name for the new job, and select any settings as necessary from the following options:
•
Scan
: select the size, color, or resolution
•
Save
: select the file name, file type, or destination folder
•
Index
: enable the index setting and choose output options for an index file
•
Send
: select the destination for the scanned file, or choose to email or print the file
•
Confirm/Test
: select the job button icon and color, choose display settings, and run a test scan if
necessary
6.
Click
Save
when you are finished.
The new job appears in the Job Scan window.
7.
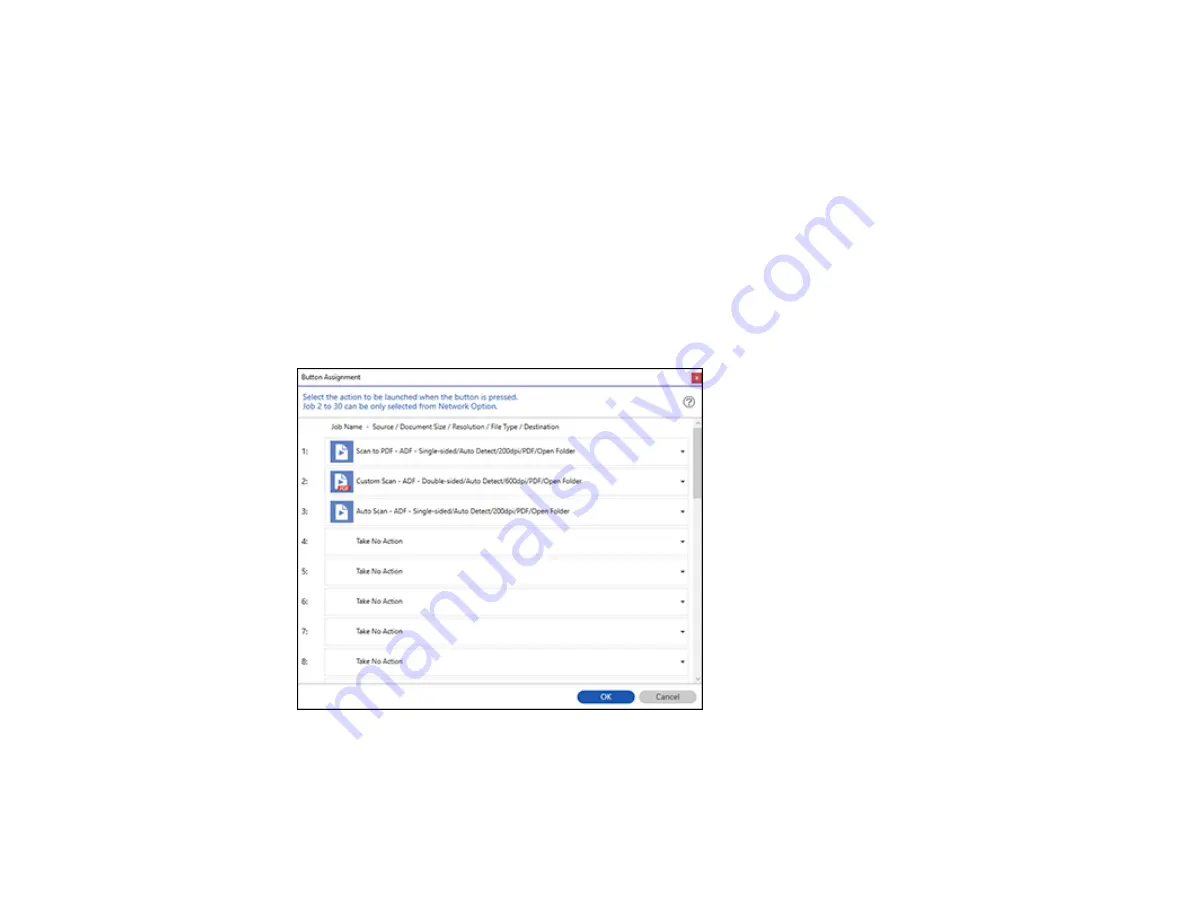
To assign a scan job to the product control panel, click the
Button Assignment
icon.
You see a screen like this:
Содержание B11B259201
Страница 1: ...DS 730N User s Guide ...
Страница 2: ......
Страница 25: ...25 6 Output tray 7 Output tray extensions 8 Stopper 1 Kensington security slot 2 USB port 3 LAN port ...
Страница 34: ...34 ...
Страница 45: ...45 Note Do not load plastic cards vertically 4 Slide the edge guides against the edges of the card ...
Страница 52: ...52 6 Load the carrier sheet in the input tray as shown until it meets resistance Folded original ...
Страница 69: ...69 You see an Epson Scan 2 window like this ...
Страница 71: ...71 You see an Epson Scan 2 window like this ...
Страница 79: ...79 You see this window ...
Страница 88: ...88 You see a window like this 4 Click Scan Settings Detailed Settings ...
Страница 89: ...89 You see an Epson Scan 2 window like this ...
Страница 105: ...105 13 Press down on the pickup roller cover latch and pull up the cover to remove it ...
Страница 112: ...112 5 Press down on the pickup roller cover latch and pull up the cover to remove it ...


