P a g e
|
12
5
Trimble® Handheld Computer Preparation
Note: The Trimble Nomad has traditionally been the default handheld PC used with the Envision gas
analyzer. Although other handheld units have been recently introduced, this section of the manual has
been retained for reference.
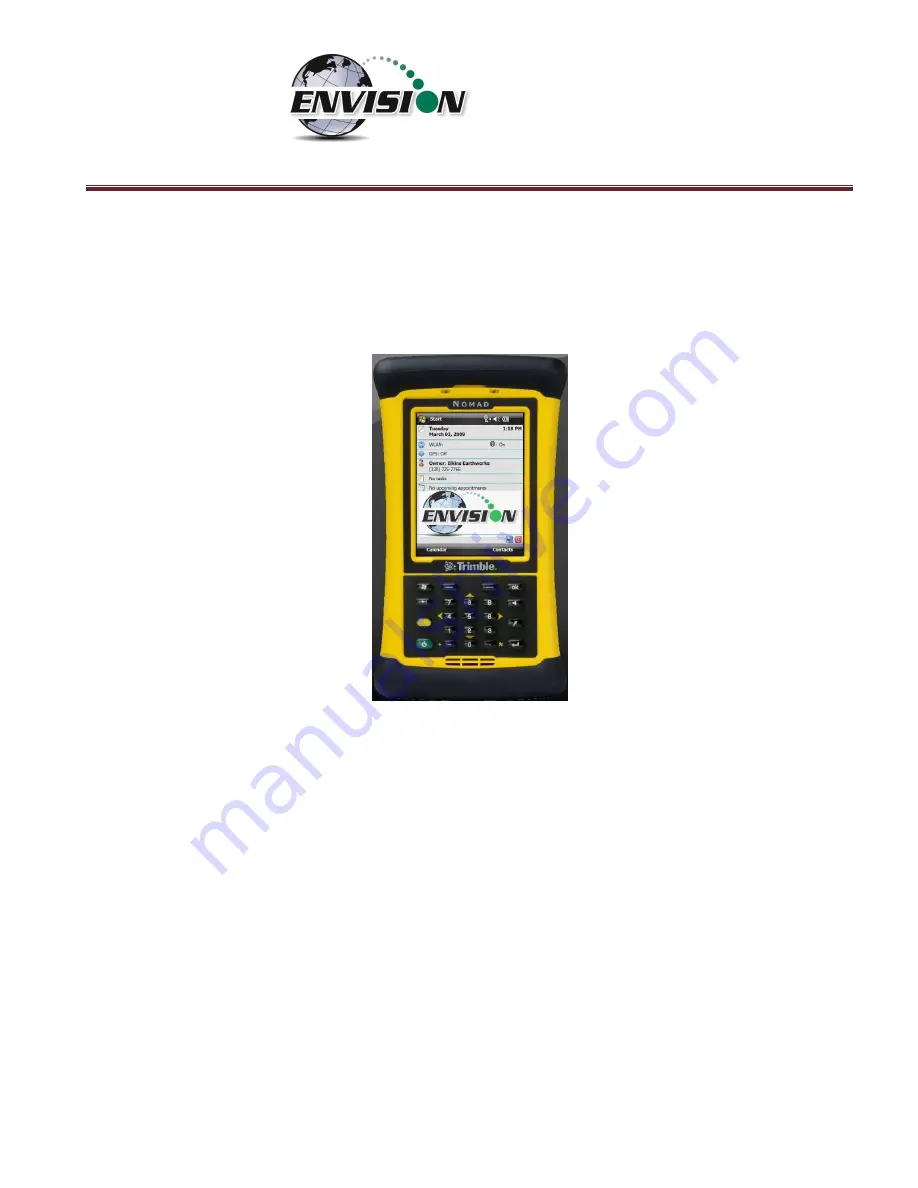
The Trimble handheld computer is the prime driver for the Envision® gas analyzer. The Trimble
handheld computer, provided with the Envision® gas analyzer package, has already been prepared for
field use. A screen protector has already been applied to your Trimble unit. An extra screen protector
has been included in the packaging.
The operational software for the Envision® Gas Analyzer has been installed at the factory. The Trimble
handheld computers operate on the Microsoft Mobile 6.0, 6.1, or 6.5 operating systems. The features
on the Trimble are similar to those on the standard Microsoft XP and Vista operating systems found on
many desktops and laptops. For general information on the features of the Trimble Nomad and
Windows Mobile 6.0, 6.1, or 6.5 please refer to the supplemental information provided in the packaging
of the Envision® Gas Analyzer.
5.1
Turning on the Trimble Handheld Computer
To turn on the Trimble handheld computer, the user must press the green power button located at the
lower left side of the Trimble keypad.
Содержание ENV100
Страница 1: ...865 West Liberty Suite 220 Medina Ohio April 2018 Envision Landfill Gas Analyzer...
Страница 15: ...P a g e 15 3 Tap Settings 4 Next tap System 5 Next tap Backlight...
Страница 17: ...P a g e 17 7 Tap on the Brightness tab at the bottom of the screen 8 Increase the brightness to 100...
Страница 18: ...P a g e 18 9 At the bottom of the Brightness screen select Power in the adjust power setting to conserve power...
Страница 20: ...P a g e 20 Next on the Wireless Manager Screen tap the Bluetooth button and Bluetooth will activate...
Страница 22: ...P a g e 22 2 Tap System and then External GPS 3 Verify GPS program port is set to COM 3...
Страница 23: ...P a g e 23 4 GPS Hardware Port is set to COM2 and BAUD rate 9600 5 Verify that this box is checked too...
Страница 36: ...P a g e 36 2 Tap the Disconnect button...
Страница 42: ...P a g e 42...
Страница 57: ...P a g e 57 1 Use the combo boxes labeled Site and ID to locate the monitoring point that is to be monitored...
Страница 84: ...P a g e 84 6 6 4 1 Wellhead Type The following images show screen progressions for non borehole wellhead types...
Страница 104: ...P a g e 104 1 Open the Well ID Maintenance Screen 2 Select the Site that is to be deleted from the dropdown menu...
Страница 105: ...P a g e 105 3 Tap the Clear Site button...
Страница 107: ...P a g e 107 2 Select the ID that is to be deleted from the dropdown menu 3 Tap the Clear ID button...
Страница 139: ...P a g e 139...
Страница 155: ...P a g e 155 5 Name the handheld PC 6 The handheld device will then Sync with the desktop PC...
Страница 166: ...P a g e 166 8 3 2 Copy Files from PC to Handheld Device 1 Right click on the file and click copy...


