Ness
-M1XEP Installation Manual
Page 17
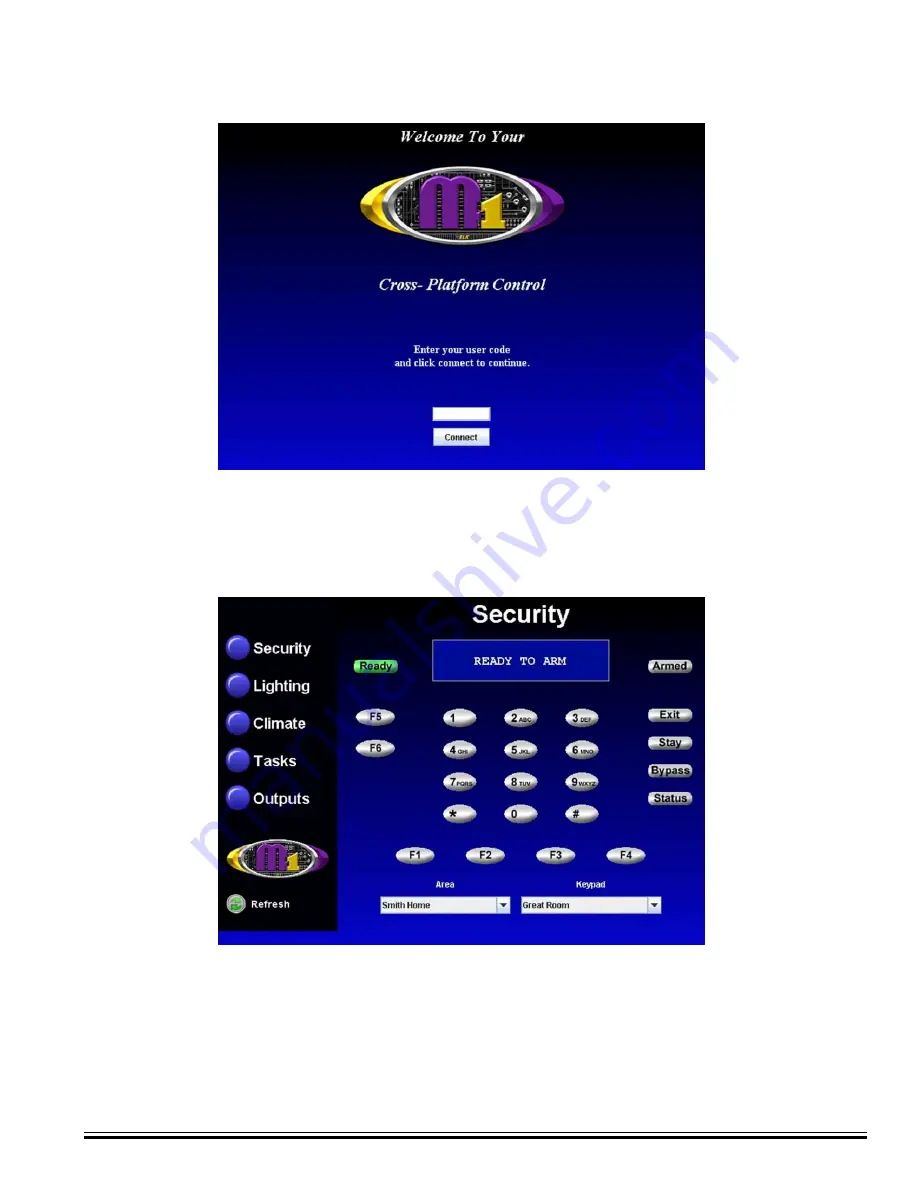
The security screen displays overall system status, and permits many of the operation capabilities that are avail-
able from a physical Keypad. At the bottom of screen there are two drop down boxes. The "Area" box allows a
choice of which area (partition) to display and control. Areas are restricted by the programmed authority of the
User Code that was used to gain access to Virtual Keypad. By default, the first authorized area will be displayed.
You may select any valid Area from the drop down list and any valid Keypad. ANY keypad that is assigned to the
selected Area AND that has a programmed name will be displayed, even if the keypad does not physically exist.
Hovering the cursor over the F-keys causes their programmed identity (name) to be displayed. Clicking an F-key
performs the function(s) programmed in the Keypad setup and/or the Whenever/And/Then rules engine.
6.
The Welcome screen should appear next. This screen requires that a valid user code be entered in order to
access the Virtual Keypad application. Enter a valid User Code and click 'Connect' or press Enter.
7.
The first screen to appear is the Security screen. Along the left side of the screen there are additional buttons
which may be used to access the automation functions such as: Lighting, Tasks, Climate (Temperature Sensors
& HVAC), and Outputs. A "Refresh" button appears at the bottom left corner of each screen. Clicking this button
will repopulate the data on all the virtual keypad screens.


