


INSTALLATION
Eaton 9140 UPS (7.5–10 kVA) User's Guide
S
164201622 Rev 3
www.eaton.com/powerquality
27
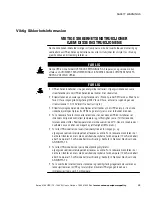
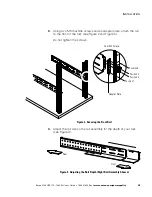
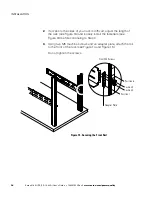
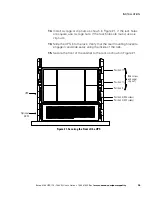
8.
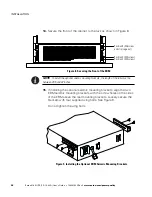
Place the EBM on a flat, stable surface with the front of the EBM
facing toward you.
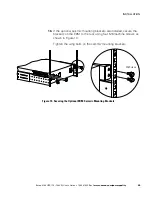
9.
If the front and rear mounting brackets are already installed, skip to
Step 12. If the brackets are not already installed, continue to
Step 10.
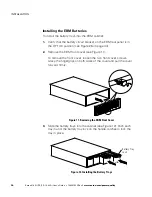
10.
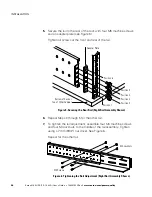
Align the two front mounting brackets with the screw holes on the
sides of the EBM and secure with eight supplied M4 flat-head
screws (see Figure 7).
11.
Align the two rear mounting brackets with the lowest two screw
holes on the sides of the EBM and secure with four supplied M4
flat-head screws.
Front Mounting
Brackets (2)
Rear Mounting
Brackets (2)
Figure 7. Installing the EBM Front and Rear Mounting Brackets
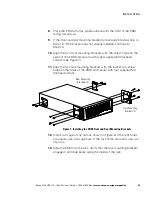
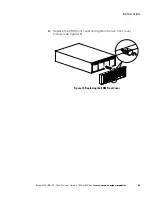
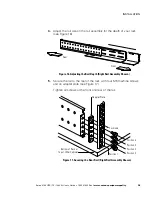
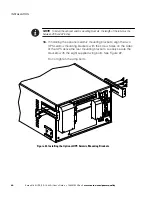
12.
Install two cage or clip nuts as shown in Figure 8. If the rack holes
are square, use two cage nuts. If the rack holes are round, use two
clip nuts.
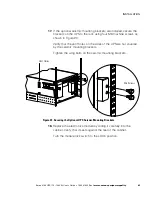
13.
Slide the EBM into the rack. Verify that the rear mounting brackets
engage in and slide easily along the inside of the rails.
Содержание Powerware 9140
Страница 1: ...Powerware Series Eaton 9140 UPS 7 5 10 kVA User s Guide...
Страница 26: ...SAFETY WARNINGS Eaton 9140 UPS 7 5 10 kVA User s Guide S 164201622 Rev 3 www eaton com powerquality 20...
Страница 80: ...OPERATION Eaton 9140 UPS 7 5 10 kVA User s Guide S 164201622 Rev 3 www eaton com powerquality 74...
Страница 96: ...UPS MAINTENANCE Eaton 9140 UPS 7 5 10 kVA User s Guide S 164201622 Rev 3 www eaton com powerquality 90...
Страница 106: ...TROUBLESHOOTING Eaton 9140 UPS 7 5 10 kVA User s Guide S 164201622 Rev 3 www eaton com powerquality 100...


