Adjustments 27
1. Shut down the system and cut off electrical power by switching the Main Power
Disconnect to the Off position.
2. Supporting the seal head in the up position, loosen the four set screws for the
head return cylinder. Gently lower the seal head to rest on the lower seal pads.
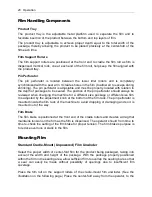
3. With the seal head resting on the lower pads, shim up the film clamps so that the
inserts are resting on the lower pads. Make sure there are no air gaps, and then
tighten the head casting bolts.
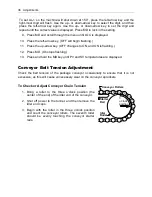
4. Adjust magnets. (See Electromagnet Position Adjustment above.)
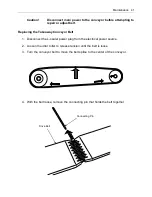
5. Go to the rear of the L-sealer. Make sure the head cylinder is straight from front
to back. Pull the air cylinder bracket the full length of the air cylinder. Tighten the
5
/
16
-inch set screws.
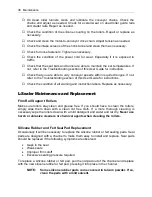
6. Cycle the seal head up and down. Adjust set screws on head return cylinders for
proper head speed and cushion.
L-Sealer Timers and Temperature Controls
Check dwell and conveyor-run timing, and temperature of front and side seals after
making adjustments or after performing maintenance, such as replacing seal pads,
cutting rules or hot knife inserts. Adjust as required using the adjustment provided
through the L-Sealer control panel.
L-Sealer Timer Controls
Each of the speed control timers for the L-sealer for the dwell and conveyor have an
adjustable potentiometer in the lower-left corner and a mode selector in the lower-right
corner. (See the illustration above.) Use a small screwdriver to turn pots in either
direction as required.
0
1
2
3
4
5
POWER
OUT
MODE
AT11DN
RUN
A
0
1
2
3
4
5
POWER
OUT
MODE
AT11DN
RUN
A
DWELL
CONVEYOR
sec.
sec.
Speed Pot
Mode Selector
Speed Pot
Mode Selector
Содержание Combination EC Series
Страница 1: ...EC Combination Series Semi Automatic L Sealer Tunnel User Guide EC2016T EC2016TK EC2028T EC2028TK ...
Страница 2: ......
Страница 4: ......
Страница 73: ...Appendix A Electrical Schematic 73 Electrical Schematic L Sealer ...
Страница 81: ......


