21
RMO60TD Getting Started
After that, choose which file formats do you want to save. Move cursor to FORMATS position by
pressing
SET
and pressing
UP
and
DOWN
choose between TXT, CSV format or both of them to be
saved.
Start exporting data by pressing
ENTER
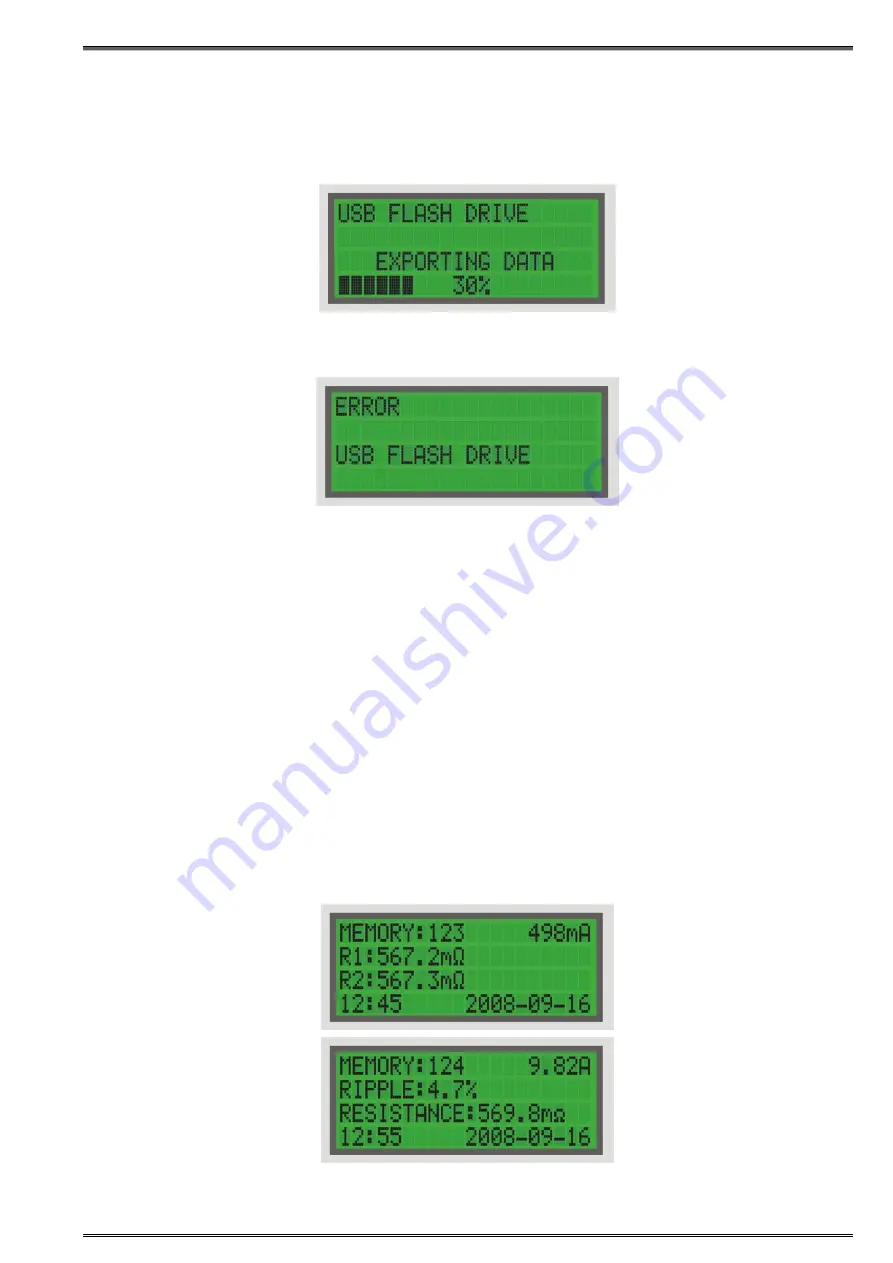
. The progress of exporting is displayed on the screen.
If the USB flash drive is not plugged in while trying to export the data, the error message shown below
will be displayed.
After the data exporting progress is finished, the RMO60TD device returns you to the USB flash drive
menu. Plug out the USB flash drive from the RMO60TD device. Press
STOP
to return from the USB flash
drive menu to the
CONFIGURATION
menu.
6.6 Viewing Results of Previous Tests
RMO60TD stores up to 500 test results. They can be viewed using the
Memory
menu at memory
positions from 000 to 499.
Go to
Memory
menu using
SET
.
Selecting a memory position on the
Memory
menu displays:
• the current fed into the test object,
• the memory position of these results,
• the test object’s measured resistance R1 (left channel/channel 1) or R2 (right channel/channel 2),
• the test object’s measured results RESISTANCE and RIPPLE,
• the date and the time of this particular test.
6.7 Deleting Results of Previous Tests
Figure 6-27:
The
Memory
menu
showing the previously
saved test results
measured in
Curr
mode saved in memory
position
123
Figure 6-28:
The
Memory
menu
showing the previously
saved test results
measured in
TapC
mode saved in memory
position
124
Figure 6-25: Exporting
data to USB flash drive
Figure 6-26: Error USB
flash drive


