


XD10P Cinema Audio Processor, Installation and Operation
Version 1.0
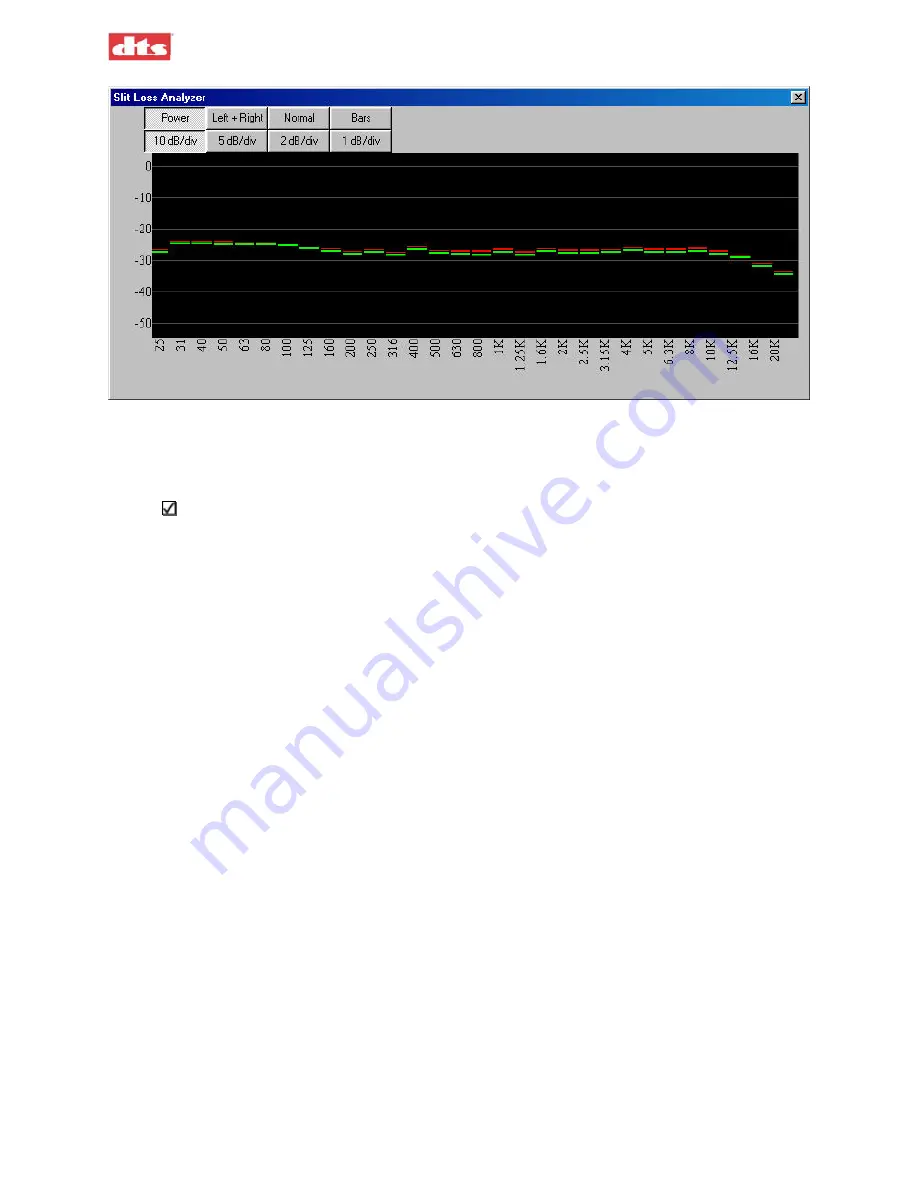
Figure 3-7. Slit Loss Analyzer, enlarged view (bar graph) showing relatively flat pattern.
8.
Move the Slit EQ slider
to adjust the equalizer until a response similar to that shown above
(Figure 3-7) is obtained – that is, the graph is relatively “flat” from left to right, without
significant upward or downward sloping on the right-hand end of the graph.
Note
: Move the Slit EQ slider left or right and observe the effect on the graph in the Analyzer
window. Movement of the slider all the way to the right causes the graph to turn downwards
on the right end. Movement all the way to the left causes the graph to turn upwards on the
right end. Use the slider for large adjustments; use the UP/DOWN arrow keys for fine-
tuning.
If the bars (or lines) in the graph are not overlaying each other after fine-tuning, check your
projector’s mechanical optical alignment. See
Appendix E.
3.4.2. Mono EQ
Select the
Inputs
tab, and
mute
all channels.
1. Select
the
Mono
format.
2. Thread a Pink Noise film loop into the projector and turn ON the projector.
3. Using XD10P Setup
Document #: 9301E855001.0
3-5
Содержание XD10P
Страница 13: ...XD10P Cinema Audio Processor Installation and Operation Version 1 0 Document 9301E855001 0 xii ...
Страница 80: ......


