


XD10P Cinema Audio Processor, Installation and Operation
Version 1.0
3. Using XD10P Setup
3.1. Installing the Software
Begin by placing the XD10P Setup software CD into the CD-ROM drive of your computer. The
installation program should start automatically within a few seconds.
Note
: If it does not start automatically, you will need to run “Setup.exe” from the root
directory of your CD-ROM drive. Either double click the “Setup.exe” icon or click the
Windows “Start” button and select “Run...”. Type “X:\setup.exe”(where X: is your CD-
ROM drive), then click the “OK” button.
Follow the instructions in the installation software.
Remove the CD-ROM when the software installation process is complete.
3.2. Starting the Program
A computer must be attached to the XD10P via the RS-232 port in order for the system setup to proceed.
A serial cable is used to connect the serial port of the computer to the XD10P RS-232 port, or a serial-to-
USB adapter connects the USB port of the computer to the XD10P RS-232 port.
Note: When the computer is connected to the XD10P, the Setup software takes total control,
and the buttons and fader knob on the front panel of the XD10P will not respond to user
interaction.
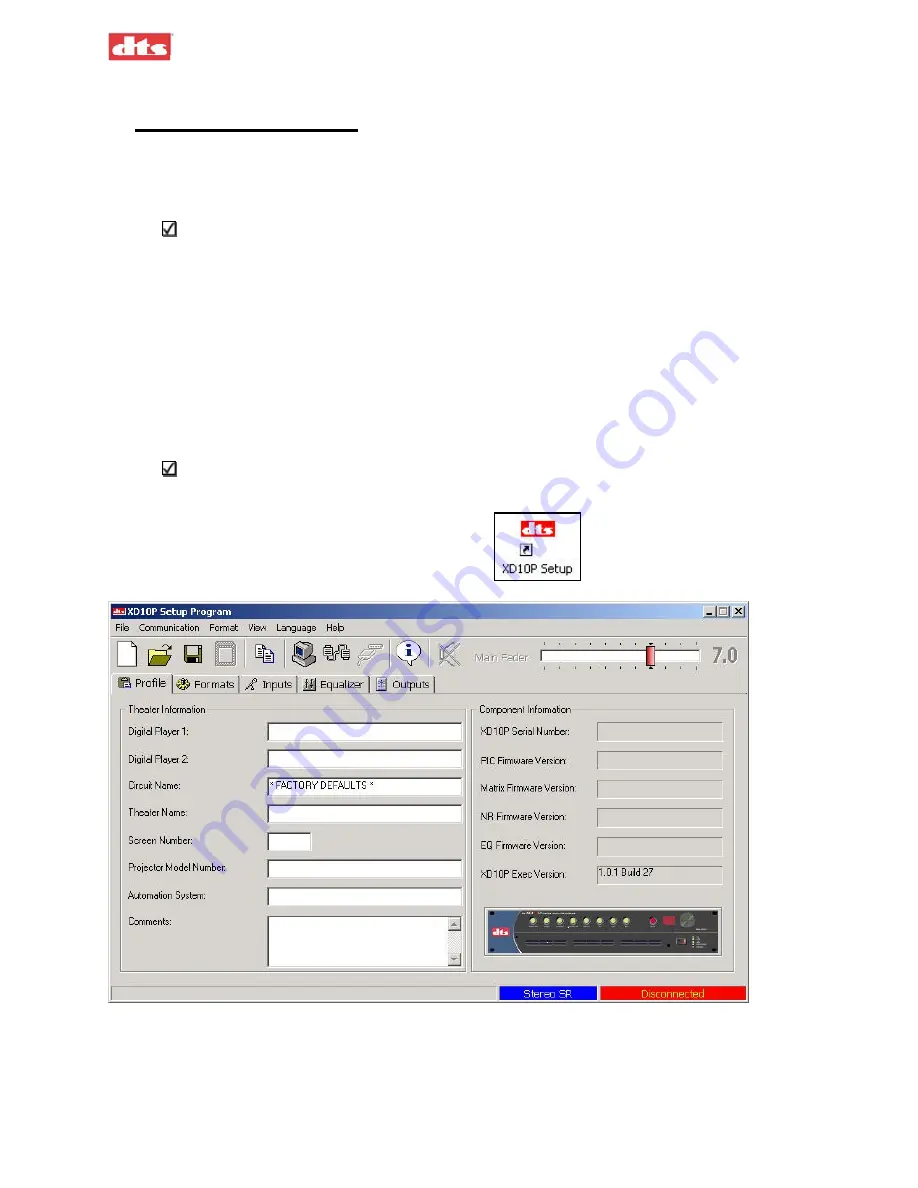
Click the
XD10P Setup
icon on the desktop.
The opening screen appears. (See page 4-1 for detailed
description of this screen.)
Figure 3-1. Initial screen, XD10P Software
If you are setting up the XD10P for the first time, you may want to fill in the particulars of the venue in
the “Theatre Information” boxes provided in the Profile tab. For details, see the description of the Profile
tab on page 4-6.
3. Using XD10P Setup
Document #: 9301E855001.0
3-1
Содержание XD10P
Страница 13: ...XD10P Cinema Audio Processor Installation and Operation Version 1 0 Document 9301E855001 0 xii ...
Страница 80: ......


