E-68
- Sub-image: The projector displayed in synchronisation
with the actual refresh rate of the signal input.
- Main image whose aspect setting was changed
•
After the test pattern is displayed, images are displayed in “1
image” maod. For change to “2 Images” mode, select the signals
for both the main image and sub-image.
•
The seamless switching function is unavailable in “2 Images”
mode.
- Off
Set when neither [Seamless] nor [2 Images] is used.
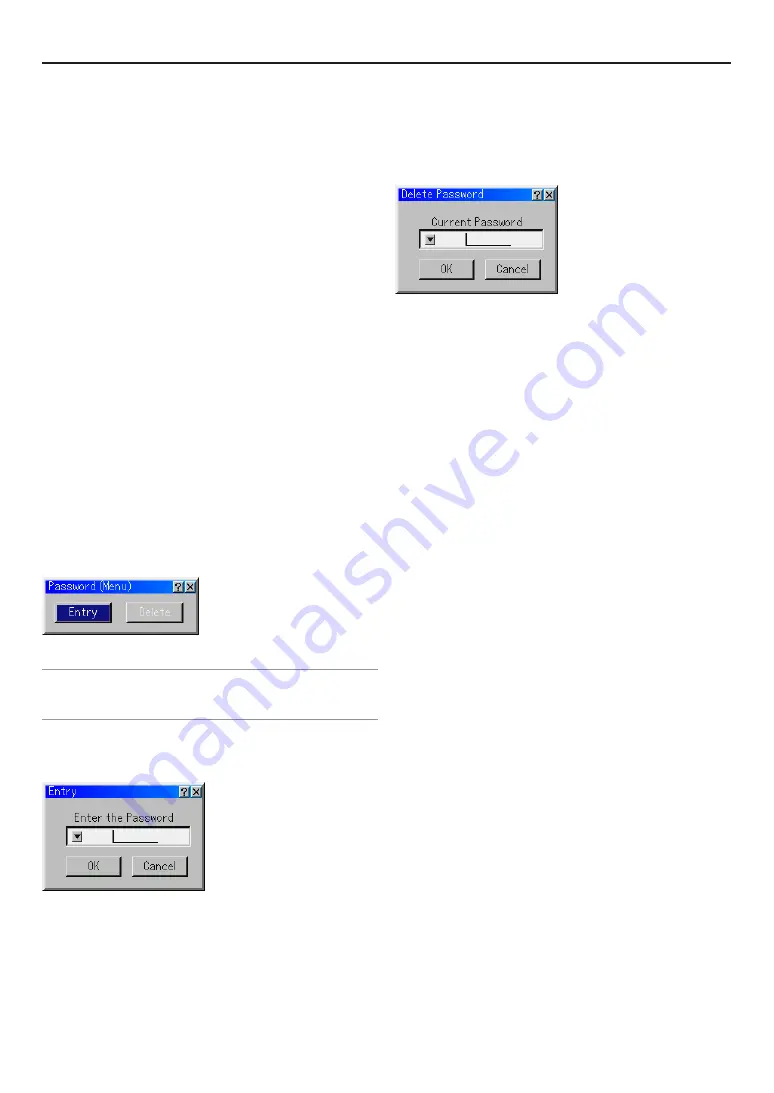
Setting a Password
A password can be set for your Projector to avoid operation by
an unauthorized person.
There are two password options: one for menu and the other for
logo.
When a password is set, doing any one of the following opera-
tions will display the Password input screen.
For Menu:
*
Changing the menu to Advanced
*
Editing the custom menu
For Logo:
*
Changing the background
Procedures for Password setting apply to both Menu and Logo.
Entry
To assign your password:
NOTE:
• Up to 15 alphanumeric characters can be assigned.
• Only numbers can be entered when you use the remote control Source/Input
buttons.
1. Type a password.
Highlight “Entry” and press the ENTER button.
The “Enter the Password” screen will be displayed.
Make sure that "
H
" is highlighted and then press the ENTER button.
The Software keyboard appears. Use the Software keyboard to type a
password and then highlight “OK” on the “Enter the Password” screen
and press the ENTER button.
The “Confirm Password” screen will be displayed.
2. Type the same password again. Highlight “OK” on the “Confirm Pass-
word” screen and press the ENTER button.
Your password will be assigned.
Delete
To delete your password:
1. Highlight “Delete” and press the ENTER button.
The “Current Password” screen will be displayed.
2. Use the Software keyboard to type your password. Highlight “OK” on
the “Current Password” screen and then press the ENTER button.
Your password will be deleted.
In case you forget your password, follow the steps below to de-
lete it.
1. Select the Advanced menu from the Basic menu.
The “Password” entry screen will be displayed.
2. Use the Software keyboard to type “1111”.
Highlight “OK” on the “Password” entry screen and then press the EN-
TER button.
The “Password Warning!!” message will be displayed.
3. Use the Software keyboard to type “3333”.
Highlight “OK” on the “Password” entry screen and then press the EN-
TER button.
The “Password Warning!!” message will be displayed.
4. Use the Software keyboard to type “5555”.
Highlight “OK” on the “Password” entry screen and then press the EN-
TER button.
The “Delete Password. Are you sure? Yes/No” dialog box will be dis-
played.
5. Use the SELECT
F
or
E
button to highlight “Yes” and press the EN-
TER button.
Your password will be deleted.
Security
The Security function enables you to protect your projector so
that the projector will not project a signal unless you enter a key-
word. There is also an option to lock the projector by using a
registered PC card as a protect key. Once you have registered
your PC card as a protect key, you are required to insert the
registered PC card into the PC card slot of the projector each
time you turn on the projector. You can enable the Security func-
tion by using a keyword only.
6. Using On-Screen Menu
Содержание HIGHlite 10000Dsx+
Страница 34: ...E 34...
Страница 74: ...E 74 6 Using On Screen Menu...
Страница 75: ...E 75 7 Maintenance 1 Cleaning the Cabinet and the Lens E 74...
Страница 85: ...E 85 Unit mm 3 Cabinet Dimensions 8 Appendix HIGHlite 16000Dsx...
Страница 86: ...E 86 Unit mm inch 8 Appendix HIGHlite 10000Dsx...
Страница 94: ...E 94...
Страница 95: ...E 95...
Страница 96: ...E 96...


