E-53
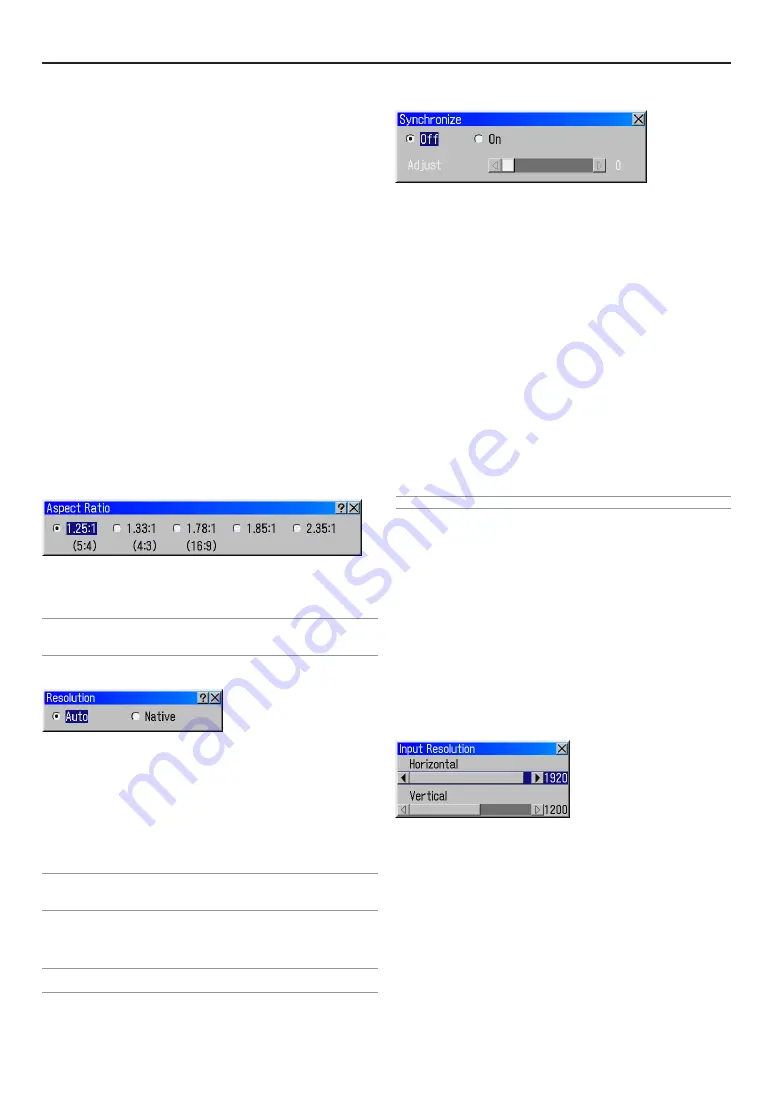
Synchronize
Sets display vertical frequency to be synchronized with input sig-
nal. RGB signals only.
OFF ............. Display vertical frequency - is independent of in-
put signal - displayed picture is fixed at 75Hz.
ON ............... Display vertical frequency - is synchronized with
input signal. Frequency range of synchroniza-
tion is from 24Hz to 96Hz.
If Vertical frequency is outside the range of 24Hz
to 96Hz, set OFF
When a horizontal line (at the edge of picture) is
displayed on the screen, perform “Adjust”.
If “ON” is set for (Synchronize) when the optional
MM-WARP is used and the vertical frequency of
input signal ranges from 76Hz to 96Hz, no im-
ages can be displayed in the native resolution,
but they must be resized.
ADJUST ...... When a horizontal line (the edge of picture) is
displayed on the screen while Synchronize is
“ON” it can be removed using SELECT
F
E
button on the remote controller.
Note: Default is Synchronize ON for SDTV, HDTV, RGB 50Hz, 60Hz signals.
Video Filter
This function reduces video noise.
Off ............... The filter is removed.
Less ............. The low-pass filter is applied partially.
More ............ The low-pass filter is applied fully.
Blanking
This feature allows you to mask any unwanted area of the screen
image.
Adjust the Top, Bottom, Left or Right blanking with the SELECT
F
or
E
button.
Input Resolution
This adjusts the resolution of the video area of the signal that is
input to the resolution conversion processing section. When the
resolution of the input signal cannot be detected properly with
Auto Adjust, this function can be used to manually set the correct
resolution.
PAL/SECAM Enhanced ....... Correction fit to PAL signals and
SECAM signals are done.
Gamma 1.0 - 3.0 ................. Gamma value is set by 0.1 step.
Note:
If [Edge Blending] is “On”, [Gamma Correction] is not available
and greyed out. At this time, the gamma correction value is fixed
to the value set in [Gamma] on [Edge Blending] screen.
Image Options
Pixel Adjust
Displays the Clock and Phase adjustments.
Clock ........... Use this item to fine tune the computer image or
to remove any vertical banding that might ap-
pear.
Phase .......... Use this item to adjust the clock phase or to re-
duce video noise, dot interference or cross talk.
(This is evident when part of your image appears
to be shimmering.) Use the SELECT
F
and
E
buttons to adjust the image.
Use "Phase" only after the "Clock" is complete.
Position
Adjusts the image location horizontally and vertically using the
SELECT
F
and
E
buttons.
Aspect Ratio
You can select the aspect ratio for input signal.
Select the appropriate aspect ratio using the SELECT
F
or
E
button.
NOTE:
• When "Resolution" is set to "Native", this feature is not available, and the aspect
ratio is set to “1.33:1 (4:3)”.
Resolution
This allows you to activate or deactivate the Advanced AccuBlend
feature.
Auto ............. Turns on the Advanced AccuBlend feature. The
projector automatically reduces or enlarges the
current image to fit the full screen.
Native .......... Turns off the Advanced AccuBlend feature. The
projector displays the current image in its true
resolution.
NOTE:
* When "Resolution" is set to "Native", "Aspect Ratio", "Screen" and "Overscan" are
not available.
Overscan
Select overscan percentage (0%, 5%, 8% and 10%) for signal.
NOTE: When "Resolution" is set to "Native", this feature is not available, and the
stored settings and adjustments are invalid.
6. Using On-Screen Menu
Содержание HIGHlite 10000Dsx+
Страница 34: ...E 34...
Страница 74: ...E 74 6 Using On Screen Menu...
Страница 75: ...E 75 7 Maintenance 1 Cleaning the Cabinet and the Lens E 74...
Страница 85: ...E 85 Unit mm 3 Cabinet Dimensions 8 Appendix HIGHlite 16000Dsx...
Страница 86: ...E 86 Unit mm inch 8 Appendix HIGHlite 10000Dsx...
Страница 94: ...E 94...
Страница 95: ...E 95...
Страница 96: ...E 96...


