8-6
Parts Replacement
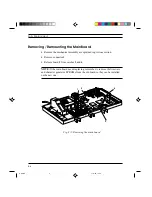
Removing / Remounting the Main Board
•
Remove the mechanical assembly as explained in previous section.
•
Remove connector 1.
•
Release board 2 from catches 3 and 4.
NOTE: If the main board needs replacing, remember to remove the firmware
and character generator EPROMs from the old board so they can be installed
on the new one.
1 3
4
2
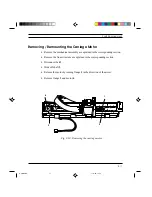
Fig. 8-5: Removing the main board
S-8.PM5
11/7/94, 17:32
6
Содержание DECcolorwriter 120ic
Страница 58: ...3 21 Installation Fig 3 21 Fonts selector switches settings S 3 PM5 11 7 94 17 16 21 ...
Страница 59: ...3 22 Installation Fig 3 22 Character sets selector switches settings S 3 PM5 11 7 94 17 16 22 ...
Страница 60: ...3 23 Installation Fig 3 23 Character sets selector switches settings S 3 PM5 11 7 94 17 16 23 ...
Страница 69: ...5 3 Diagnostics and Tests Fig 5 1 Example of monochrome print test page 1 S 5 PM5 11 7 94 17 18 3 ...
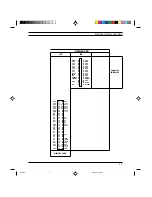
Страница 78: ...7 3 Electrical Interconnections Fig 7 1 Main board S 7 PM5 3 14 97 3 38 PM 3 ...

