11
EnGlisH
Getting started
ConnectionsConnections
Basic Operations
Basic operations
Advanced operations
Troubleshooting
Explanation terms
Information
Specifications
Index
Network First Setup
See the illustration on the previous page for details of the buttons used for the operations on this page.
4
Set the DHCP.
DHCP (On)
[Setup Wired]
1/4
:enter :return
n
When setting DHCP to “On”
Press
p
to select “On”, then press
[ENTER]
,
<
1
/
3
ENTER>
.
n
When setting DHCP to “Off”
q
Press
pi
to select “Off”, then press
[ENTER]
,
<
1
/
3
ENTER>
.
w
Use
ui
to select “IP Address”, then press
[ENTER]
,
<
1
/
3
ENTER>
or
p
.
e
Use uip or
[NUMBER] (0 – 9)
to input the IP address and press
[ENTER]
,
<
1
/
3
ENTER>
.
r
Use
uip
or
[NUMBER] (0 – 9)
to input the address for “Subnet
Mask”, “Gateway”, “Primary DNS”, and “Secondary DNS”.
5
Set the Proxy.
If you do not connect to the network via a proxy, this setting is
not required. In this case, go to step 6.
q
Press
ui
to select “Proxy”, then press
[ENTER]
,
<
1
/
3
ENTER>
.
w
If “Proxy(On)” appears, go to step
r
.
If “Proxy(Off)” appears, press
[ENTER]
,
<
1
/
3
ENTER>
or
p
.
“Select Proxy” menu appears.
e
Use
ui
to select “On”, then press
[ENTER]
,
<
1
/
3
ENTER>
or
p
.
“Setup Proxy” menu appears.
r
Use
ui
to select “Proxy (Address)” or “Proxy (Name)”, then
press
[ENTER]
,
<
1
/
3
ENTER>
or
p
.
“Select Type” menu appears.
t
Use
ui
to select “Address” or “Name”, then press
[ENTER]
,
<
1
/
3
ENTER>
or
p
.
“Setup Proxy” menu appears.
y
Use
ui
to select “Address” or “Name”, then press
[ENTER]
,
<
1
/
3
ENTER>
or
p
.
“Input Proxy Address” or “Input Proxy Name” menu appears.
u
Use
uip
or
[NUMBER] (0 – 9)
to input the address or name,
then press
[ENTER]
,
<
1
/
3
ENTER>
.
“Setup Proxy” menu appears.
i
Use
ui
to select “Port”, then press
[ENTER]
,
<
1
/
3
ENTER>
or
p
.
“Input Proxy Port” menu appears.
o
Use
uip
or
[NUMBER] (0 – 9)
to input the port, then press
[ENTER]
or
<
1
/
3
ENTER>
.
The Proxy settings are completed.
6
Select “Connection”, and press
[ENTER]
or
<
1
/
3
ENTER>
.
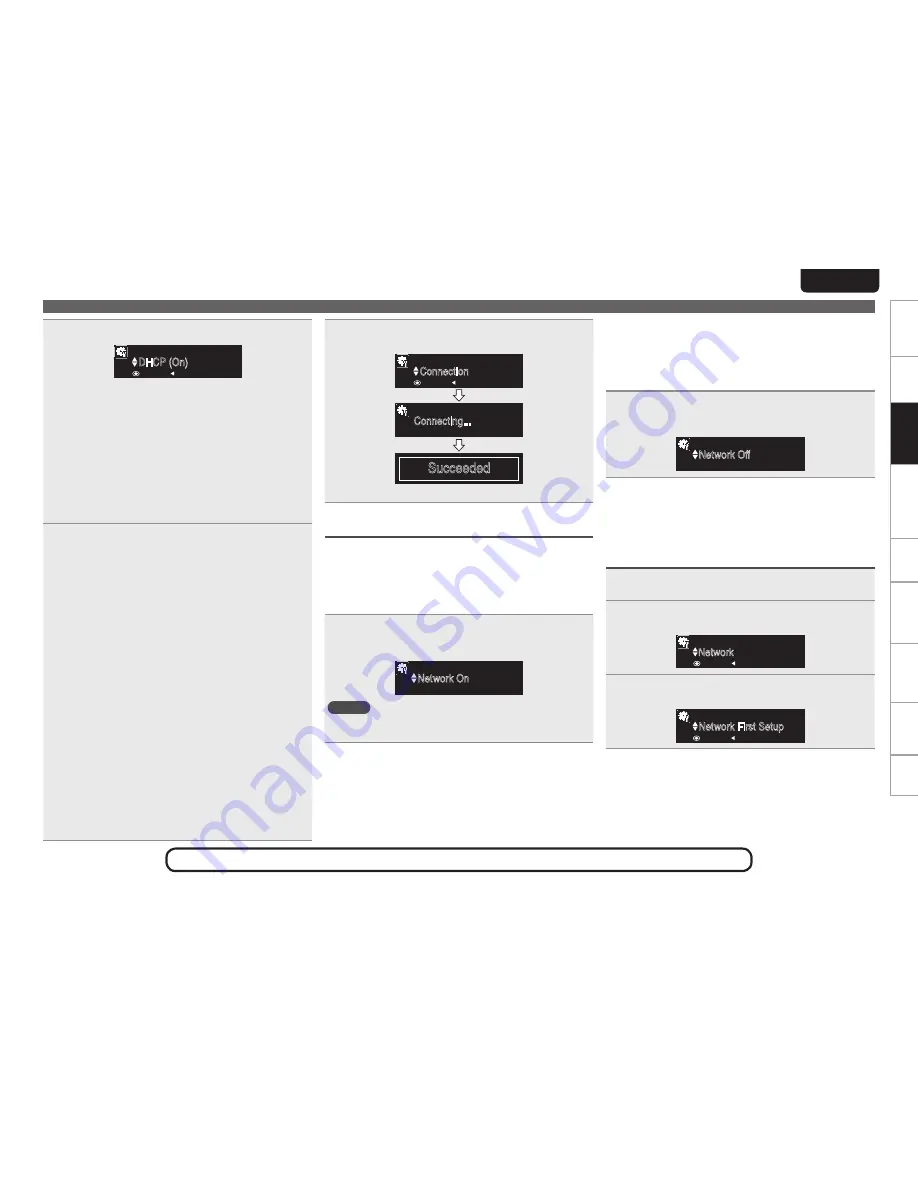
Connection
[Setup Wired]
3/4
:enter :return
Connecting...
[Connection]
Succeeded
•
Connected to the network.
e
Setting the network standby
n
Enabling the network standby
Network is on during standby. Main unit operable with a network
compatible controller. Shortens the time before the network
connection is completed.
•
More power is consumed when in standby (Power consumption:
7.5 W).
Select “On”, and press
[ENTER]
or
<
1
/
3
ENTER>
.
Reduces the amount of time until the network connection is
complete.
Network On
[Select Standby Mode]
1/2
Network start time is fas
NOTE
The amount of power consumption during standby mode increases
slightly.
n
Disabling the network standby
Suspend network function during standby. It will take slightly
longer till the network connection is completed.
•
The minimum amount of power is consumed when in standby
(Power consumption: 0.2 W).
•
This is the default setting.
Select “Off”, and press
[ENTER]
or
<
1
/
3
ENTER>
.
The amount of power consumption during standby mode is as low
as possible.
Network Off
[Select Standby Mode]
2/2
The lowest power consump
This completes the network connections and settings.
The network settings can also be configured in the “Network” –
“Connection” menu. Refer to “Connecting wired LAN” (
v
page 29)
for more information.
To perform “Network First Setup” again
1
Press
[MENU]
.
The menu screen is displayed.
2
Select “Network”, and press
[ENTER]
or
<
1
/
3
ENTER>
.
Network
[Menu]
1/3
:enter :return
3
Select “Network First Setup”, and press
[ENTER]
or
<
1
/
3
ENTER>
.
Network First Setup
[Network]
1/9
:enter :return


