
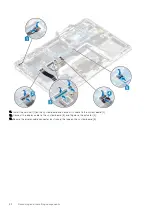
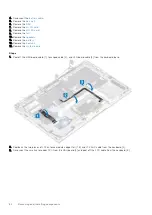

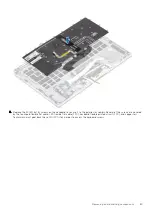
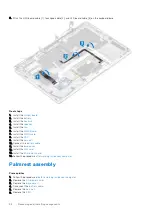


8. Stick the USH board cable [1], touchpad cable [2], and LED board cable [3] on the keyboard base.
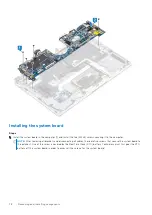
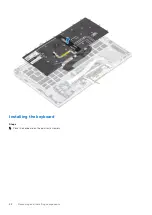
Next steps
1. Install the
2. Install the
.
3. Install the
4. Install the
.
5. Install the
.
6. Install the
7. Install the
.
8. Install the
9. Install the
10. Connect the
11. Install the
.
12. Install the
13. Install the
14. Follow the procedure
after working inside your computer
.
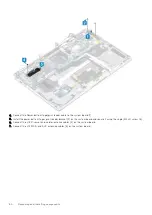
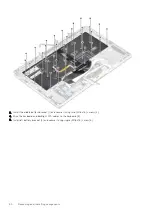
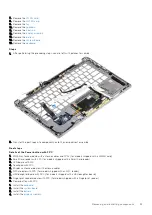
Palmrest assembly
Prerequisites
before working inside your computer
.
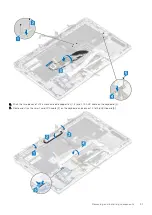
2. Remove the
.
3. Remove the
.
4. Disconnect the
.
5. Remove the
.
6. Remove the
.
92
Removing and installing components
Содержание Latitude 7400 2-in-1
Страница 15: ...Major components of your system 1 Base cover 2 Heatsink shield 3 Major components of your system 15 ...
Страница 24: ...4 Pry along the left right and bottom edges of the base 24 Removing and installing components ...
Страница 27: ...2 Press along the edges of the base cover until it clicks into place Removing and installing components 27 ...
Страница 28: ...3 Tighten the 10 captive screws to secure the base cover to the computer 28 Removing and installing components ...
Страница 43: ...5 Place the metal shield on the WWAN card Removing and installing components 43 ...
Страница 51: ...8 Adhere the Mylar sheet on the system board Removing and installing components 51 ...
Страница 56: ...4 Remove the metal foil from the heatsink shield 56 Removing and installing components ...
Страница 57: ...5 Remove the heatsink shield from the system board Removing and installing components 57 ...
Страница 60: ...3 Place the heatsink shield on the heatsink 60 Removing and installing components ...
Страница 61: ...4 Adhere the metal foils on the heatsink shield Removing and installing components 61 ...
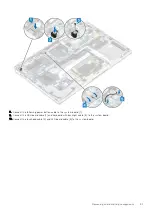
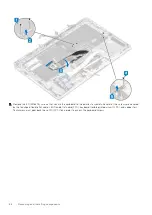
Страница 87: ...8 Lift the keyboard off the palmrest assembly Removing and installing components 87 ...


