Faxing
231
7
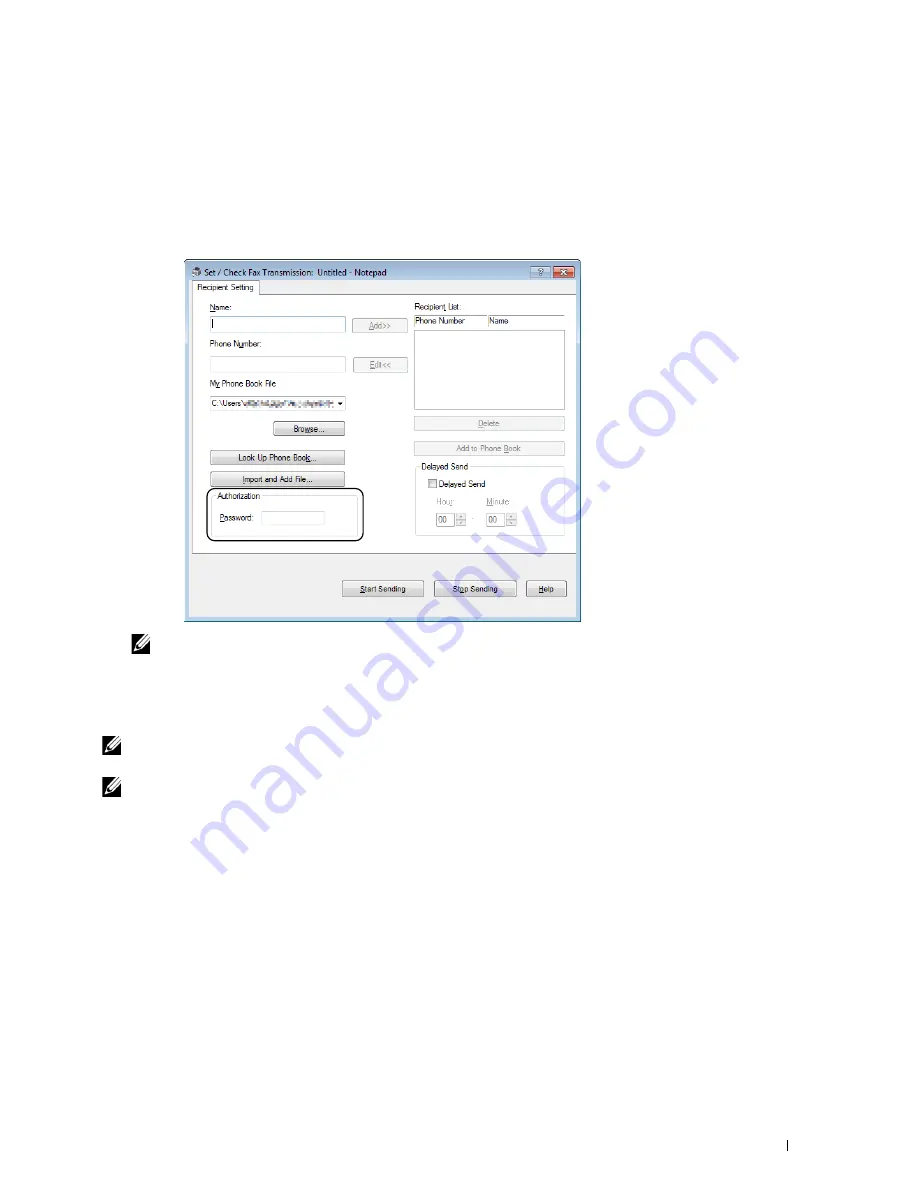
Specify the destination for the recipient in one of the following ways:
• Enter a name and phone number directly.
• Select a recipient from the Phone Book saved on your computer.
• Select a recipient from a database other than the Phone Book.
For more information on how to specify the destination, click
Help
of the driver.
NOTE:
Enter the password in the Password field in the Authorization area before sending a fax if the Fax service is locked
with a password.
8
Click
Start Sending
.
For Macintosh
NOTE:
The names of the windows and the buttons may be different from those given in the following procedure depending on
the application you are using.
NOTE:
To use this feature, you must install the fax driver.
Содержание E525w
Страница 1: ...Dell Color Multifunction Printer E525w User s Guide Regulatory Model Dell E525w ...
Страница 2: ......
Страница 176: ...176 Printing Copying Scanning and Faxing 17 Printing 177 18 Copying 189 19 Scanning 200 20 Faxing 221 ...
Страница 260: ...260 Maintaining Your Printer 25 Maintaining Your Printer 261 26 Clearing Jams 276 ...
Страница 287: ...Clearing Jams 287 8 Close the rear cover ...
Страница 288: ...288 Troubleshooting 27 Troubleshooting 289 ...
Страница 308: ...308 Appendix Appendix 309 ...


