


Print Media Guidelines
15
Selecting Pre-punched Paper
Pre-punched paper brands can differ in the number and placement of holes and in manufacturing
techniques. However, it may not be possible to print on the paper to depending on the placement
of holes on the paper.
To select and use pre-punched paper:
• Test paper from several manufacturers before ordering and using large quantities of pre-
punched paper.
• Paper should be punched at the paper manufacturer and not drilled into paper already
packaged in a ream. Drilled paper can cause jams when multiple sheets feed through the
printer. This may result in a paper jam.
• Pre-punched paper can include more paper dust than standard paper. Your printer may
require more frequent cleaning and feed reliability may not be as good as standard paper.
• Weight guidelines for pre-punched paper are the same as non-punched paper.
Transparencies
You can load up to 75 sheets of transparencies in the multipurpose feeder for a single print job.
Before buying large quantities of any print media, Dell recommends trying a sample first.
When printing on transparencies:
• Set the paper type to
Transparency
from the printer driver to avoid damaging your printer.
• Use transparencies designed specifically for laser printers. Do not use regular transparencies.
Transparencies must be able to withstand temperatures of 205°C (401°F) without melting,
discoloring, offsetting or releasing hazardous emissions.
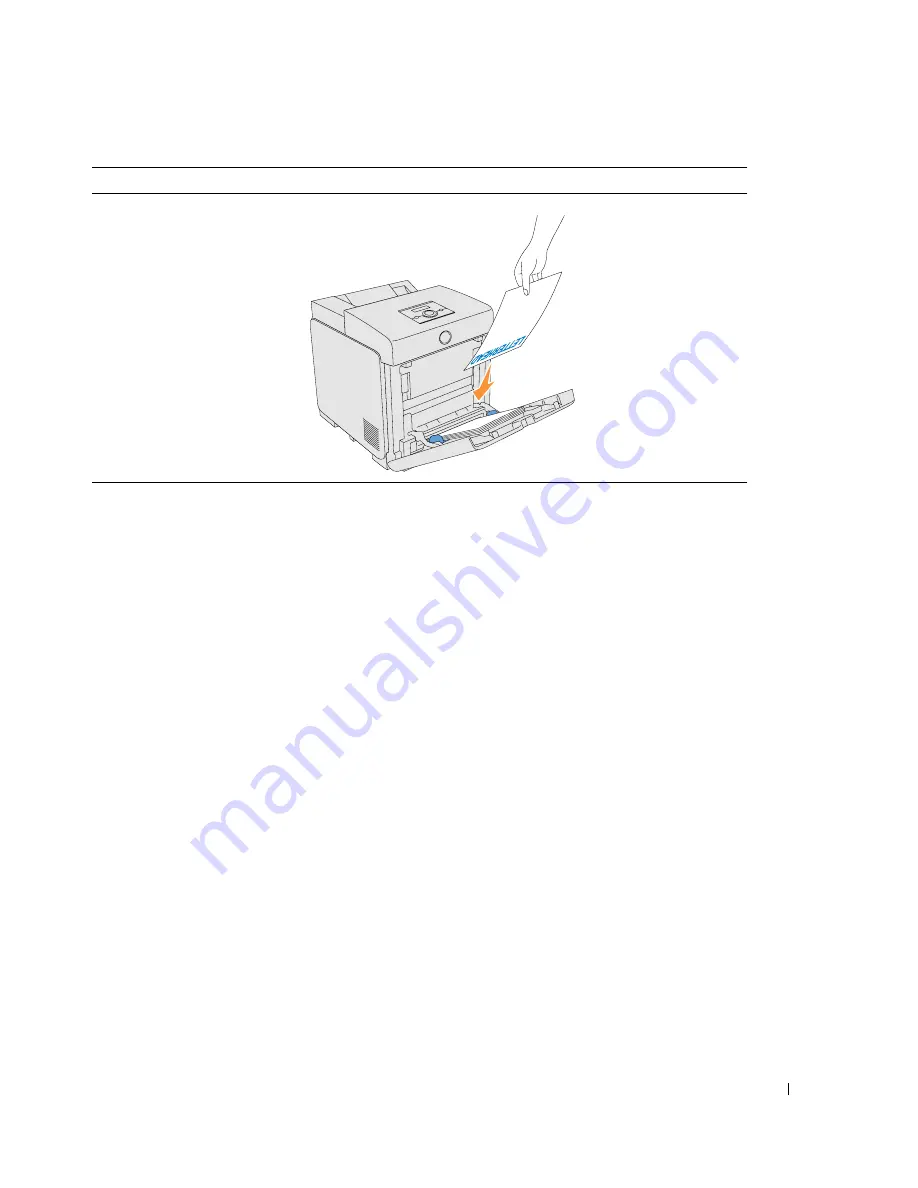
Multipurpose feeder
Face down
Letterhead enters
the printer first
Print media source
Print side
Page orientation
Содержание Colour Laser Printer 3110cn
Страница 10: ...10 ...
Страница 50: ...50 Setting up Network Printing ...
Страница 56: ...56 Installing the PPD File on Macintosh Computers ...
Страница 68: ...68 Maintenance 4 Lower the chute gate to its horizontal position 5 Close the front cover ...
Страница 75: ...Maintenance 75 4 Repeat steps 2 and 3 to remove the other separator roller from the inside of the printer ...
Страница 119: ...Appendix 119 ...
Страница 120: ...120 Appendix ...
Страница 124: ...124 Appendix ...
Страница 125: ...Appendix 125 ...
Страница 126: ...126 Appendix ...


