NOTE:
The scanner name shown in Scanners configuration can be different from the device name.
Click
Properties
.
4.
Load the document to be scanned
face up into the DADF or face down on the document glass.
5.
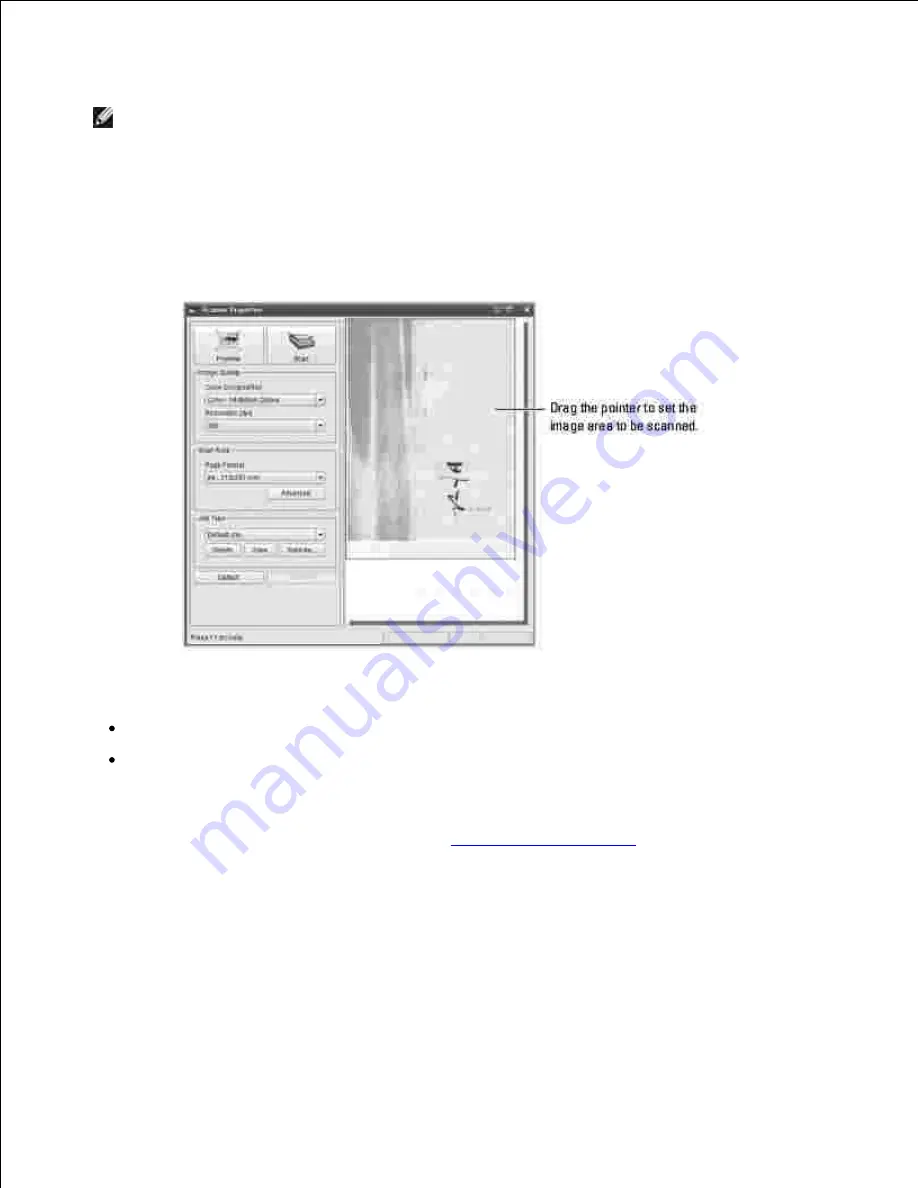
Click
Preview
in the Scanner Properties window.
6.
The document is scanned and the image preview appears in the Preview Pane.
Change the scan options in the Image Quality and Scan Area sections.
7.
Image Quality
: allows you to select the color composition and the scan resolution for the image.
Scan Area
: allows you to select the page size. The
Advanced
button enables you to set the page size
manually.
If you want to use one of the preset scan option settings,
select from the Job Type drop-down list. For
details about the preset Job Type settings, see
"Adding Job Type Settings"
.
You can restore the default setting for the scan options by clicking
Default
.
When you have finished, click
Scan
to start scanning.
8.
The status bar appears on the bottom left of the window to show you the progress of the scan. To
cancel scanning, click
Cancel
.
The scanned image appears in the new Image Manager window.
9.
Содержание 2335 Mono Laser
Страница 8: ...MFP and an optional tray 2 attached Front View Rear View ...
Страница 9: ...Operator Panel Button Functions Common Keys ...
Страница 31: ...5 ...
Страница 114: ...2 In the Set Scan Button window select the scan setting option 3 ...
Страница 145: ...7 ...
Страница 236: ...a Open the DADF inner cover b Remove the document by gently pulling it out c d ...
Страница 244: ...4 If you do not see the paper go to the next step Fully open the rear door as shown 5 Unfold the duplex guide fully 6 7 ...


