SN301-8CH
27
To Backup footage onto USB device:
1. Make sure a USB device or USB burner is plugged into the
proper USB connection on the back of the DVR.
2. Access the file list from the particular day you would like
footage backed up. (Instructions on Pg. 26)
3. Highlight and select the box under the word BAK next to the
video clip(s) you would like backed up.
4. Select the backup button.
5. This will prompt the DVR to begin backing up footage to the
USB device or USB burner.
6. Once the selected footage has backed up onto the USB
device or USB burner, highlight and select “exit” to exit the
menu.
7. To view the backed-up footage on your USB device please
see “computer playback” section of the manual. (Pg. 45). To
view the backed up footage on a CD/DVD, follow the basic
instructions for your CD/DVD player.
MAIN MENU
DEVICES
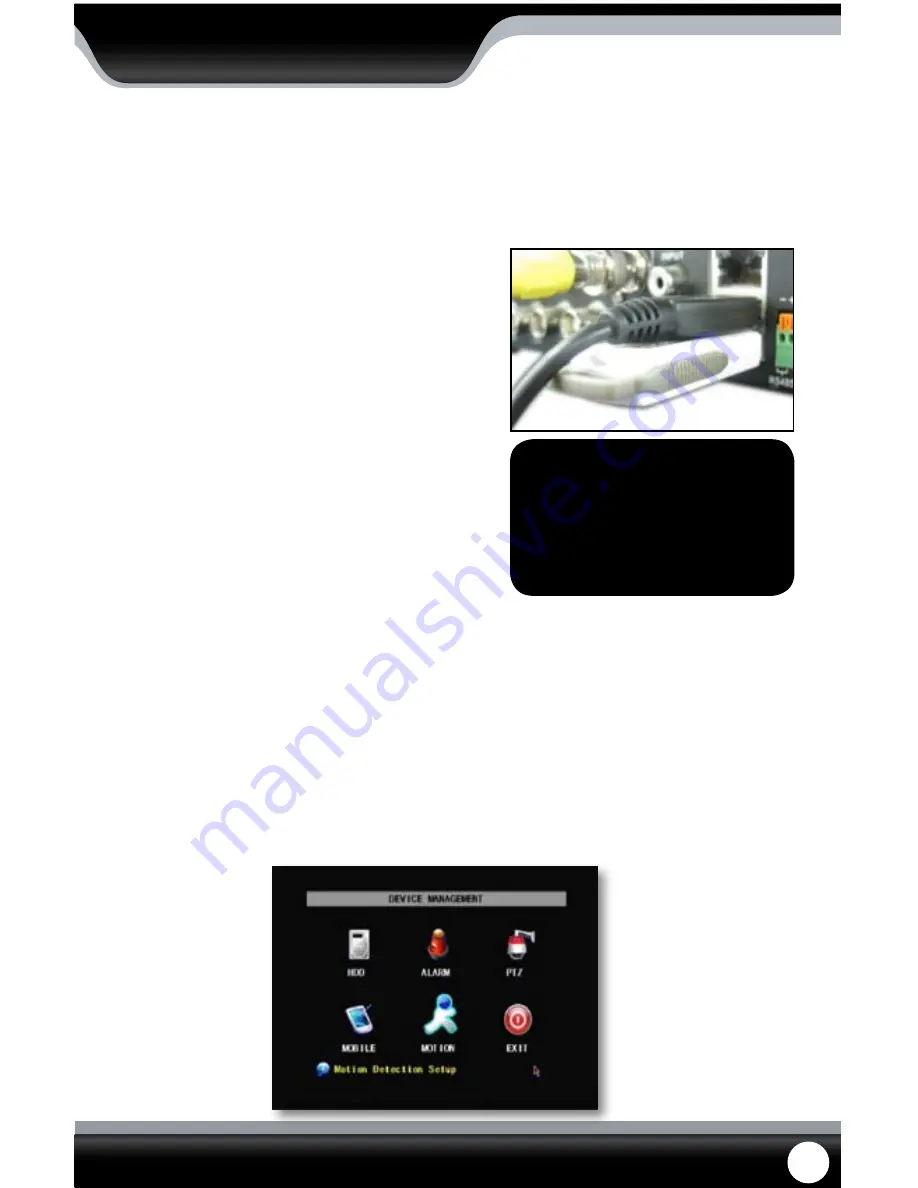
Selecting this menu option opens up a separate sub menu that allows you to select and configure the options for each
particular device associated with the DVR. The devices include:
• HDD:
Hard disk drive
• Alarm:
Internal alarm is good (external alarm not compatible)
• PTZ:
PTZ camera setup (PTZ camera not included)
• Mobile:
Online mobile viewing setup
• Motion Detection:
Motion detection settings
• Exit:
Exits the menu
Device Menu
Backup
Your DVR allows you to backup footage onto a USB device, USB HDD, or a USB CD/DVD burner and play it back on
your computer.
Connect USB device into bottom USB port
Note: The Backup format is .264
and will require a player of
conversion program to play
the file. Video clips can also
be played back using the
web viewer.


