SN301-8CH
17
MAIN MENU
Position
This will determine where the camera title will be displayed in the camera viewing window.
To change the position of the title:
1. Select the position column next to the camera you would like to change and a drop down list will open.
2. Select the position where you would like the title to appear on the camera screen. If you would like the name NOT
to display, set the position to “OFF”
3. Repeat for all desired cameras.
4. Select “apply” to save the changes.
Color
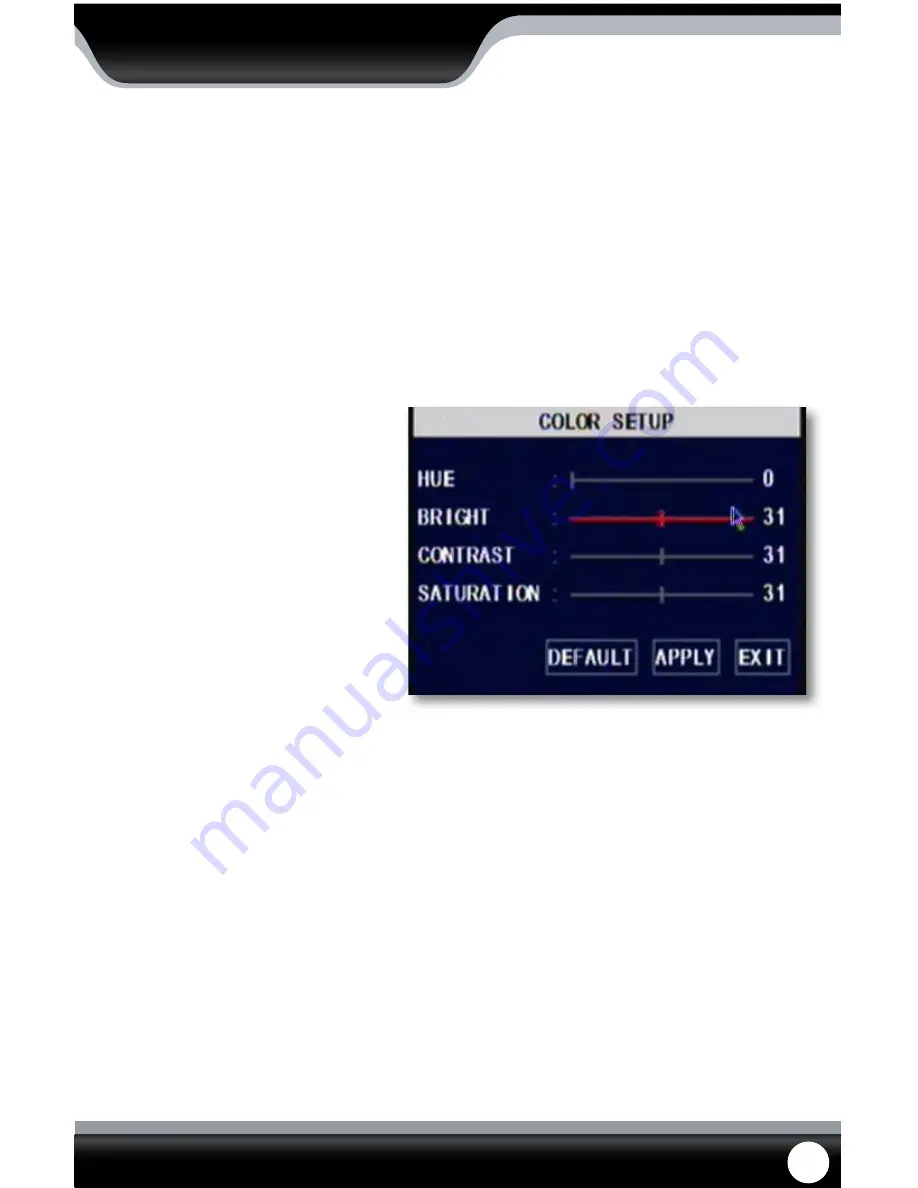
Clicking this button will allow you to adjust the image settings for an individual camera.
To adjust the color on a camera:
1. Select the color column next to the
camera you would like to change and a
full screen view of the selected camera
will appear along with scroll bars to
adjust Hue, Brightness, Contrast and
Saturation.
2. To adjust each bar, make sure it is
highlighted in red. To turn the settings up
and down, click and drag the bar in the
center.
3. Once you have adjusted the color to your
liking, select “apply” and then “exit” to
return to the camera menu.
4. Repeat for all desired cameras.
Live
Choose whether or not to display a camera in live viewing mode. The camera will record and playback normally, it just
will not appear on the live viewing screen. This is beneficial so that only authorized users can see what the camera is
viewing.
To turn the live viewing of a camera on or off:
1. Select the live column next to the camera you would like to turn on/off and a drop down list will open.
2. Select “on” or “off” from the drop down list to turn the camera on or off.
3. Repeat for all desired cameras.
4. Select “apply” to save the changes.
Color Setup


