Troubleshooting the SA7x
5.2 Troubleshooting a Dead Enclosure
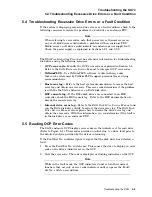
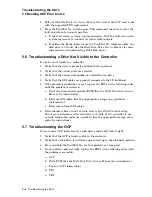
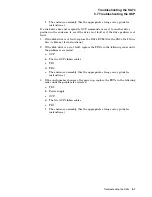
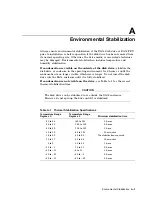
d. The enclosure assembly (See the appropriate storage array guide for
instructions.)
5.3 Troubleshooting a Flashing Drive Power Indicator
Note
If power from the power supply is erratic, the drive may spin up and then
spin down. These on and off cycles may occur because the voltage monitor
in the device detects that power is going in and out of tolerance ranges.
When the monitor detects low power, the drive begins its shutdown
procedure. As the drive shuts down, power may again return to normal;
the drive receives initializing commands and spins up again.
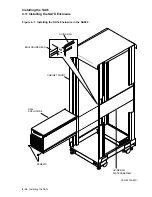
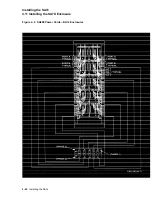
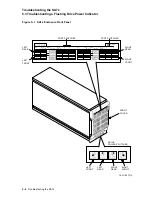
Flashing drive power indicators indicate an overcurrent condition at the power
supply output. (See Figure 5–1.) If the drive power indicators are flashing:
1. Reset the operator control panel (OCP) switches:
a. Press both Port A and Port B switches to deselect these ports.
b. Press the Run switch to deselect the drive.
c. Repeat this step for all disk drives in the enclosure.
2. Remove power to the disk drives by pressing each of the drive power switches.
3. Restore power to the disk drives by pressing each of the drive power switches
one at a time.
a. If the drive power indicator lights steadily when you press the switch,
that drive is not causing the overload.
b. If the drive power indicator flashes when you press the switch, that drive
is causing the overload.
4. Remove the disk drive causing the overload and install it in a different
position in the enclosure.
a. If the drive power indicator for that position flashes, the disk drive is
at fault. Replace the drive’s electronic control module (ECM) or head
disk assembly (HDA). (See the
RA7x Disk Drive Service Manual
for
instructions.)
b. If the drive power indicator for that position does not flash, the opening
that had the flashing drive power indicator is at fault. Replace the FRUs
in the following order until the problem is corrected:
a. Power supply
b. Power harness
c. The enclosure assembly (See the appropriate storage array guide for
instructions.)
Troubleshooting the SA7x 5–3

