77
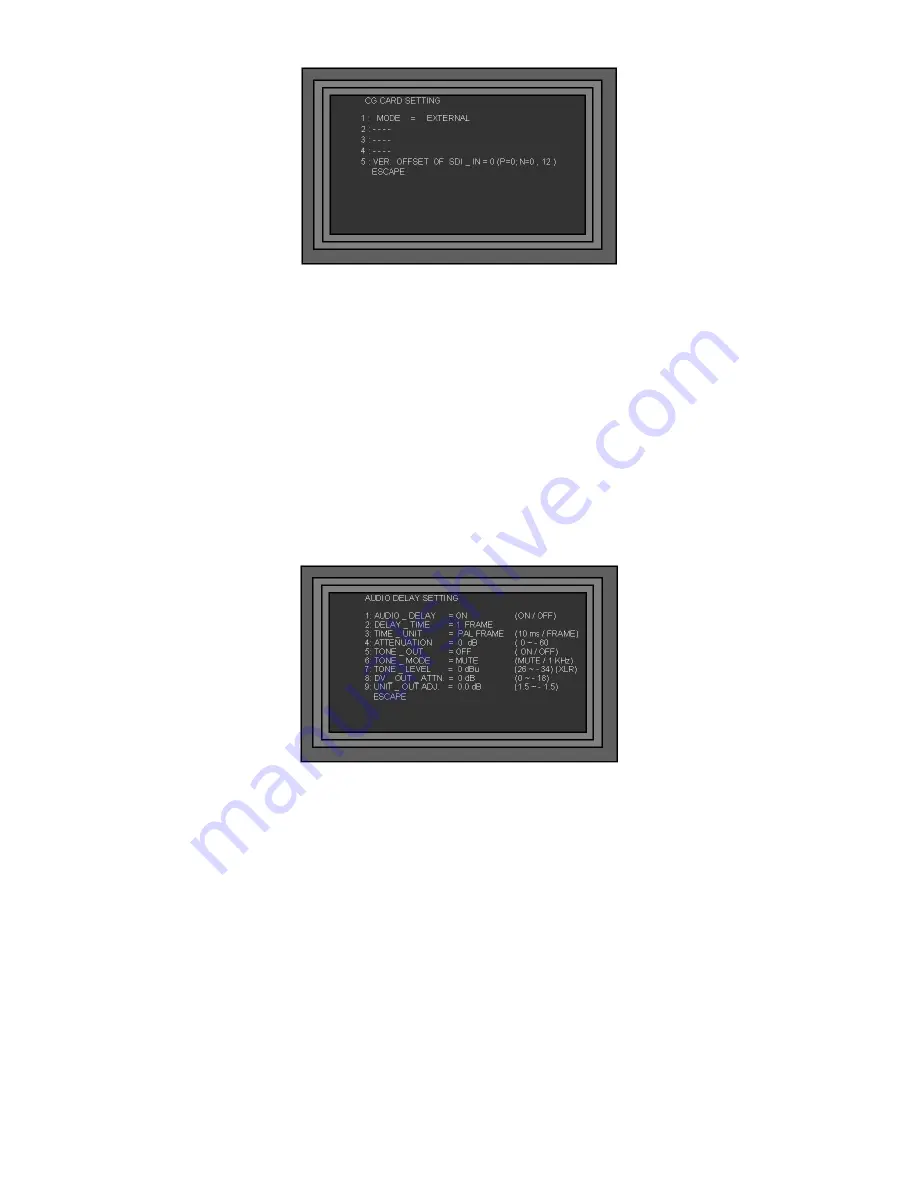
Highlight option 1: MODE and set it to EXTERNAL -
You will see that options 2, 3 and 4 do not apply to
external keying, as the work is being done by an external keyer.
5: VER. OFFSET of SDI_IN adjusts the position of the overlay on the screen.
Press the ESC Key three times to exit the set up menu and return to normal operation/
You can switch the overlay On / Off simply by pressing the CG Key.
Audio Delay Circuit
Please read Audio Connections on Page 23 for details of some ways to utilise the Audio Delay Circuit.
Audio Delay Settings
Press the Settings Key to call up the Set Up Menus and highlight option 6. AUDIO DELAY. Press the Enter
Key to call up the AUDIO DELAY Setting Menu.
1: AUDIO _ DELAY - Sets the Audio Delay circuit On / Off.
2: DELAY _ TIME - Sets the Delay Time in either frames or units of 10mS, according to the setting of 3:
TIME_UNIT
3: TIME_UNIT - Delay times can either be displayed in frames or units of 10mS, whichever you prefer.
4: ATTENUATION - Sets the audio line input level 0dB is default.
5: TONE_OUT - The Audio Delay Circuit has a built in Test Tone Generator which you can use to set your
monitoring levels. You can set it to On or Off
6: TONE_MODE - The Test Tone can be set to 1 KHz or MUTE.
7: TONE_LEVEL - The Test Tone Level can be set from 26 dBu to - 34 dBu - Default is 0 dBu
8: DV_OUT_ATTN. - Sets the audio level for the DV output, it can be set from 0 to 18 dB - Default is 0 dB
9: UNIT_OUT_ADJ - Sets the overall audio output level. It can be set between 1.5 and -1.5 dB - Default is 0
dB


