E-GENIUS
57
4
Field Name
Action/Definition
System Info
System
Description
Enter a name to identify this scanning system in the text field.
ID
Click
ID
to visually identify a scanner in an array/tunnel. When clicked, all the
scanner lasers will turn off except for the selected scanner, whose laser will blink
for 20 seconds.
Edit
Select to
Remove, Reassign, Add,
or
Replace
from the
Edit drop-down list to
complete the following actions:
Remove:
When selected, you can select the scanner to remove from the
Dev/MAC Address drop-down list. Click
OK
to remove the selected scanner
from the system.
Reassign:
When selected, the Dev column of the selected slave scanner
(selected with ID) presents a drop-down list of Dev numbers. Select a
different number to reassign the scanner.
Add:
This is an option under the
Edit
drop-down list in the
Unconfigured
Devices
section of the screen. Click
OK
to add the selected device to the
system.
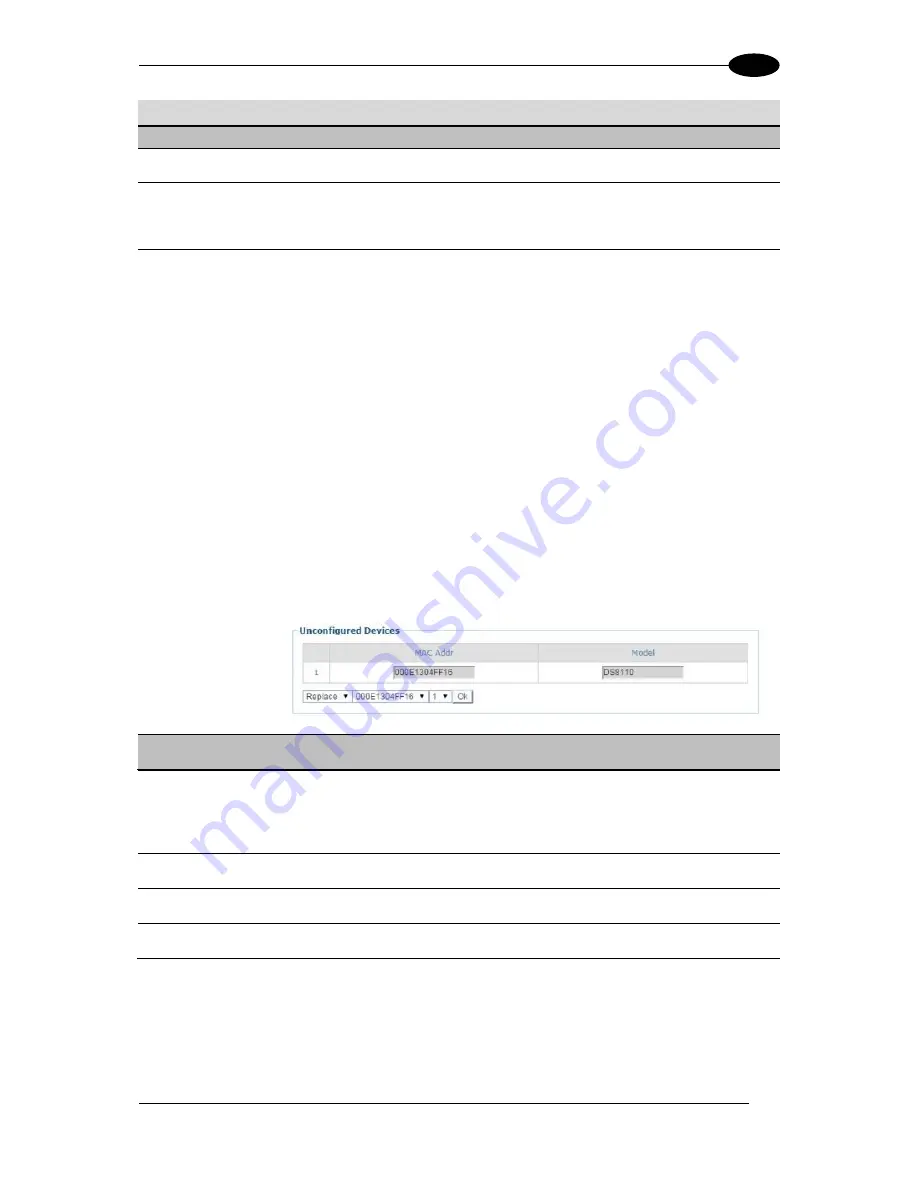
Replace:
This is an option under the
Edit
drop-down list in the
Unconfigured Devices
section of the screen. When selected, you can select
from a list of slave scanners
(Those with a gray indicator, meaning the unit is
not connected)
in the system using
MAC Address
and
Dev
drop-down lists.
Click
OK
to replace the selected scanner with the
Unconfigured Device
.
Send Barcodes
to Non-Singulated
Dimensioning
System
Select the checkbox to enable Non-Singulated Dimensioning System Info options
(currently not available for Standalone or Multi-head DM3610 systems).
IP Address
Enter the device IP Address.
Port Number
Enter a port number for the device.
Enable Tach
Sync
Select the checkbox to enable encoder/tachometer syncing between system
devices.
3. When you have finished making changes, click
Update All
to save all pending changes,
click
Reset All
to revert to all previously saved values, and click
Reset Page
to revert to
previous saved values on the current page.
0.
Additional Devices
Содержание DS8110
Страница 1: ...REFERENCE MANUAL DS8110 Barcode Scanner ...
Страница 40: ...DS8110 REFERENCE MANUAL 28 3 Figure 25 DS8110 Array Tunnel to SC5000 alternate with CBX ...
Страница 49: ...ELECTRICAL INSTALLATION 37 3 3 11 1 Photoelectric Sensor NPN Figure 32 Photoelectric Sensor Wiring NPN Output ...
Страница 50: ...DS8110 REFERENCE MANUAL 38 3 3 11 2 Photoelectric Sensor PNP Figure 33 Photoelectric Sensor Wiring PNP Output ...
Страница 52: ...DS8110 REFERENCE MANUAL 40 3 Figure 35 OEK 4 95B082050 Encoder Tachometer Wiring NPN Output ...
Страница 54: ...DS8110 REFERENCE MANUAL 42 3 Figure 37 OEK 4 95B082050 Encoder Tachometer Wiring PNP Output ...
Страница 56: ...DS8110 REFERENCE MANUAL 44 3 3 13 2 Powered Outputs Figure 40 Powered Outputs NPN PNP ...
Страница 248: ...DS8110 REFERENCE MANUAL 236 5 DS8110 2100 STANDARD RESOLUTION Figure 68 Reading Diagram DS8110 2100 Combined ...
Страница 249: ...BARCODE SCANNING FEATURES 237 5 Figure 69 Reading Diagram DS8110 2100 0 33mm 13mil ...
Страница 250: ...DS8110 REFERENCE MANUAL 238 5 Figure 70 Read Chart DS8110 2100 0 38mm 15mil ...
Страница 251: ...BARCODE SCANNING FEATURES 239 5 Figure 71 Read Chart DS8110 2100 0 50mm 20mil ...
Страница 252: ...DS8110 REFERENCE MANUAL 240 5 DS8110 2200 HIGH RESOLUTION Figure 72 Reading Diagram DS8110 2200 Model 2 Combined ...
Страница 253: ...BARCODE SCANNING FEATURES 241 5 Figure 73 Reading Diagram DS8110 2200 0 25mm 10mil ...
Страница 254: ...DS8110 REFERENCE MANUAL 242 5 Figure 74 Reading Diagram DS8110 2200 0 30mm 12mil ...
Страница 255: ...BARCODE SCANNING FEATURES 243 5 Figure 75 Reading Diagram DS8110 2200 0 33mm 13mil ...
Страница 256: ...DS8110 REFERENCE MANUAL 244 5 Figure 76 Reading Diagram DS8110 2200 0 38mm 15mil ...
Страница 257: ...BARCODE SCANNING FEATURES 245 5 DS8110 2300 LOW RESOLUTION Figure 77 Reading Diagram DS8110 2300 0 50mm 20mil ...
Страница 281: ......
Страница 282: ......


