7
|
Configuration
Installer and user reference guide
84
RYYQ+RYMQ+RXYQ8~20U7Y1B
VRV IV+ heat pump
4P546228-1A – 2019.10
7 Configuration
7.1 Overview: Configuration
This chapter describes what you have to do and know to configure the system after
it is installed.
It contains information about:
▪
Making field settings
▪
Energy saving and optimum operation
▪
Using the leak detection function
INFORMATION
It is important that all information in this chapter is read sequentially by the installer
and that the system is configured as applicable.
DANGER: RISK OF ELECTROCUTION
7.2 Making field settings
7.2.1 About making field settings
To continue the configuration of the VRV IV heat pump system, it is required to
give some input to the PCB of the unit. This chapter will describe how manual input
is possible by operating the push buttons/DIP switches on the PCB and reading the
feedback from the 7‑segment displays.
Making settings is done via the master outdoor unit.
Next to making field settings it is also possible to confirm the current operation
parameters of the unit.
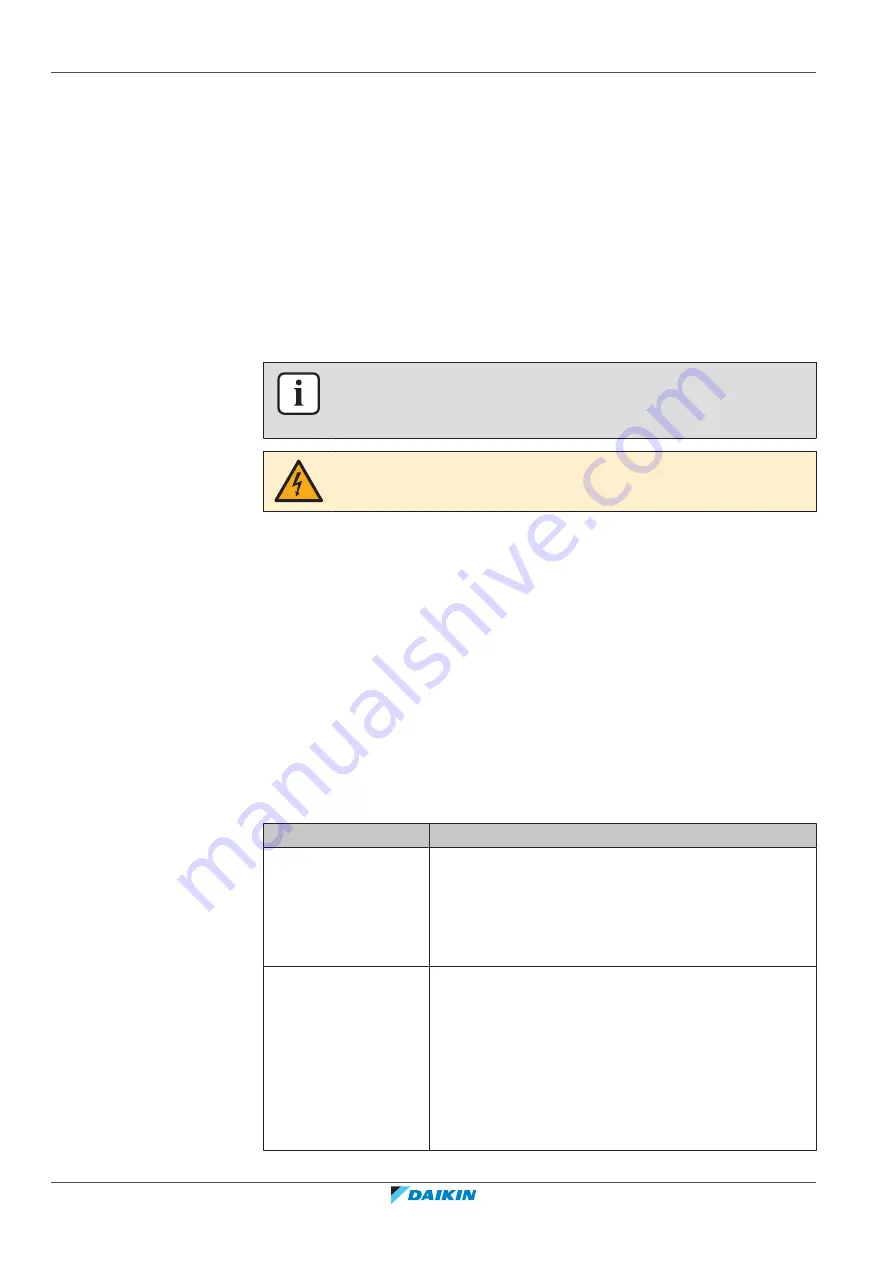
Push buttons and DIP switches
Item
Description
Push buttons
By operating the push buttons it is possible to:
▪
Perform special actions (automatic refrigerant charge,
testrun, etc).
▪
Perform field settings (demand operation, low noise,
etc).
DIP switches
By operating the DIP switches it is possible to:
▪
DS1 (1): COOL/HEAT selector (refer to the manual of
the
cool/heat
selector
switch).
OFF=not
installed=factory setting
▪
DS1 (2~4): NOT USED. DO NOT CHANGE THE FACTORY
SETTING.
▪
DS2 (1~4): NOT USED. DO NOT CHANGE THE FACTORY
SETTING.
Содержание VRV IV+
Страница 165: ......
Страница 166: ......
Страница 167: ......
Страница 168: ...4P546228 1A 2019 10 Copyright 2018 Daikin Verantwortung für Energie und Umwelt ...


