Local Configurations
65
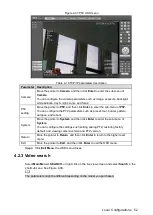
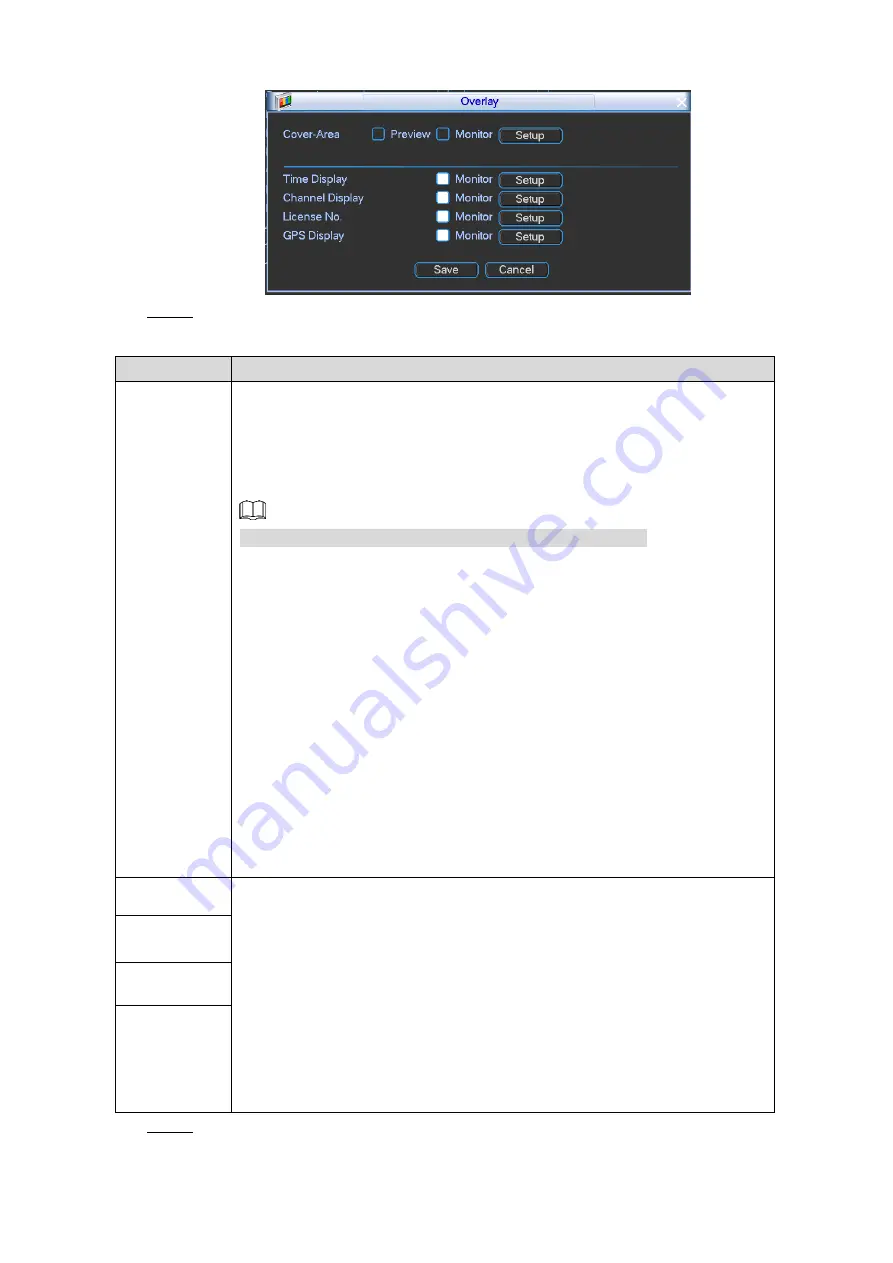
Overlay
Figure 4-50
Configure the parameters. For details, see Table 4-21.
Step 4
Table 4-21 Overlay settings parameters description
Parameter
Description
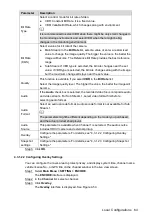
Cover-Area
After the cover-area is configured, the real-time monitoring cannot be
performed to the covered area.
When Channel 1 to Channel 8 is selected, both
Preview
and
Monitor
check
boxes are displayed. When Channel 9 to Channel 12 is selected, only the
Monitor
check box is available.
You can configure total 4 covered blocks for each channel.
1. Next to the
Cover-Area
, select the
Preview
check box or the
Monitor
box.
The "1, 2, 3, 4" buttons are displayed, which represent the number of
blocks.
Preview: The covered area is visible when output to VGA monitor
or small screen, but invisible when output to web or during
recording.
Monitor: The covered area is invisible when output to VGA monitor
or small screen, but visible when output to web or during recording.
2. Click the buttons to select blocks, and then click
Setup
.
3. Drag the block to the area that you want to cover and adjust the size of
the block. Right-click on the screen to return to
Overlay
interface. You
can also change the size and position of each block.
4. Click
Save
.
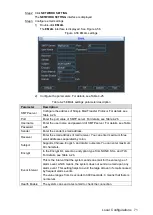
Time Display
Select the corresponding check box to display the system time or channel
title on the channel window in the live view screen.
1. Select the
Monitor
check box for
Time Display
,
Channel Display
,
License No.
, and
GPS Display
. The corresponding content will display
on the channel window.
2. Click
Setup
.
3. Drag the title to a proper position, and then right-click on the screen to
return to
Overlay
interface.
4. Click
Save
.
The configured titles are displayed on the windows of live view screen.
Channel
Display
License No.
GPS Display
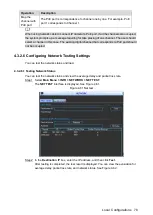
Click
Save
.
Step 5


