User’s Manual
57
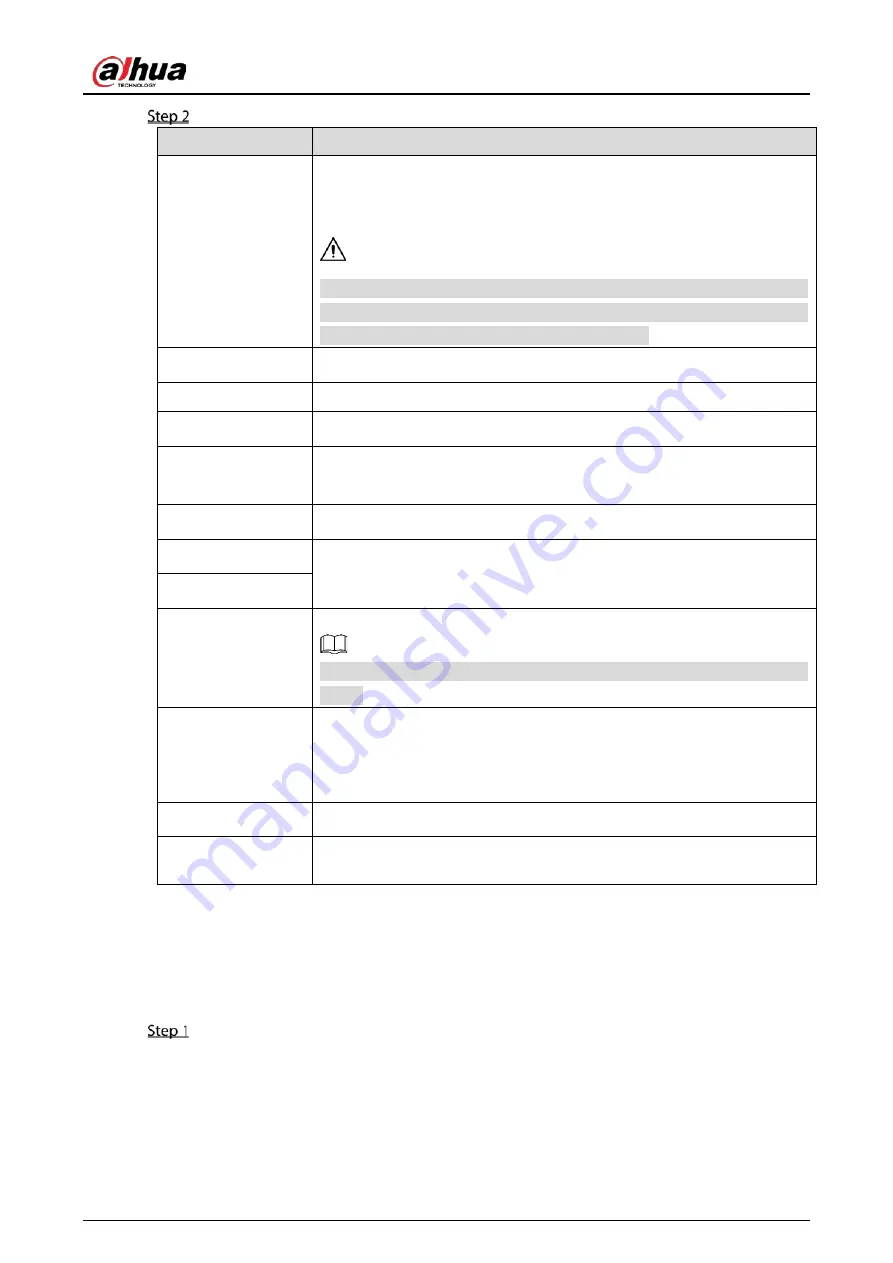
Configure the settings for date and time parameters.
Parameter
Description
System Time
In the System Time box, enter time for the system.
Click the time zone list, you can select a time zone for the system, and the
time in adjust automatically.
Do not change the system time randomly; otherwise the recorded video
cannot be searched. It is recommended to avoid the recoding period or stop
recording first before you change the system time.
Time Zone
In the Time Zone list, select a time zone for the system.
Date Format
In the Date Format list, select a date format for the system.
Date Separator
In the Date Separator list, select a separator style for the date.
Time Format
In the Time Format list, select 12-HOUR or 24-HOUR for the time display
style.
DST
Enable the Daylight Saving Time function. Click Week or click Date.
Start Time
Configure the start time and end time for the DST.
End Time
NTP
Enable the NTP function to sync the Device time with the NTP server.
If NTP is enabled, device time will be automatically synchronized with
server.
Serve Address
In the Server Address box, enter the IP address or domain name of the
corresponding NTP server.
Click Manual Update, the Device starts syncing with the server
immediately.
Port
The system supports TCP protocol only and the default setting is 123.
Interval
In the Interval box, enter the amount of time that you want the Device to
sync time with the NTP server. The value ranges from 0 to 65535.
5.1.4.4
Configuring Network Settings
You can configure the basic network settings such as net mode, IP version, and IP address of the Device.
You can also configure network settings by selecting Main Menu > NETWORK > TCP/IP.
After you have configured the date and time settings, on the Date &Time page, click Next.
Содержание DH-XVR71 H-4K-I2 Series
Страница 24: ...User s Manual 15 Fasten screws...
Страница 67: ...User s Manual 58 TCP IP Configure the settings for network parameters...
Страница 103: ...User s Manual 94 Main menu...
Страница 114: ...User s Manual 105 Analog channel Digital channel Configure the settings for the image parameters...
Страница 189: ...User s Manual 180 Details Click Register ID Register ID Click to add a face picture...
Страница 212: ...User s Manual 203 Search results Click the picture that you want to play back Playback...
Страница 235: ...User s Manual 226 Search results Select the face that you want to play back Registered information...
Страница 239: ...User s Manual 230 Details Click Register ID Register ID Click to add a face picture...
Страница 254: ...User s Manual 245 Sensor pairing In the Access Type list select USB Gateway Click Add Add USB gateway Click Pair...
Страница 314: ...User s Manual 305 Main stream Sub stream...
Страница 347: ...User s Manual 338 Update Click Update Browse Click the file that you want to upgrade Click OK...
Страница 362: ...User s Manual 353 Legal information...
Страница 370: ...User s Manual 361 Abbreviations Full term VBR Variable Bit Rate VGA Video Graphics Array WAN Wide Area Network...
Страница 388: ...User s Manual 379 Appendix Figure 7 7 Check neutral cable connection...
Страница 394: ...User s Manual...


