Hardware Manual — Product Description
1.4 Front Panel
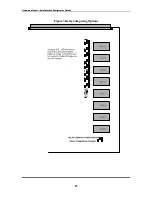
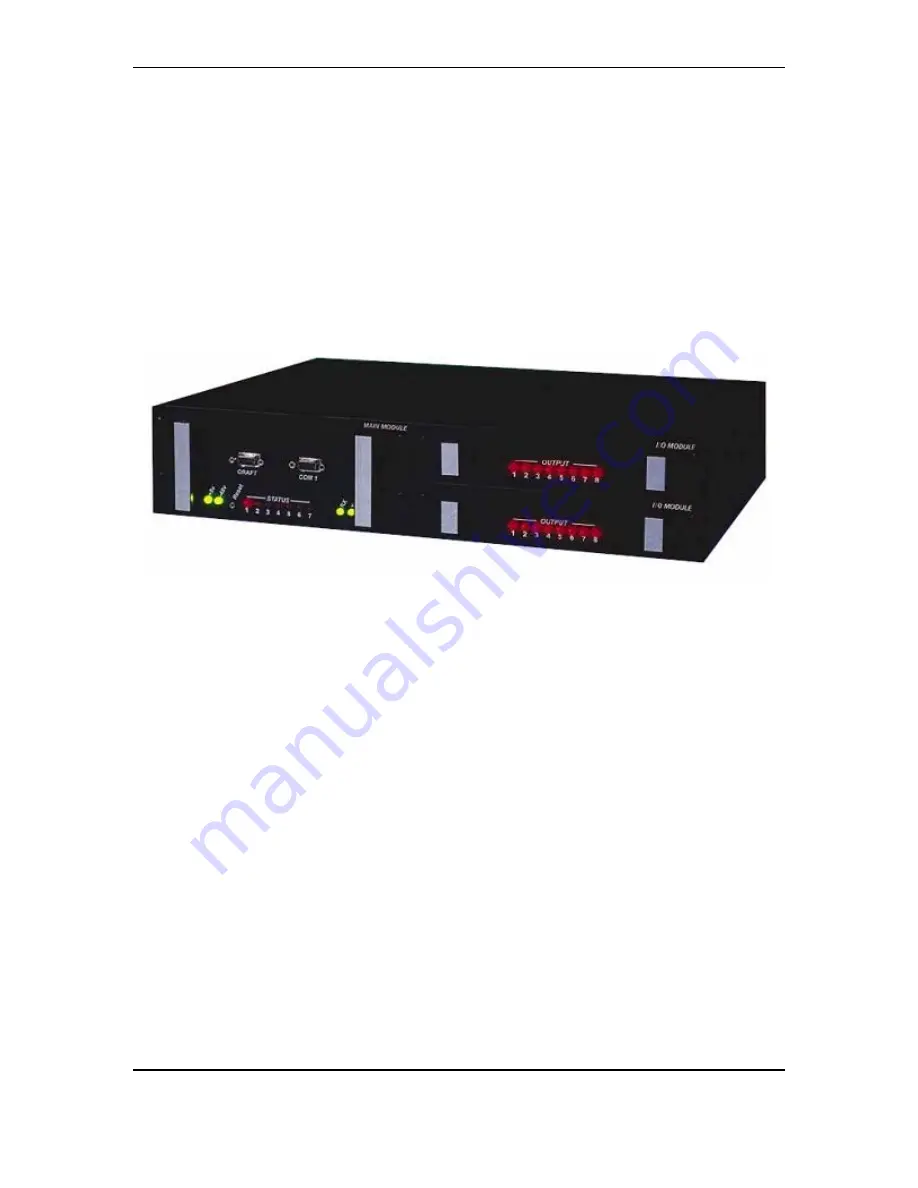
The Centurion II front panel is shown in Figure 1. The RTU chassis has three
module slots. The full height slot on the left accepts the Main Module only and is
keyed to prevent accidental insertion of the half height I/O modules. The I/O
Modules are half height and are inserted into the two slots on the right side of the
RTU.
Figure 1 Front Panel
1.4.1 Main Module Front Panel
The front panel of the Main Module has two RS-232 DB9 serial ports labeled:
CRAFT and COM 1. The ports can be configured (via the software) to function
as a console, craft, line modem, or CCM port.
Technicians generally designate the port as a Craft port and connect their PC to
the CRAFT port using a standard RS-232 DB9 straight-through serial cable. They
are then able to view and issue TL-1 messages using a PC terminal emulator
session such as TeraTerm, Hyperterm, or the equivalent.
The Com port is used as an RS-232 host reporting port if options A=1 or A=2 are
chosen. In most cases, the Com port is designated as a console port and used as a
terminal for de-bugging software.
The front panel has an Input Power –48 Volt LED, a +5 Volt CPU LED, a reset
button, two Ethernet LEDs (labeled RX and TX) and seven status LEDs. Under
normal operating conditions, LED 1 flashes once per second.
5
Содержание Centurion II
Страница 1: ...Centurion II Hardware Manual 91480102 ...
Страница 4: ...Hardware Manual Revision History ii ...
Страница 6: ...Hardware Manual About this document iv ...
Страница 16: ...Hardware Manual Product Description 8 ...
Страница 24: ...Hardware Manual Installation and Configuration Options Figure 4 SW2 Dip Switch Setting on the I O module 16 ...
Страница 35: ...November 10 2004 ...


