X-600M Users Manual
Setup Pages
synchronize with the time server. The next NTP sync will occur
X
minutes after the time this
configuration page was submitted (where
X
=
NTP Sync Interval
in minutes). The default value for
this field is set to 1440 minutes.
Daylight Savings:
In many parts of the United States and in some other countries, the time is shifted forward by one
hour during the summer months. This is an effort to conserve energy by making the daylight last
longer into the evening hours. If this option is set to
Enabled
, the time on X-600M will automatically
be shifted forward by one hour between the
DST Start
date and time and the
DST End
date and
time. The default setting is
Enabled.
Note:
Enabling the daylight savings time adjustment, scheduled events will be adjusted for the new
time, possibly leading to duplicate events. Logged data uses a GMT time stamp that does not
account take into effect daylight savings. When viewing the logged data, these timestamps are
adjusted to the timezone configured for the X-600M and could also present duplicate logs around
daylight savings time changes.
DST Start:
This is the date that daylight savings will start. At this date and time, the time will be shifted forward
by one hour (i.e. the time will jump from 12:02 AM [00:02] to 1:02 AM [01:02]). By default this is set
to the 2nd Sunday in March which is the date used in the United States.
DST End:
This is the date that daylight savings will end. On this date and time, the time will be shifted
backward by one hour (i.e. time will jump from 12:02 AM [00:02] to 11:02 PM [23:02] the day before).
By default this is set to the 1st Sunday in November which is the date used in the U.S.
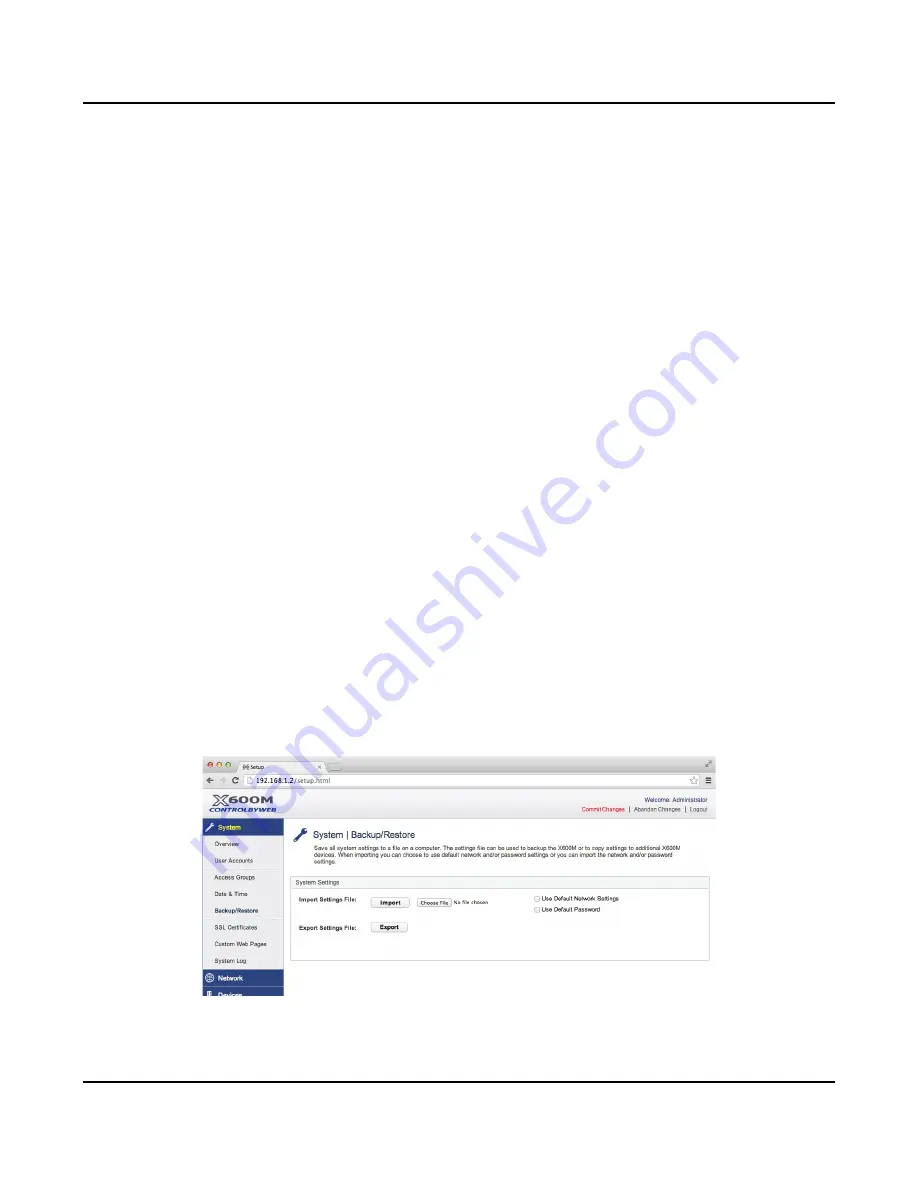
4.1.4 System > Backup/Restore (Backup and Restore Settings)
The
Network
settings,
Conditional Events
,
Actions, Scripts, Registers
and other settings for the X-600M
are stored in a database. The entire database can be exported or imported as a file. The
Backup/Restore
page is used for archiving the settings and can also be used to move the settings from
one module to another.
To export the database, click the
Export
button. A window pops up in the browser where you can name
and save the file on your computer. To import a database, click
Choose File.
A
File-Upload
window will
pop up in your browser. Navigate to the desired file and click
Open
. Next, click
Import
to import the file.
The import feature has two additional options. The first,
Use Default Network Settings
, allows a
settings file to be imported with the network settings forced to their default values. This option is useful
Xytronix Research & Design, Inc.
Page 37
Содержание X-600M
Страница 1: ...X 600MTitle Page Goes Here...
Страница 6: ...X 600M Users Manual Page 4 Xytronix Research Design Inc...
Страница 99: ...X 600M Users Manual Setup Pages Xytronix Research Design Inc Page 97...
Страница 116: ...Appendix B Installing New Firmware X 600M Users Manual Page 114 Xytronix Research Design Inc...


