


Basic Network Configuration
4-5
3. Enter the Read Write password and click
OK
(default password is “public”).
❏
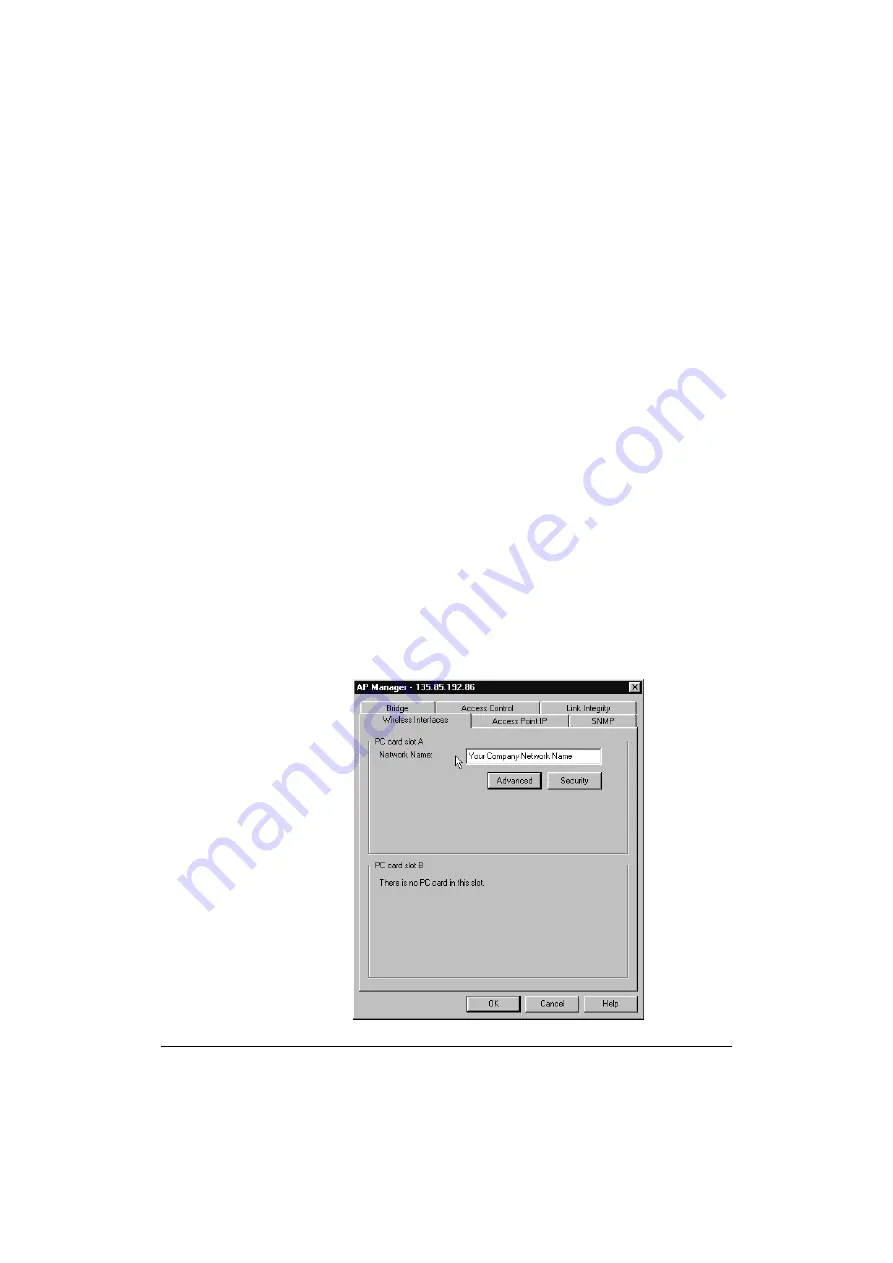
If the Access Point is found and if you entered the right passwords, a
new window appears with parameter tabs to change the configuration
(see Figure 4-4).
❏
If the Access Point is not found in the network and/or the configuration
is not read, or if the wrong password is entered, the message “Invalid
password” appears.
Click
OK
to return to the main AP Manager window and try again.
You are now ready to change the Access Point configuration settings.
Step 3 - Set Network Name and Save Configuration
When installing the 11Mbps Wireless LAN network, you are advised to modify
the default settings of the wireless network interfaces. Although the Access
Point will work fine with its factory-set values, changing the 11Mbps Wireless
LAN parameters to unique values will differentiate your network from possible
neighboring networks.
1. Select the tab
Wireless Interfaces
(see Figure 4-4).
2. (For the WL510 Access Point only) Choose the slot of the Access Point (
PC
Card Slot A
or
B
) that contains the wireless client adapter that you wish to
configure.
Note: The integrated Wireless Network Interface of the WL410 Access Point
is called Interface ‘A’ in this guide.
Figure 4-4 AP Manager Wireless Interfaces tab
Содержание WL110
Страница 6: ...vivi 11Mbps Wireless LAN User s Guide...
Страница 12: ...1 6 Introduction...
Страница 34: ...4 8 Basic Network Configuration...
Страница 81: ...Optimizing Performance 6 21 Figure 6 9 Medium Distance between APs Figure 6 10 Small Distance between APs...
Страница 82: ...6 22 Optimizing Performance...
Страница 122: ...8 22 Advanced Network Configurations...
Страница 126: ...A 4 Start up Configuration...
Страница 132: ...B 6 Troubleshooting...
Страница 140: ...C 8 Forced Reload Procedure...
Страница 144: ...D 4 Upgrading Access Point Software...


