Replacing a Cisco Boot-Optimized M.2 RAID Controller
This topic describes how to remove and replace a Cisco Boot-Optimized M.2 RAID Controller. The controller
board has one M.2 socket on its top (Slot 1) and one M.2 socket on its underside (Slot 2).
Step 1
Prepare the server for component removal:
a) Shut down and remove power from the server as described in
Shutting Down and Removing Power From the Server,
You do not have to pull the server out of the rack or remove the server cover because the I/O module is
accessible from the rear of the server.
Note
Step 2
Remove an I/O module from the chassis:
a) Disconnect any cables from the ports on the I/O module.
b) Push down on the locking clip on the I/O module's ejector-handle, and then hinge the handle upward to disengage
the module's connector from the chassis midplane.
c) Pull the module straight out from the chassis and then set it on an antistatic surface.
Step 3
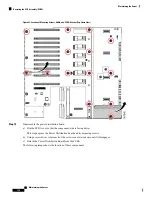
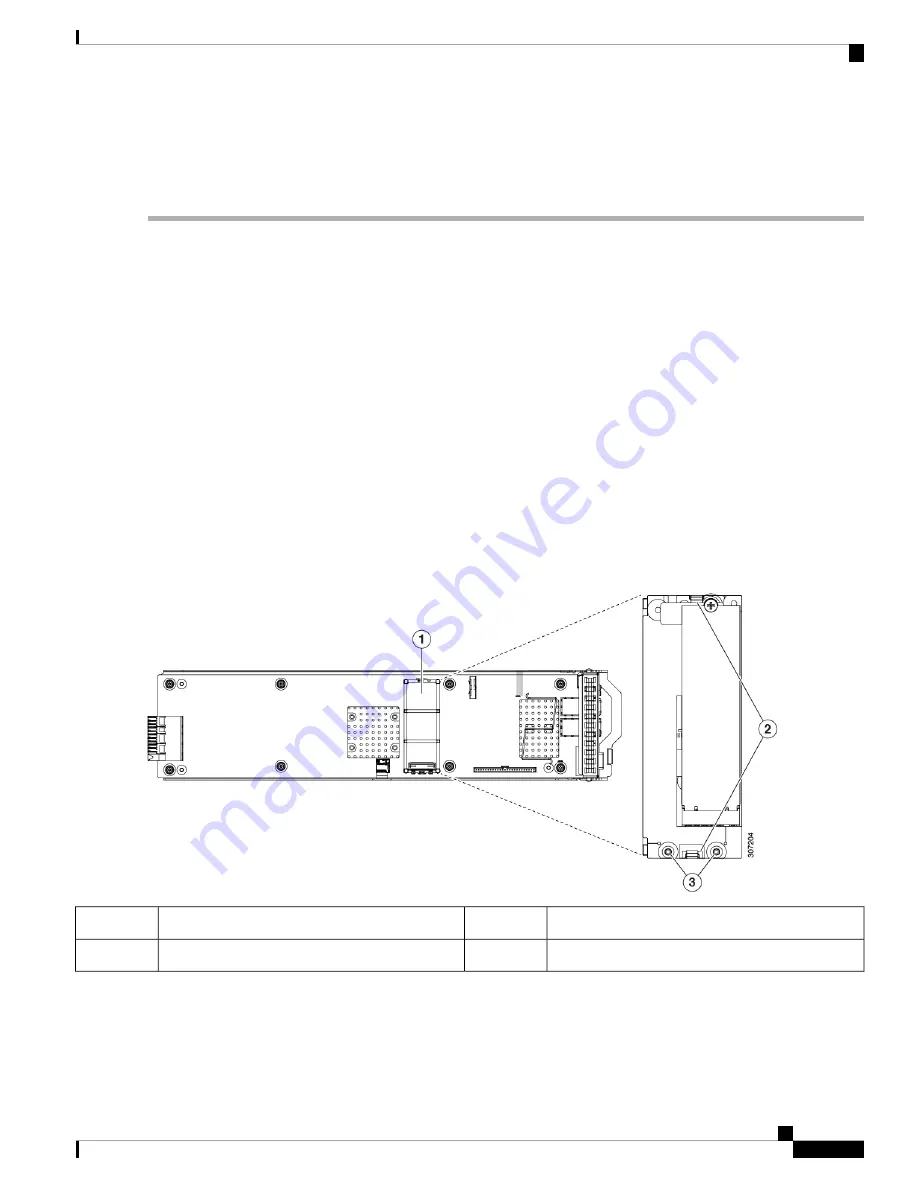
Remove a controller from its socket:
a) At each end of the controller board, push outward on the clip that secures the carrier.
b) Lift both ends of the controller to disengage it from the socket on the motherboard.
c) Set the carrier on an anti-static surface.
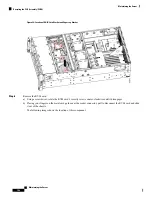
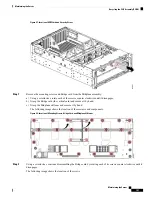
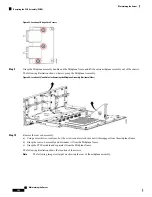
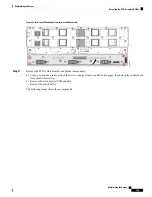
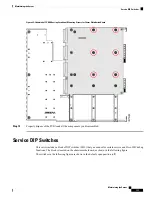
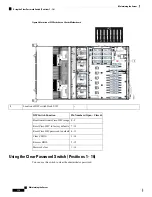
Figure 49: Cisco Boot-Optimized M.2 RAID Controller on Motherboard
Securing clips
3
Location of socket on I/O module board
1
-
Alignment pegs
2
Step 4
If you are transferring SATA M.2 drives from the old controller to the replacement controller, do that before installing
the replacement controller:
Maintaining the Server
99
Maintaining the Server
Replacing a Cisco Boot-Optimized M.2 RAID Controller


