Never remove an I/O module without shutting down and removing power from the server.
Caution
Step 1
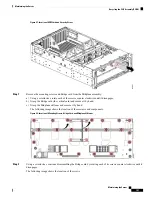
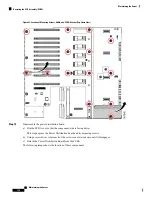
Power off the server and then remove the mini-storage module carrier from the server as described in
Mini-Storage Module Carrier, on page 94
.
Step 2
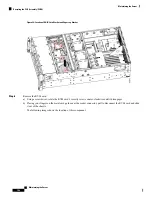
Remove an M.2 SSD:
a) Use a #1 Phillips-head screwdriver to remove the single screw that secures the M.2 SSD to the carrier.
b) Grasp the M.2 SSD and lift up on the end that is opposite its socket on the carrier.
c) Remove the M.2 SSD from its socket on the carrier.
Step 3
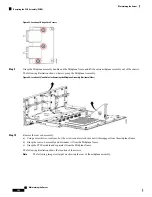
Install a new M.2 SSD:
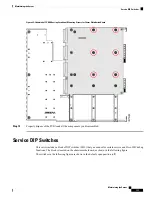
a) Angle downward and insert the new M.2 SSD connector-end into the socket on the carrier with its label side facing
up.
b) Press the M.2 SSD flat against the carrier.
c) Install the single screw that secures the end of the M.2 SSD to the carrier.
Step 4
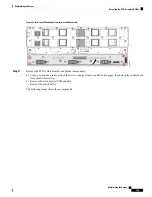
Install the mini-storage module carrier back into the server and then power it on as described in
Replacing a Boot-Optimized M.2 RAID Controller Module
The Cisco Boot-Optimized M.2 RAID Controller module connects to the mini-storage module socket on the
I/O module board. It includes slots for two SATA M.2 drives, plus an integrated 6-Gbps SATA RAID controller
that can control the SATA M.2 drives in a RAID 1 array.
Cisco Boot-Optimized M.2 RAID Controller Considerations
Review the following considerations:
The Cisco Boot-Optimized M.2 RAID Controller is not supported when the server is used as a compute-only
node in Cisco HyperFlex configurations.
Note
• The minimum version of Cisco IMC and Cisco UCS Manager that support this controller is 4.0(4) and
later.
• This controller supports RAID 1 (single volume) and JBOD mode.
Maintaining the Server
97
Maintaining the Server
Replacing a Boot-Optimized M.2 RAID Controller Module


