Enabling Ethernet Bridging (GUI)
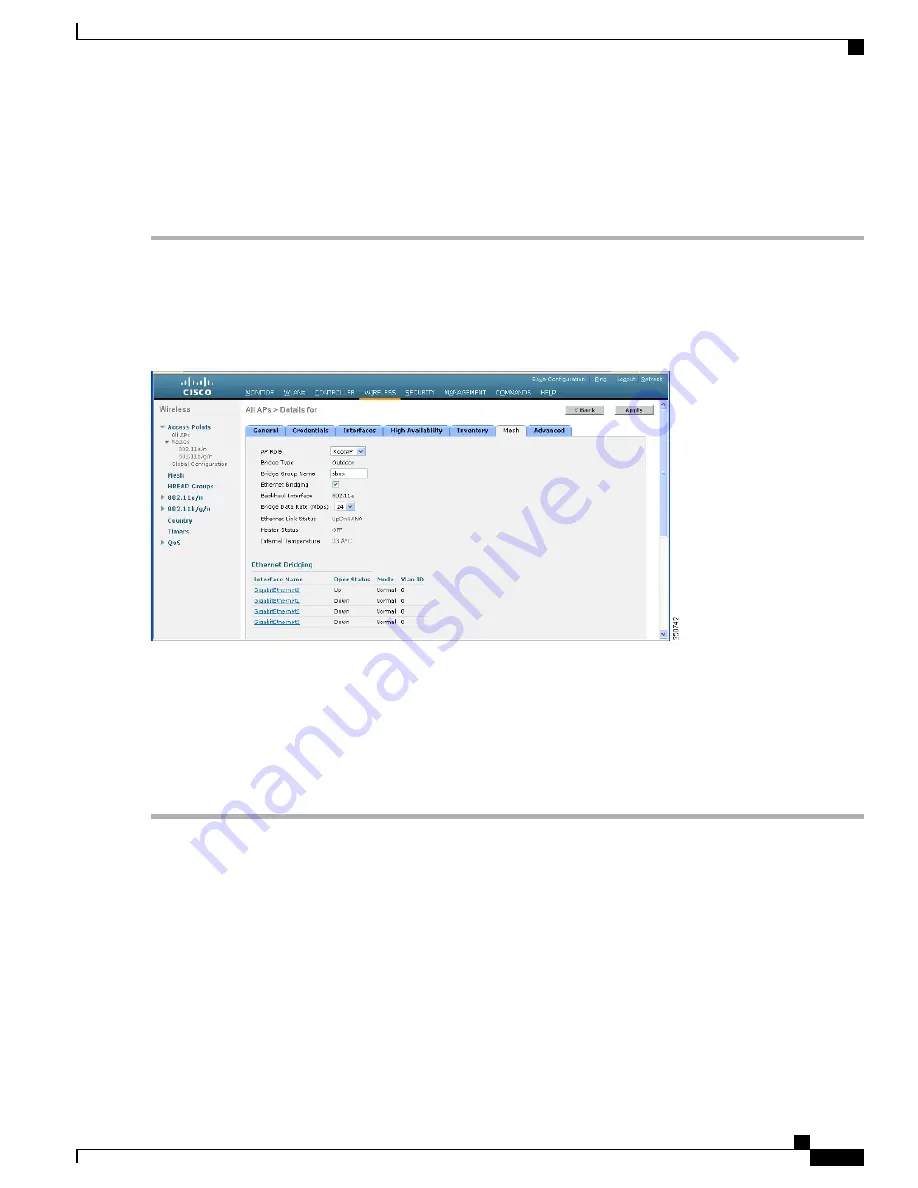
To enable Ethernet bridging on a RAP or MAP using the GUI, follow these steps:
Step 1
Choose
Wireless > All APs
.
Step 2
Click the AP name link of the mesh access point on which you want to enable Ethernet bridging.
Step 3
At the details page, select the
Mesh
tab (see
Figure 60: All APs > Details for (Mesh) Page, on page 133
).
Figure 60: All APs > Details for (Mesh) Page
Step 4
Select either
RootAP
or
MeshAP
from the AP Role drop-down list, if not already selected.
Step 5
Select the
Ethernet Bridging
check box to enable Ethernet bridging or deselect it to disable this feature.
Step 6
Click
Apply
to commit your changes. An Ethernet Bridging section appears at the bottom of the page listing each of the
Ethernet ports of the mesh access point.
Step 7
Ensure that you enable Ethernet bridging for every parent mesh AP taking the path from the mesh AP in question to the
controller. For example, if you enable Ethernet bridging on MAP2 in Hop 2, then you must also enable Ethernet bridging
on MAP1 (parent MAP), and on the RAP connecting to the controller.
Configuring Bridge Group Names
Bridge group names (BGNs) control the association of mesh access points. BGNs can logically group radios
to avoid two networks on the same channel from communicating with each other. The setting is also useful
if you have more than one RAP in your network in the same sector (area). BGN is a string of 10 characters
maximum.
A BGN of
NULL VALUE
is assigned by default by manufacturing. Although not visible to you, it allows a
mesh access point to join the network prior to your assignment of your network-specific BGN.
Cisco Mesh Access Points, Design and Deployment Guide, Release 7.3
OL-27593-01
133
Connecting the Cisco 1500 Series Mesh Access Points to the Network
Configuring Local Mesh Parameters


