


16
For more information visit
cctvmate.com
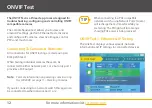
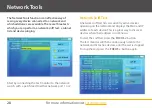
ONVIF Test
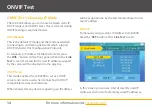
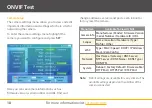
are displayed along with a video snapshot (snapshot
only displays for compatible cameras and if authorisation
is not required). The
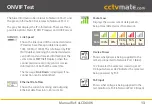
Up
and
Down
arrow key can be used
to scroll through the list of discovered devices.
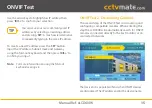
If a device expected to appear does not show in the list
you can search again by pressing the '
FOCUS -
' button.
If a camera still doesn't appear it may not be responding
to the ONVIF request or the subnet settings may not
match those of the test monitor. If this happens you will
need to return to the '
Static IP
' section on
page 14
to
make sure the test monitor's local IP address is within
the same subnet as the camera.
If this also fails you can try manually adding the camera
as explained in the following section.
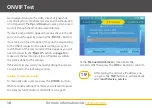
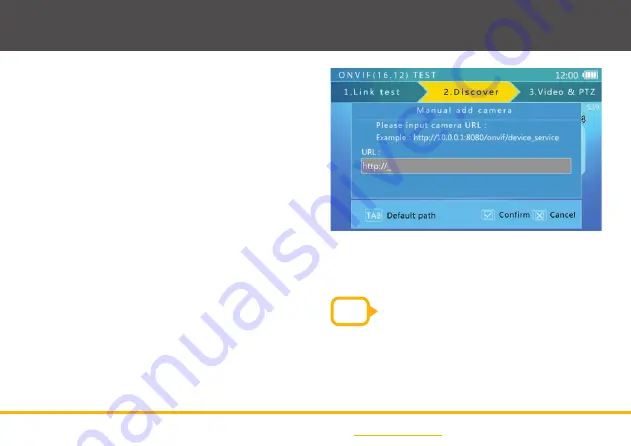
Adding Cameras Manually
To manually add a camera press the '
ZOOM -
' button.
When manually adding IP cameras you will need to know
the camera's full IP address and ONVIF service path.
At the '
Manual Add Camera
' screen enter the
camera's URL then press the '
IRIS +
' button to confirm.
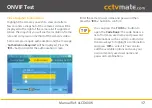
TIP
After typing the camera's IP address you
can press the '
TAB
' button to automatically
add '
/onvif/device_service
'.


