62
18
On the Wireless Connection window, click one of the projection area position
buttons and then click the
button.
z
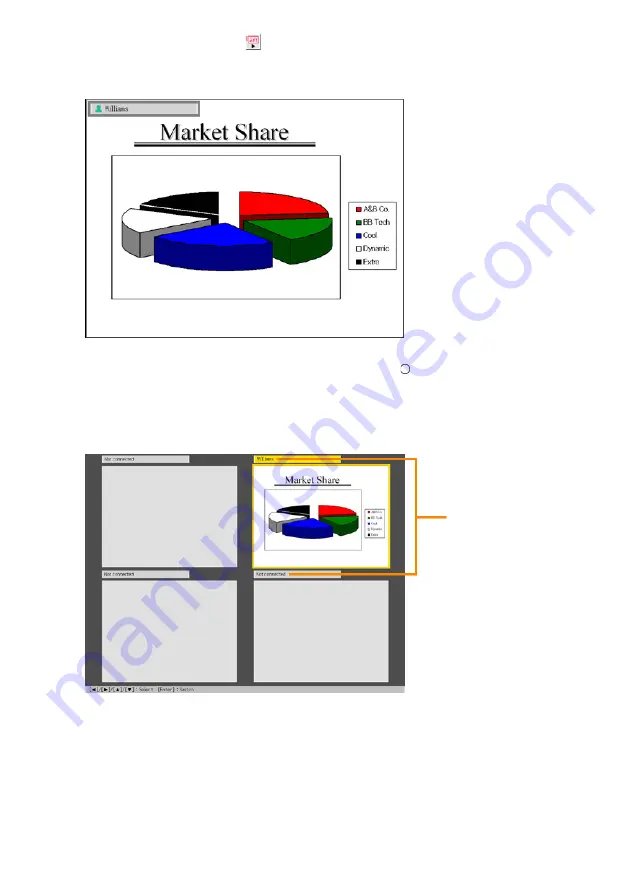
This will cause the contents of the computer screen to be projected so they fill the
entire projection area. At this time the user name will appear in the upper left corner of
the projection area.
19
On the Data Projector’s remote controller, press the [
] key.
z
This will display a user menu like the one shown below. You can use the user menu
when multiple computers are connected to the Data Projector to select which computer’s
screen image will fill the entire projection area. The location of each computer’s image
on the user menu screen will be in accordance with the projection area position button
you selected for the computer.
User Names
“Not connected” appears in
place of the user name for all
positions that do not have a
computer assigned using the
projection area position buttons.


