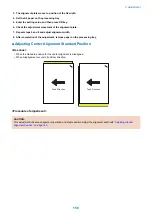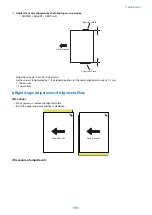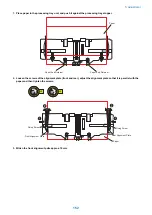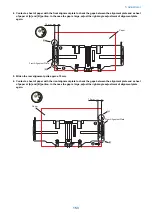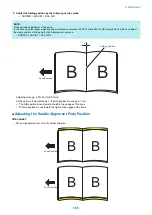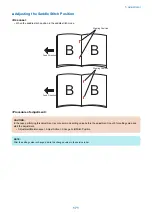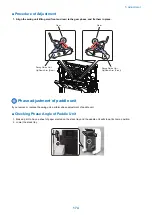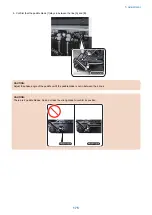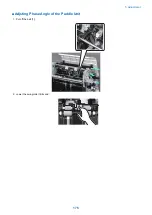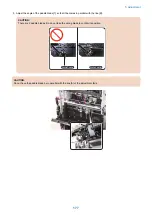
■ Adjusting the Fold Placement
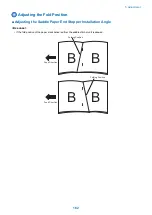
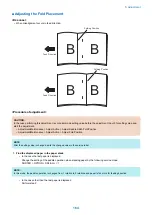
<Use case>
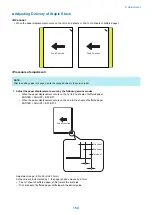
• When misalignment occurs in feed direction.
Feed Direction
Feed Direction
B
B
Folding Position
B
B
Folding Position
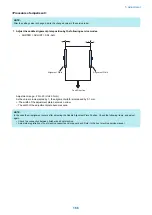
<Procedure of adjustment>
CAUTION:
In the case performing this adjustment, record user mode setting value before the adjustment. Input 0 for setting value and
start the adjustment.
• Adjustment/Maintenance > Adjust Action > Adjust Saddle Stitch Fold Position
• Adjustment/Maintenance > Adjust Action > Adjust Fold Position
NOTE:
After the setting value is changed, write the changed value in the service label.
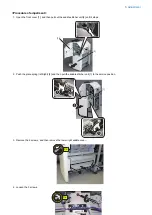
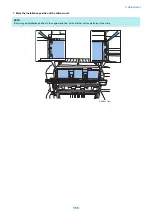
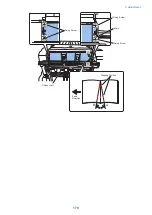
1. Find the displaced paper in the paper stack.
• In the case the last paper is displaced
Change the setting of the paddle operation when stacking paper by the following service mode.
SORTER > OPTION > SDL-ALG = 1
NOTE:
In this mode, the paddle operation is changed from 1 rotation to 2 rotations and paper is fed more for feeding direction.
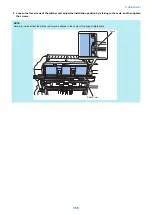
• In the case other than the last paper is displaced
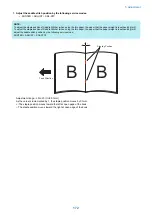
Perform step 2.
5. Adjustment
164
Содержание Staple Finisher-AA1
Страница 1: ...Revision 4 0 Staple Finisher AA1 Booklet Finisher AA1 Service Manual ...
Страница 12: ...Product Overview 1 Features 5 Specifications 6 Names of Parts 14 Optional Configuration 20 ...
Страница 83: ...Periodical Service 3 Periodic Servicing Tasks 76 ...
Страница 87: ...3 Remove the 2 Connectors 1 2x 1 4 Parts Replacement and Cleaning 79 ...
Страница 89: ...Main Units Parts 4 5 6 7 8 1 2 3 4 Parts Replacement and Cleaning 81 ...
Страница 128: ...4x 1 2 2 3 3 2x 4 Parts Replacement and Cleaning 120 ...
Страница 150: ...Adjustment 5 Overview 143 Basic Adjustment 148 Adjustments When Replacing Parts 173 Other 184 ...
Страница 178: ...A B Feed Direction Stapling Position Fixing Screw A B Stitcher Unit Fixing Screw Fixing Screw Mark 5 Adjustment 170 ...
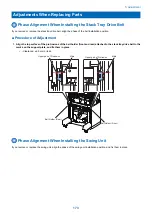
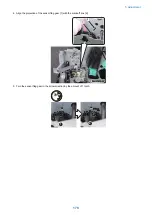
Страница 184: ... Adjsting Phase Angle of the Paddle Unit 1 Put off the belt 1 1 2 Lower the swing roller till its end 5 Adjustment 176 ...
Страница 193: ...Troubleshooting 6 Making Initial Checks 186 Processing Tray Area 187 Saddle Stitcher Area 188 ...
Страница 204: ...4 5 6 7 8 9 7 Installation 196 ...
Страница 205: ...10 7 Installation 197 ...
Страница 210: ...11 NOTE Keep the parts as illustration above Installation of Buffer Pass Unit 1 7 Installation 202 ...
Страница 223: ...2 3 2x 7 Installation 215 ...
Страница 224: ...APPENDICES Service Tools 217 General Circuit Diagram 218 ...

