Chapter 2
2-14
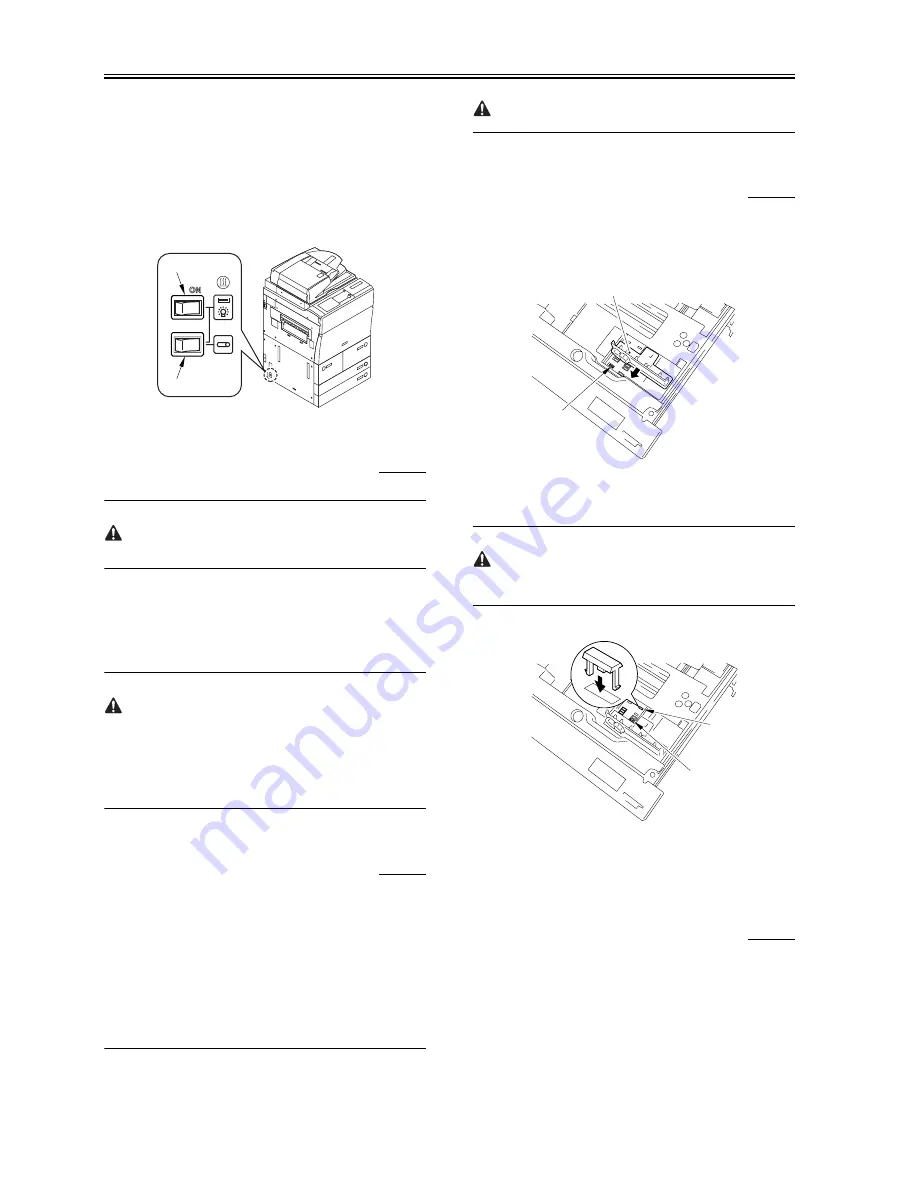
off, set it using the following two switches.
1. Environment switch: The switch for the drum heater and the all night
setting.
ON: The heater is left turned on when the main power switch turns
off/on.
OFF: The heater turns on only when the main power switch turns
on.
2. Cassette heater switch
ON: The heater turns on when the main power switch turns on.
However, when the environment switch turns on, the heater is
always left turned on.
OFF: The heater is always left turned off.
F-2-43
2.2.12 Turning on the Main Power
0008-8066
Before turning on the main power, make sure to eliminate the packing
materials in the cassette.
1) Pull out the duplexing unit and make sure that there is no foreign
matter or damage.
2) Make sure that the main power switch turns off, and connect the
power plug to the power outlet.
3) Turn on the main power switch.
- The indication of loading programs appears.
- The message [Wait...]Is displayed.
How to turn off the main power:
When turning off the main power, follow the procedure below in order
to protect the hard disk of the machine.
1. Press the power switch on the control panel for 3 sec or more.
2. Operate the touch panel following the instruction display for the shut
down sequence so that the main power switch can be ready for
turning off.
3. Turn off the main power switch.
2.2.13 Stirring the Toner
0008-8071
After waiting until the machine is ready for operation, supply the toner
from the hopper to the developing unit by operating in service mode.
1) Start service mode. (Press the '*' key, '2' and '8' at the same time, and
the * key once again.)
2) Make the following selections:
COPIER>FUNCTION>INSTALL>TONER-S.
3) Make sure that the message, 'CHECK THE DEVELOPER' appears.
4) Check to see if the developing assembly is properly locked in place,
and press the OK key.
- The supplying operation will last for about 8min to 10min, after which
the operation stops automatically.
- Perform the cassette setting before the toner supplying operation is
completed. (Refer to the cassette setting.)
Do not turn the power off during the operation.
2.2.14 Setting the Cassette
0008-8103
1) Press the cassette releasing button, and slide out the cassette to the
front.
2) Set the side guide plate [1] of each cassette to the hole (A4/A3) of the
stamp M [2].
F-2-44
3) Mount the non-inch spacer in the package from the inside of the
cassette so that the hole (STMT-R) of the stamp A [1] and the hole
(LTR-R) of the stamp H [2] are covered.
- Be sure to mount the spacer to keep in contact with the cassette.
- This procedure should be conducted only when Inch size paper is not
used.
F-2-45
4) Check with the user to find out the size of paper to use, and set the
paper size of each cassette, and attach the size label to the cassette
size plate.
5) Slide the cassettes into the machine.
2.2.15 Index Paper Attachment
0009-6944
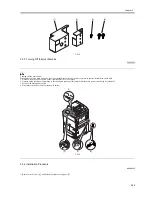
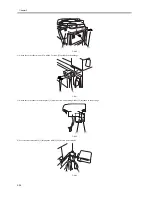
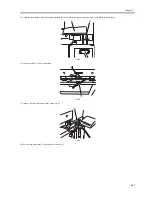
1) Decide on either cassette 3 or 4 for use for index paper.
Press the releasing button for the cassette, and slide it out to the front.
Match the 2 one-touch supports [1] against the holes [2] in the cassette;
then, push in the pins to fix them in place.
2) Place the index paper attachment [3] by matching its holes against the
one-touch supports [1].
3) Fit the base sheet [6] in the cassette.
Slid out the cassette.
[1]
[2]
[1]
[2]
[1]
[2]
Содержание iR6570 series
Страница 1: ...Mar 29 2005 Service Manual iR6570 5570 Series...
Страница 2: ......
Страница 6: ......
Страница 26: ...Contents...
Страница 27: ...Chapter 1 Introduction...
Страница 28: ......
Страница 30: ......
Страница 55: ...Chapter 2 Installation...
Страница 56: ......
Страница 58: ...Contents 2 9 3 Mounting the Cassette Heater 2 34...
Страница 98: ......
Страница 99: ...Chapter 3 Basic Operation...
Страница 100: ......
Страница 102: ......
Страница 110: ......
Страница 111: ...Chapter 4 Main Controller...
Страница 112: ......
Страница 114: ......
Страница 135: ...Chapter 5 Original Exposure System...
Страница 136: ......
Страница 181: ...Chapter 6 Laser Exposure...
Страница 182: ......
Страница 184: ......
Страница 192: ......
Страница 193: ...Chapter 7 Image Formation...
Страница 194: ......
Страница 198: ......
Страница 259: ...Chapter 8 Pickup Feeding System...
Страница 260: ......
Страница 299: ...Chapter 8 8 35 F 8 51 PS36 M19 M14 Reversing flapper Outside delivery roller Point of reversal PS37...
Страница 349: ...Chapter 8 8 85 F 8 290 1 Feeding roller 2 Separation roller 3 Pressure lever 4 Pressure spring 1 2 A B 3 4...
Страница 350: ......
Страница 351: ...Chapter 9 Fixing System...
Страница 352: ......
Страница 401: ...Chapter 10 External and Controls...
Страница 402: ......
Страница 406: ......
Страница 448: ......
Страница 449: ...Chapter 11 MEAP...
Страница 450: ......
Страница 452: ......
Страница 455: ...Chapter 12 Maintenance and Inspection...
Страница 456: ......
Страница 458: ......
Страница 468: ......
Страница 469: ...Chapter 13 Standards and Adjustments...
Страница 470: ......
Страница 505: ...Chapter 14 Correcting Faulty Images...
Страница 506: ......
Страница 508: ......
Страница 537: ...Chapter 15 Self Diagnosis...
Страница 538: ......
Страница 540: ......
Страница 565: ...Chapter 16 Service Mode...
Страница 566: ......
Страница 568: ......
Страница 633: ...Chapter 17 Upgrading...
Страница 634: ......
Страница 636: ......
Страница 641: ...Chapter 17 17 5 F 17 4 HDD Boot ROM Flash ROM System Software...
Страница 646: ...Chapter 17 17 10 F 17 11 8 Click START F 17 12...
Страница 659: ...Chapter 17 17 23 F 17 32 2 Click Start F 17 33 3 When the downloading session has ended click OK...
Страница 661: ...Chapter 17 17 25 F 17 35 2 Click Start F 17 36 3 When the downloading session has ended click OK...
Страница 663: ...Chapter 17 17 27 F 17 38 2 Click Start F 17 39 3 When the downloading session has ended click OK...
Страница 668: ...Chapter 17 17 32 F 17 46 2 Click Start F 17 47 3 When the downloading session has ended click OK...
Страница 675: ...Chapter 17 17 39 F 17 59 2 Select the data to download F 17 60 3 Click Start...
Страница 677: ...Chapter 18 Service Tools...
Страница 678: ......
Страница 679: ...Contents Contents 18 1 Service Tools 18 1 18 1 1 List of Special Tools 18 1 18 1 2 List of Solvents Oils 18 2...
Страница 680: ......
Страница 683: ...Mar 29 2005...
Страница 684: ......


