


Important
•
There may be ink around the ink supply section of ink tanks you removed. Handle ink tanks carefully during replace-
ment. The ink may stain clothing.
•
Do not install used ink tanks in another model of printer.
This will prevent correct ink level detection, which may damage the printer or cause other problems.
•
We recommend using up an Ink Tank in the course of printing within six months after breaking the seal. Printing quality
may be affected if you use older ink tanks.
•
Do not leave the printer without ink tanks installed for extended periods (a month or more). Residual ink may become
clogged inside the printer and affect printing quality.
How to replace an Ink Tank
1.
Confirm the message
➔
P.807
2.
Access the menu for
Access the menu for Ink Tank replacement
➔
P.808
(Otherwise, open the Ink Tank Cov-
er.)
3.
Remove the Ink Tank.
•
Remove the Ink Tank (330 ml)
➔
P.808
•
Remove the Ink Tank (700 ml)
➔
P.809
4.
Load the new Ink Tank.
•
Load the Ink Tank (330 ml)
➔
P.811
•
Load the Ink Tank (700 ml)
➔
P.813
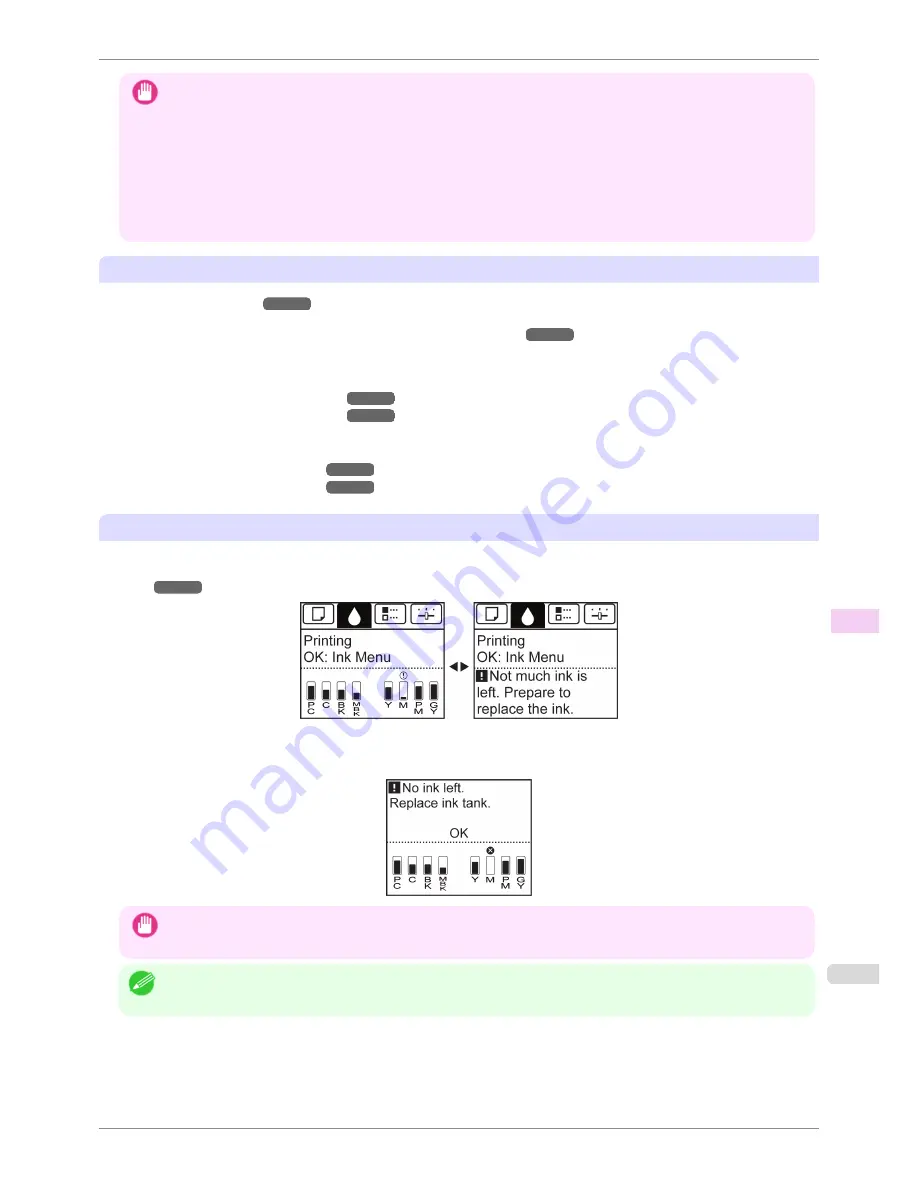
Confirm the message
When the ink level becomes low, a message is displayed on the Display Screen.
According to the message, replace the ink tank or prepare a new ink tank.
(See "When to Replace Ink
Tanks.")
➔
P.816
If a message requests you to replace an Ink Tank, press the
OK
button. In this case, you can skip the step
Access
the menu for ink tank replacement.
Follow the instructions in
Remove the ink tanks.
Important
•
Do not remove an Ink Tank during initialization immediately after turning on the printer, or during printhead cleaning. Ink
may leak out.
Note
•
Ink Tank replacement is possible even during printing, when print jobs are being canceled, or when paper is being ad-
vanced.
iPF8400S
Replacing Ink Tanks
User's Guide
Maintenance and Consumables
Ink Tanks
807
Содержание iPF8400S Series
Страница 18: ...18 ...
Страница 32: ...iPF8400S User s Guide 32 ...
Страница 148: ...iPF8400S User s Guide 148 ...
Страница 572: ...iPF8400S User s Guide 572 ...
Страница 606: ...iPF8400S User s Guide 606 ...
Страница 622: ...iPF8400S User s Guide 622 ...
Страница 708: ...iPF8400S User s Guide 708 ...
Страница 804: ...iPF8400S User s Guide 804 ...
Страница 917: ...iPF8400S WEEE Directive User s Guide Appendix Disposal of the product 917 ...
Страница 918: ...WEEE Directive iPF8400S User s Guide Appendix Disposal of the product 918 ...
Страница 919: ...iPF8400S WEEE Directive User s Guide Appendix Disposal of the product 919 ...
Страница 920: ...WEEE Directive iPF8400S User s Guide Appendix Disposal of the product 920 ...
Страница 921: ...iPF8400S WEEE Directive User s Guide Appendix Disposal of the product 921 ...
Страница 922: ...WEEE Directive iPF8400S User s Guide Appendix Disposal of the product 922 ...
Страница 923: ...iPF8400S WEEE Directive User s Guide Appendix Disposal of the product 923 ...
Страница 924: ...WEEE Directive iPF8400S User s Guide Appendix Disposal of the product 924 ...


